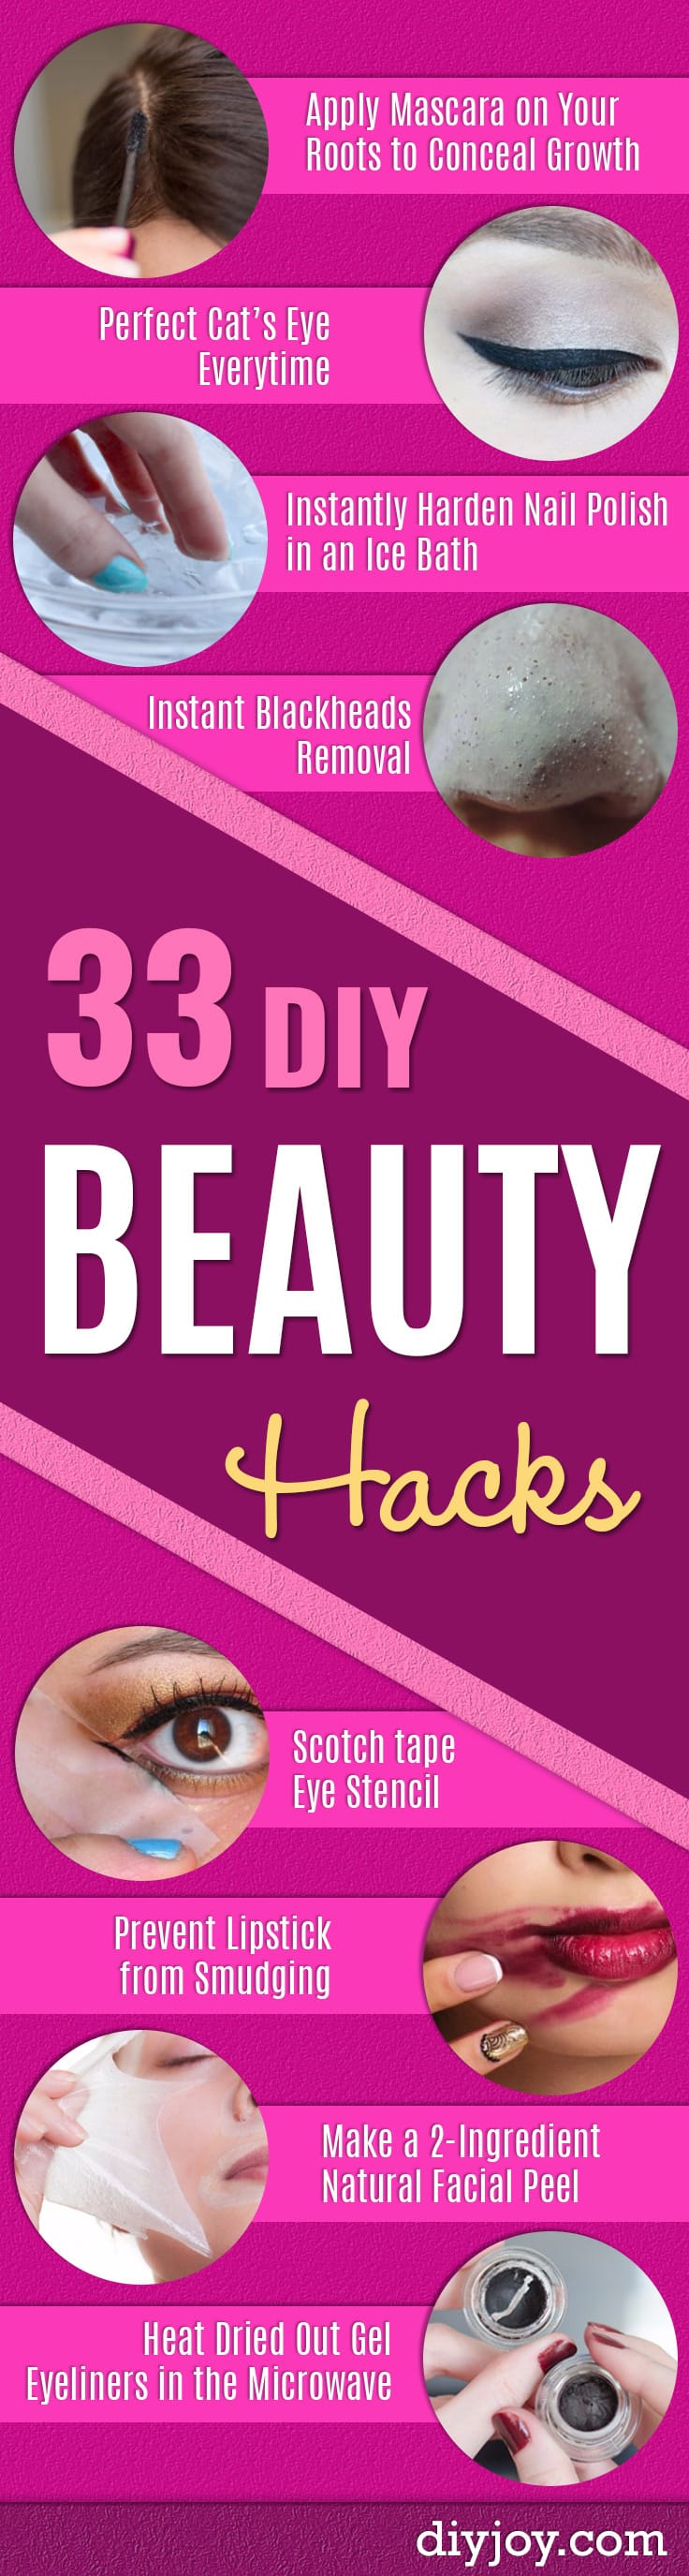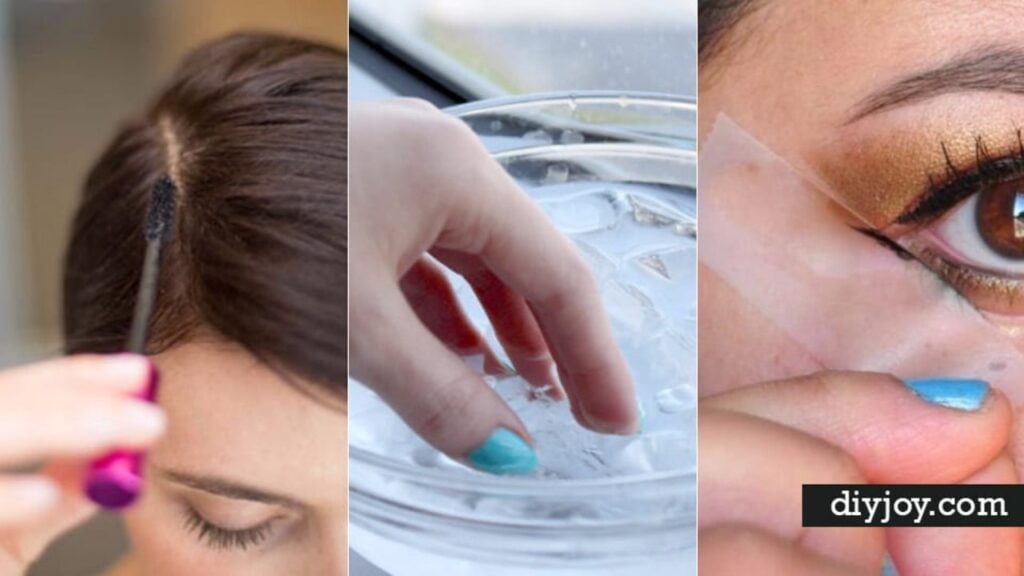
Mornings are short and the bathroom counter is already crowded, so these 14 DIY beauty hacks lean on things you probably own: clear tape, a hair dryer, a bowl of ice water and a jar of coconut oil. A beauty hack is a small trick that makes a step faster or a product last longer, and a homemade beauty recipe swaps a store bottle for a few kitchen ingredients. Some of these take ten seconds, like warming a lash curler before you use it. Others are a relaxed Sunday project, like a honey face wash or a jar of makeup remover pads. Two DIY JOY scrubs with step by step videos are in the mix too, a coffee body scrub and a purple blueberry sugar scrub that doubles as a sweet handmade gift. Patch test anything new on a small spot of skin first. Find more ideas on the beauty and health hacks hub.
1. DIY Honey Face Wash For Blemish Free Skin
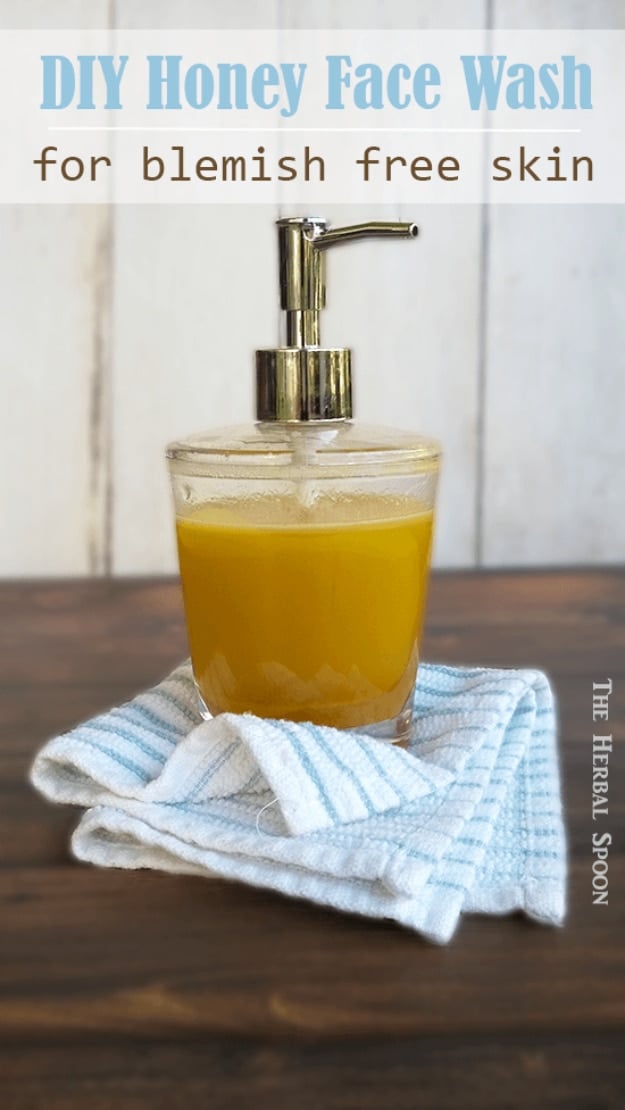
This DIY honey face wash skips soap completely, which is the point. Raw honey cleans gently without stripping skin the way a high pH bar can. The basic recipe is 1/3 cup raw honey, a couple tablespoons of distilled water or hydrosol and a carrier oil, with versions for irritated, normal and dry skin that change the oils and essential oils. Warm very thick honey gently with the water to loosen it, then pour everything into a pump bottle. Shake before each use, since the honey sinks to the bottom.
Get the full tutorial at The Herbal Spoon.
2. Scotch Tape Eye Stencil
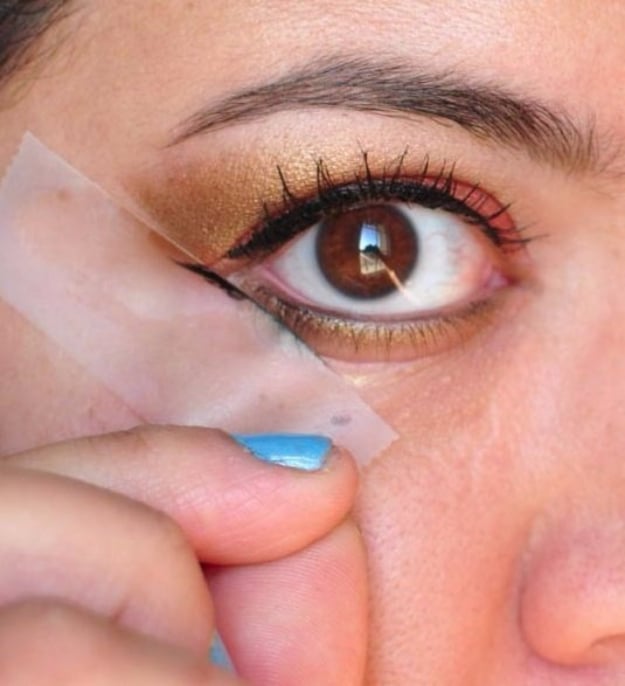
A piece of clear tape is the cheapest makeup tool there is. Stick it to the back of your hand first to take off some of the stickiness, then press it from the outer corner of your eye toward the end of your brow at the angle you want. Sweep shadow or liner right up to the edge, then peel the tape away for a crisp line. Do the other eye with a fresh strip at the same angle and both sides match, even if your hands aren’t steady.
Get the full tutorial at Her Campus.
3. Warm Up Your Lash Curler
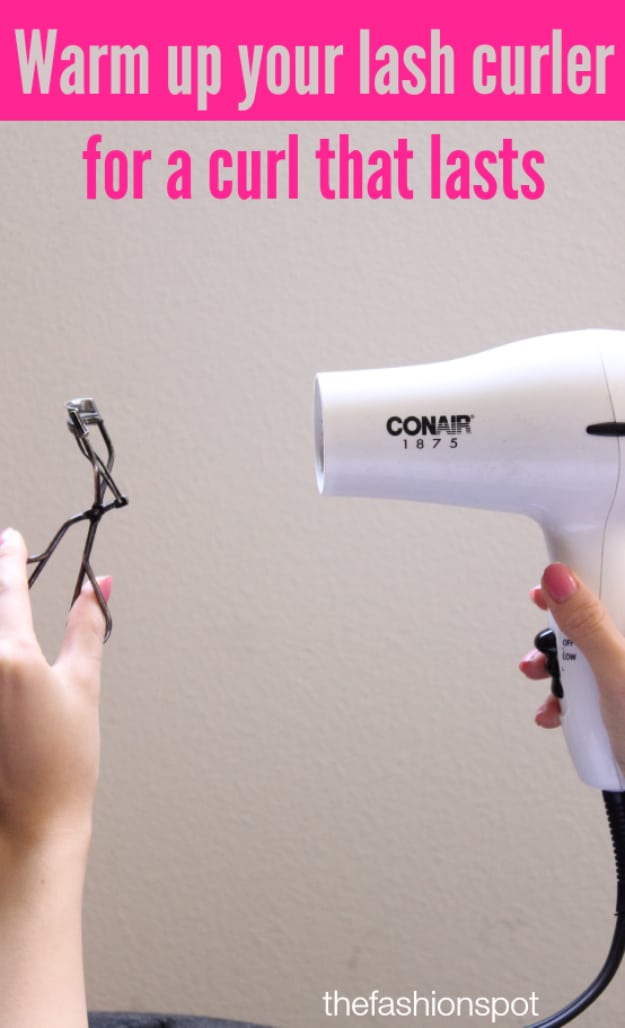
A curler that pinches straight lashes and lets them drop by lunch needs a little heat. Aim a hair dryer at the curler for about 10 seconds, the same idea as a curling iron on hair. Test it on the inside of your wrist before it goes anywhere near your eye, because metal holds heat. Clamp at the base of the lashes, then walk the curler out toward the tips for a soft curve. Curl before mascara, never after, so lashes don’t snap or stick.
Get the full tutorial at theFashionSpot.
4. Prevent Lipstick From Smudging
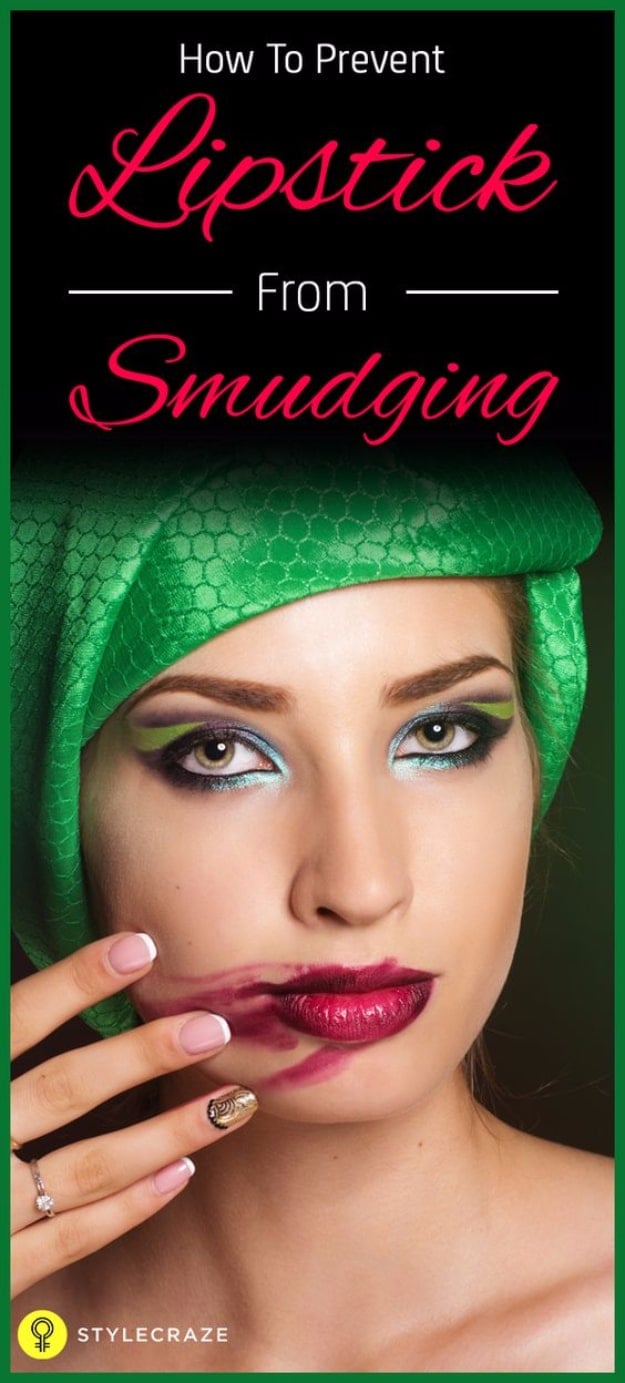
Lipstick that ends up on your teeth and your coffee cup needs a better base. Exfoliate, add balm, then dab a little foundation or concealer on your lips and set it with powder. Line and fill the whole lip with pencil, then swipe on lipstick. Lay a tissue over your mouth and dust loose powder through it, then blend and blot with a folded tissue. Matte and long wear formulas hold best. Skip petroleum jelly underneath, since that is a common reason color slides.
Get the full tutorial at STYLECRAZE.
5. Dark Circle Knock Out
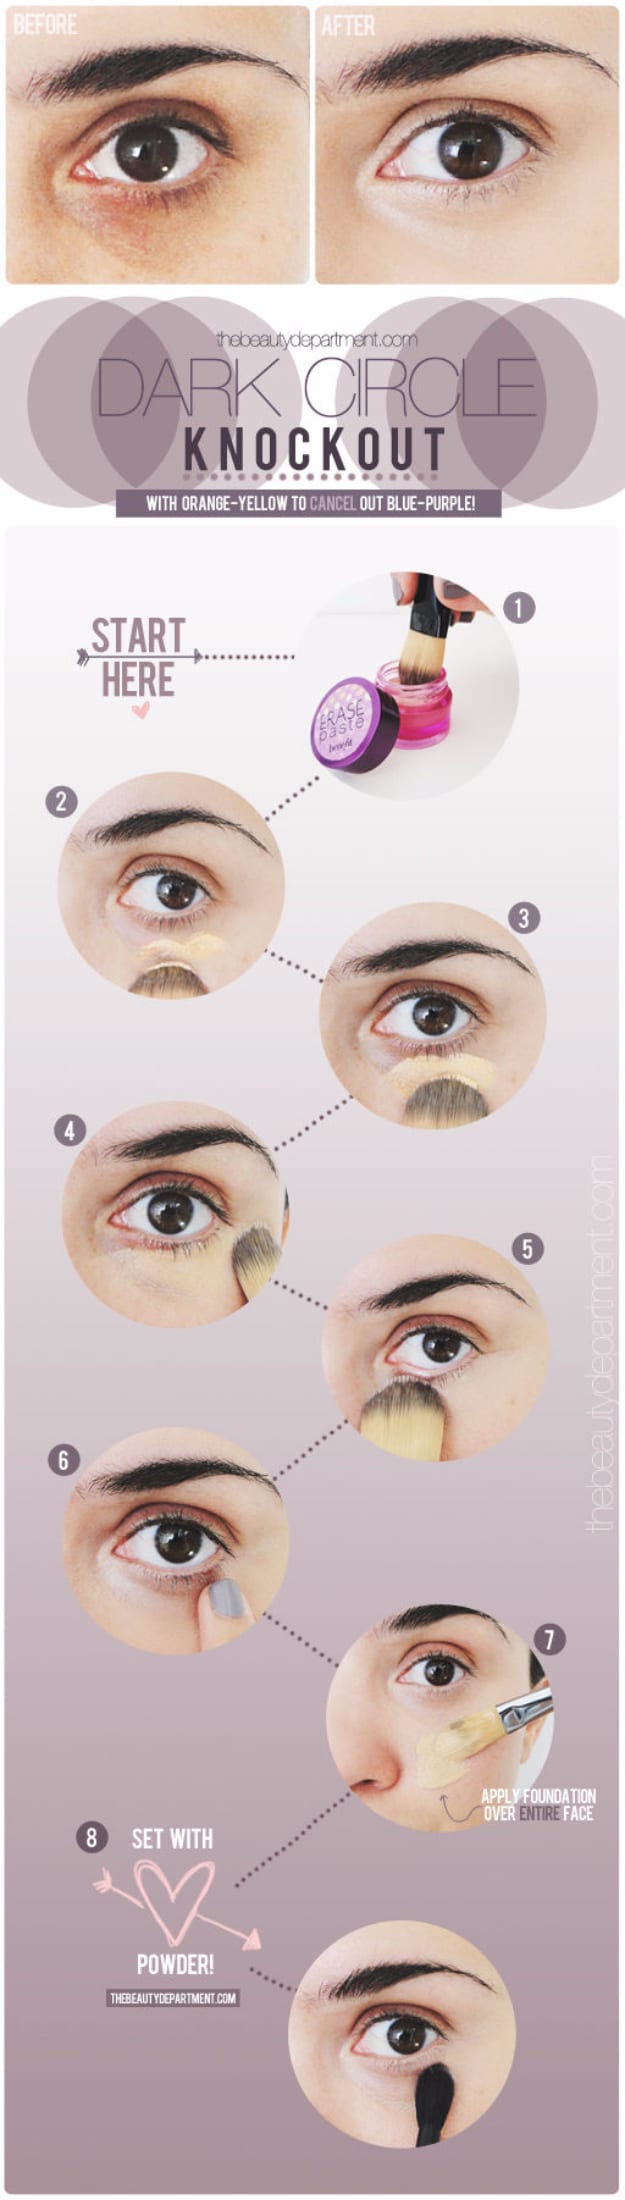
Really dark under eye circles need color correction before concealer. Orange and blue sit across from each other on the color wheel, so they cancel out, and yellow does the same for purple. Pick a salmon or orange corrector for bluish circles and a yellow one for purple tones. Dip a foundation brush into the corrector and stamp it onto the darkest part of the circle, including the inner corner. Blend gently with your finger, then follow with foundation and a light dusting of powder.
Get the full tutorial at The Beauty Department.
6. DIY Coffee Body Scrub
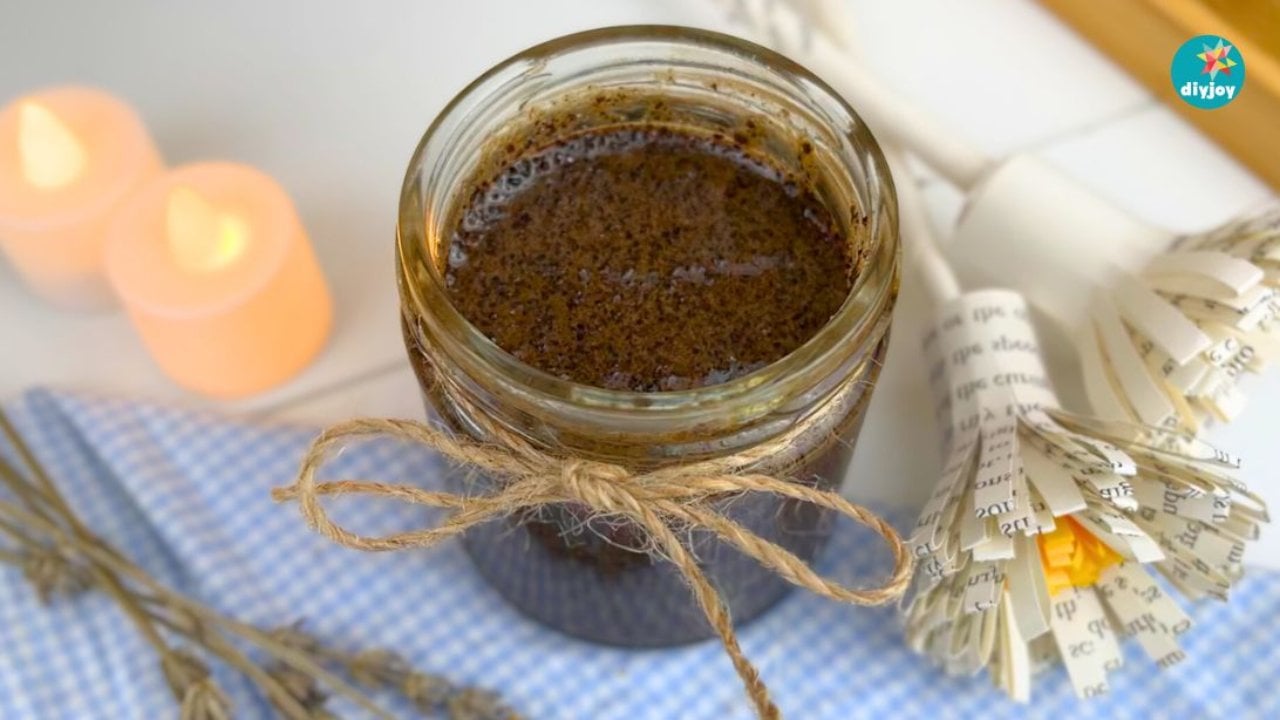
A DIY coffee body scrub smells like a cafe and leaves skin seriously soft. Spoon fine sugar into a clean jar, then add coffee grounds, scoops of coconut oil, a splash of castile soap and vanilla extract. Stir until everything is evenly mixed from top to bottom, wipe the rim and cap it. No vanilla? Coffee extract works too. Add more sugar for a coarser scrub that’s great on elbows and heels. An old jam jar with the label soaked off makes a cute free container.
Get the full tutorial at DIY JOY.
7. Fix Make Up Blunders On The Go

Makeup mishaps never happen at home where all your products are. For chipped polish, buff a chip at the tip with a nail file until the edge looks smooth, or dip a concealer brush in polish remover to soften a smudge in the middle. Smudged liner cleans up with a cotton swab and a travel size remover, or blend it upward with brown shadow so it looks like a smoky eye on purpose. Blotting tissues soak up shine before foundation slides.
Get the full tutorial at StyleCaster.
8. Acne Scar Removal Face Mask
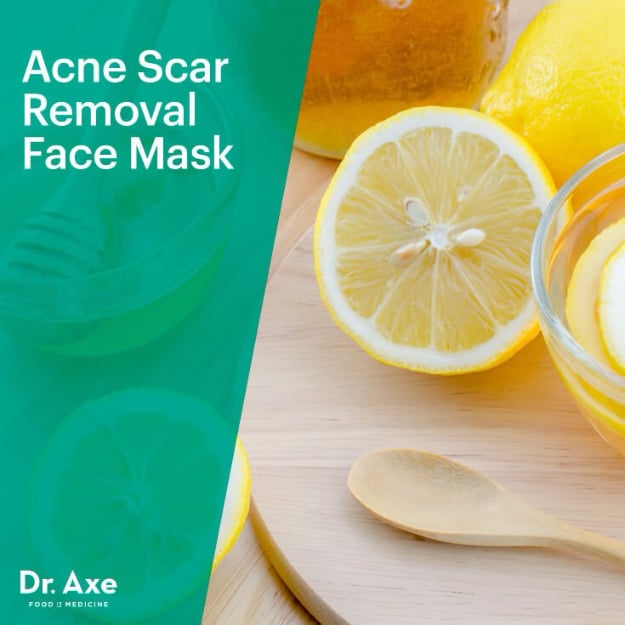
This acne scar face mask is mixed in a jar and used daily for about eight to ten days. Combine 3 tablespoons each of lemon juice and honey with 2 tablespoons of almond or olive oil, then add tea tree, frankincense and helichrysum essential oils, 6 to 10 drops each. Smooth it on and leave it for 10 to 15 minutes, then wash thoroughly. Lemon makes skin more sun sensitive, so use it at night and wear sunscreen the next day. Stop or switch to every other day if your skin gets irritated.
Get the full tutorial at Dr. Axe.
9. Instantly Harden Nail Polish In An Ice Bath
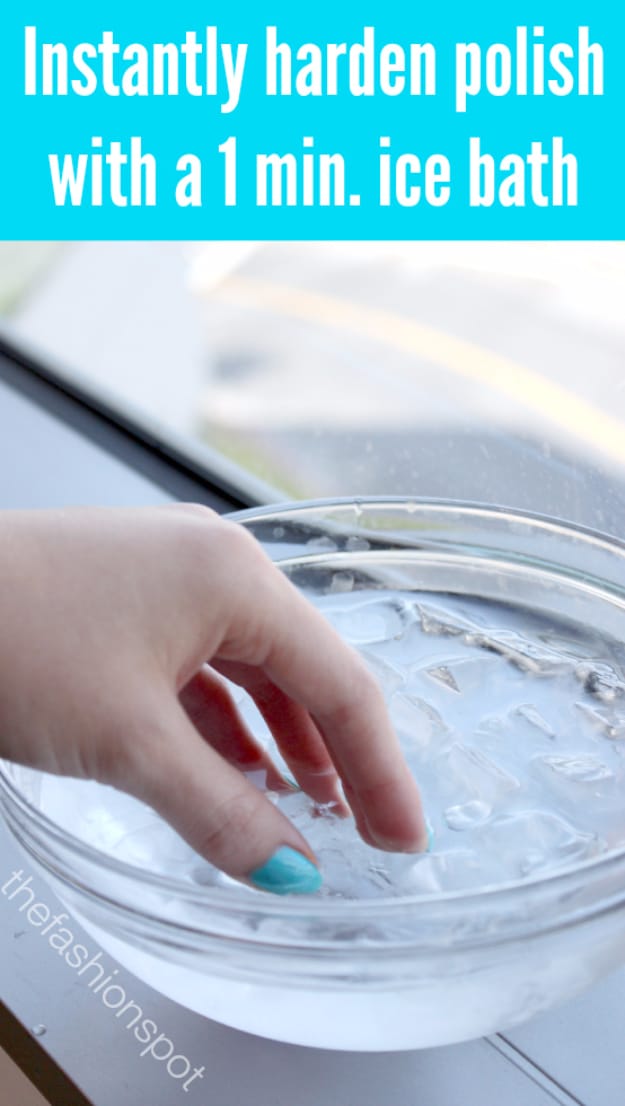
Nail polish can take up to an hour to harden and about four hours to fully dry, which is a long time to sit still. Fill a bowl with ice and cold water while your last coat goes on. Once the polish is set enough not to wrinkle, dip your fingertips into the ice water for about one minute. The cold firms the polish fast, so you can get on with your day. Pat your nails dry gently with a towel afterward.
Get the full tutorial at theFashionSpot.
10. Where To Apply Perfume To Make It Last
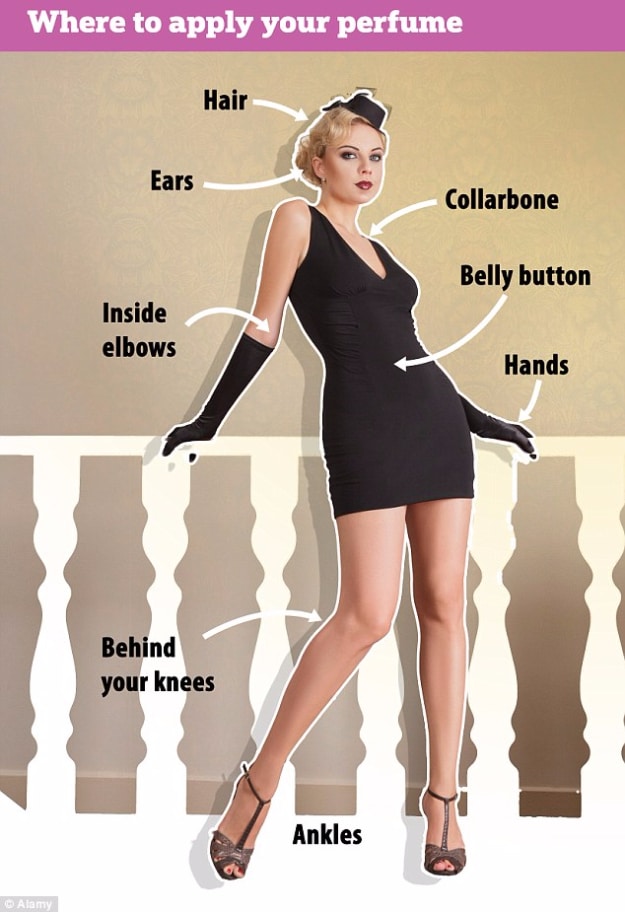
Where you spray perfume matters as much as which one you buy. Pulse points like the wrists, the inner elbows, behind the ears and behind the knees are warmer, so they push scent out all day. Your collarbone works too. Hair holds fragrance well, but alcohol can dry it, so mist a brush or comb and pull it through instead of spraying strands directly. Moisturize first, since perfume lasts longer on hydrated skin.
Get the full tutorial at Daily Mail.
11. Apply Mascara Perfectly
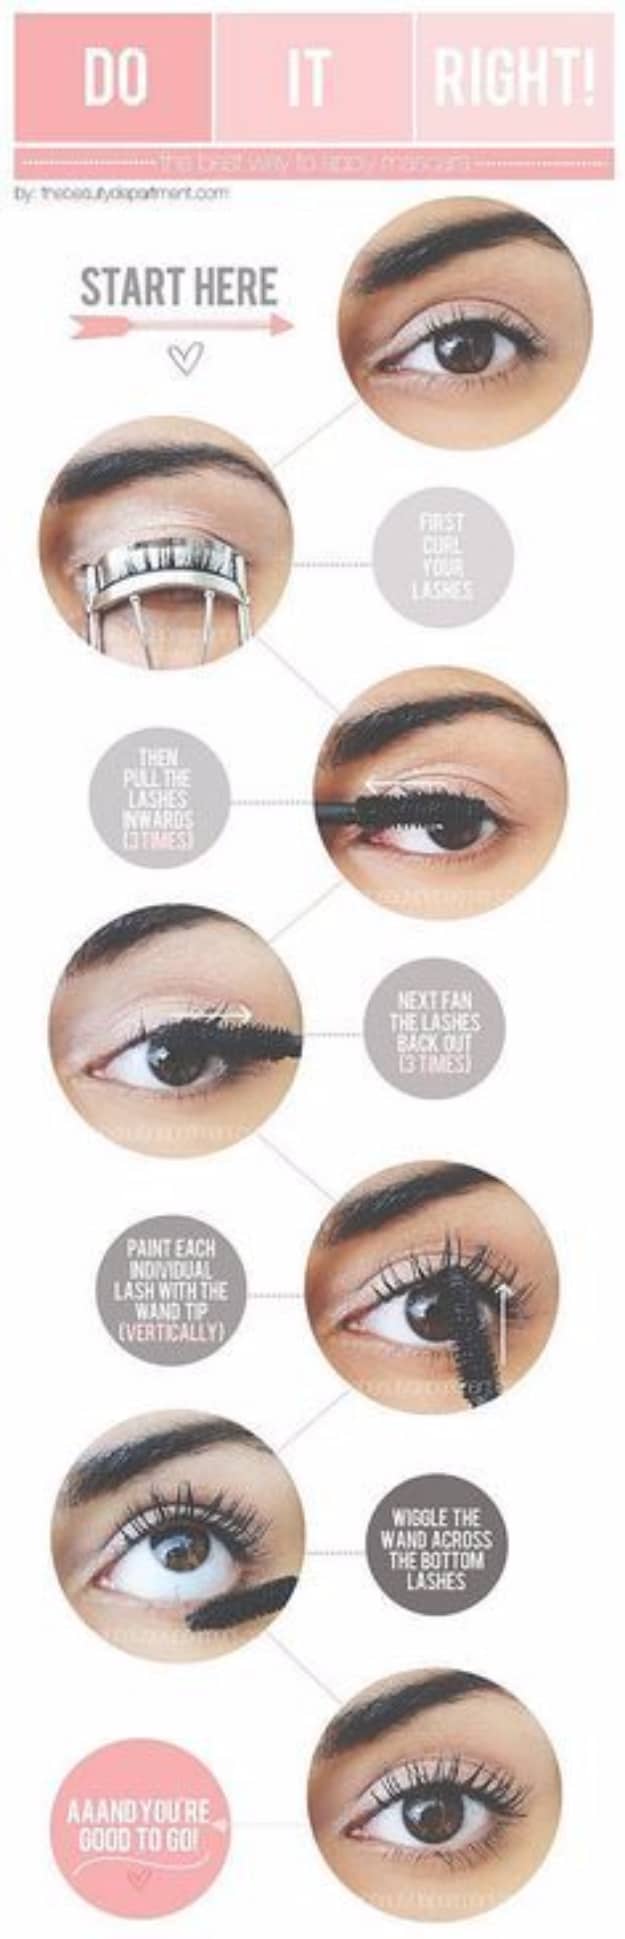
Mascara goes on last, after shadow and liner, so you aren’t tempted to pile on extra coats. Curl first, since curling after mascara can break lashes. Apply two coats to one eye, two to the other, then go back for a final pass, and don’t dip the wand between every stroke or clumps follow. For bottom lashes, hold the wand straight up and down and wiggle it side to side. Let smudges dry, then lift them with a cotton swab.
Get the full tutorial at BeTrendsetter.
12. DIY Homemade Makeup Remover Pads
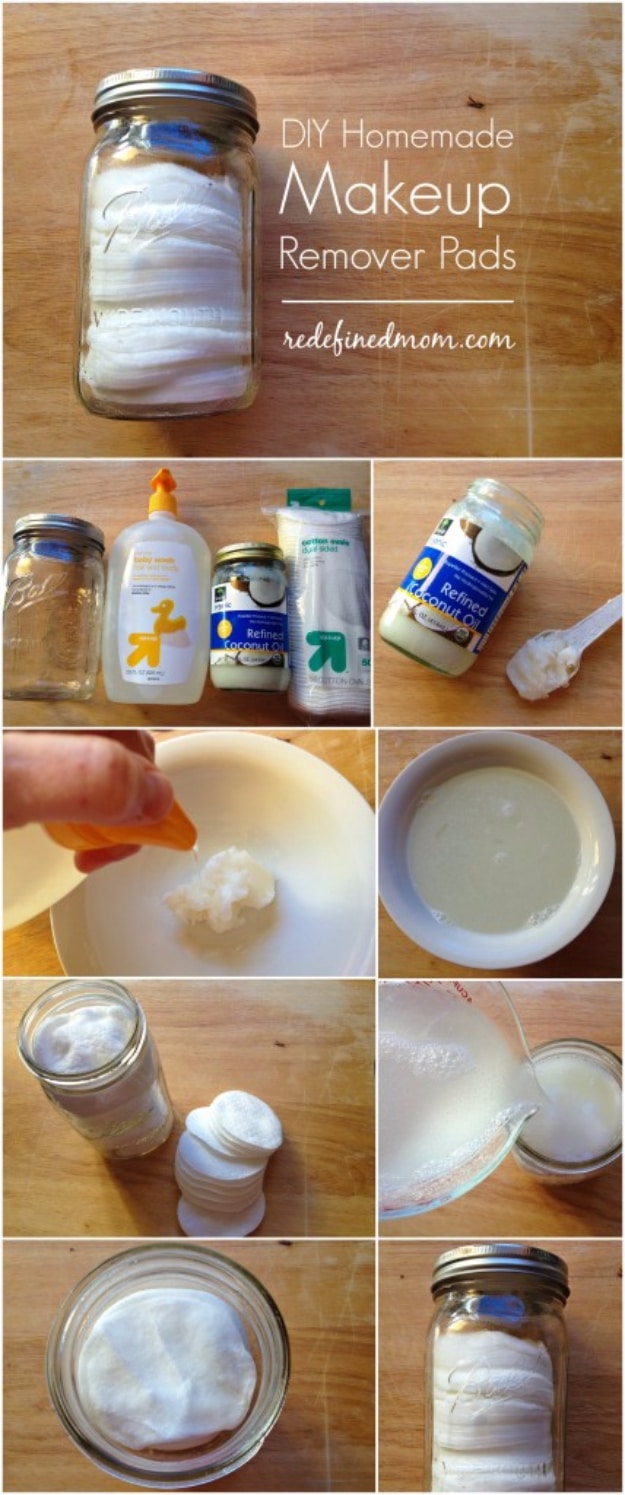
Makeup remover pads are pricey for something you toss twice a day. Mix 2 tablespoons of coconut oil, 2 squirts of tear free baby wash and 2 cups of purified water, then microwave in 10 to 20 second bursts until melted and blended. Stack about 50 cotton pads in a quart jar and pour the liquid over them, pressing down so they soak it up. Cap tightly and keep it somewhere cool. Tea tree oil helps with acne, but keep it away from eyes.
Get the full tutorial at Redefined Mom.
13. Make A 2 Ingredient All Natural Facial Peel
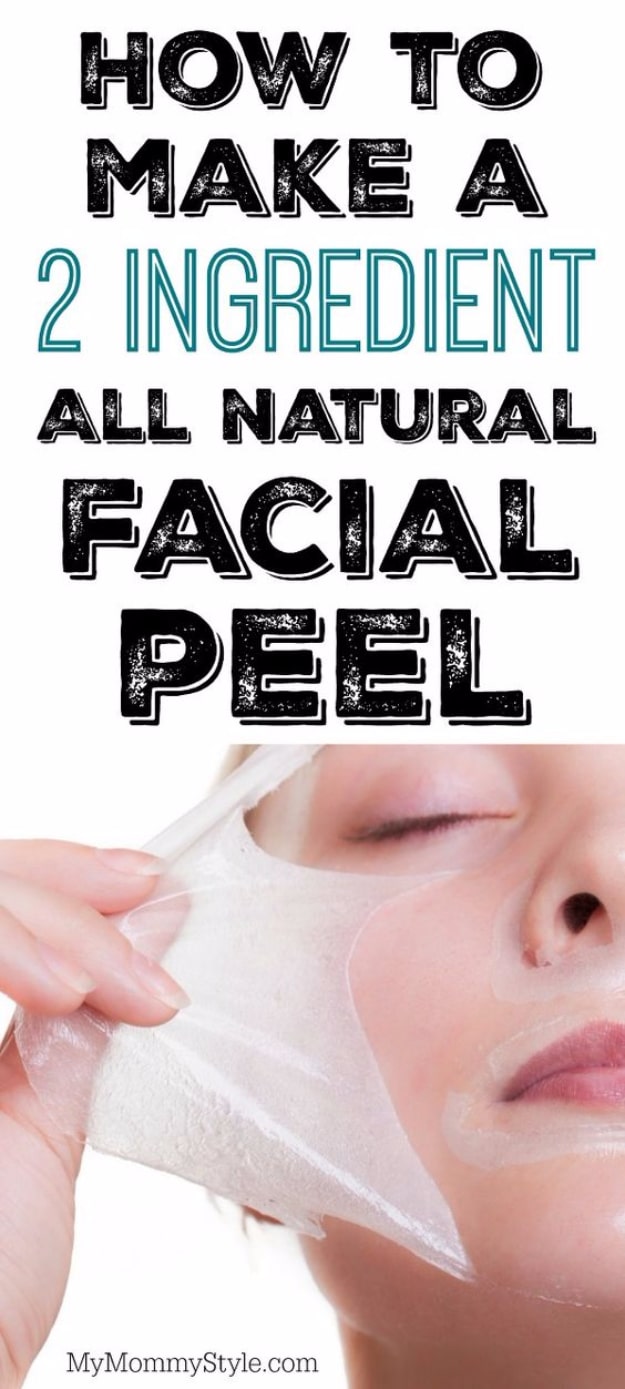
This facial peel is just 1 tablespoon of unflavored powdered gelatin (or agar agar) and 1 1/2 tablespoons of milk. Mix them in a microwave safe bowl and heat for 15 to 20 seconds. Test the temperature on your hand so you don’t burn your face, then spread it quickly over clean skin. Stick to the nose, forehead and chin, since it grabs fine hairs on the cheeks. Let it dry for 30 to 45 minutes without making faces, then peel it off slowly.
Get the full tutorial at My Mommy Style.
14. DIY Blueberry Sugar Scrub
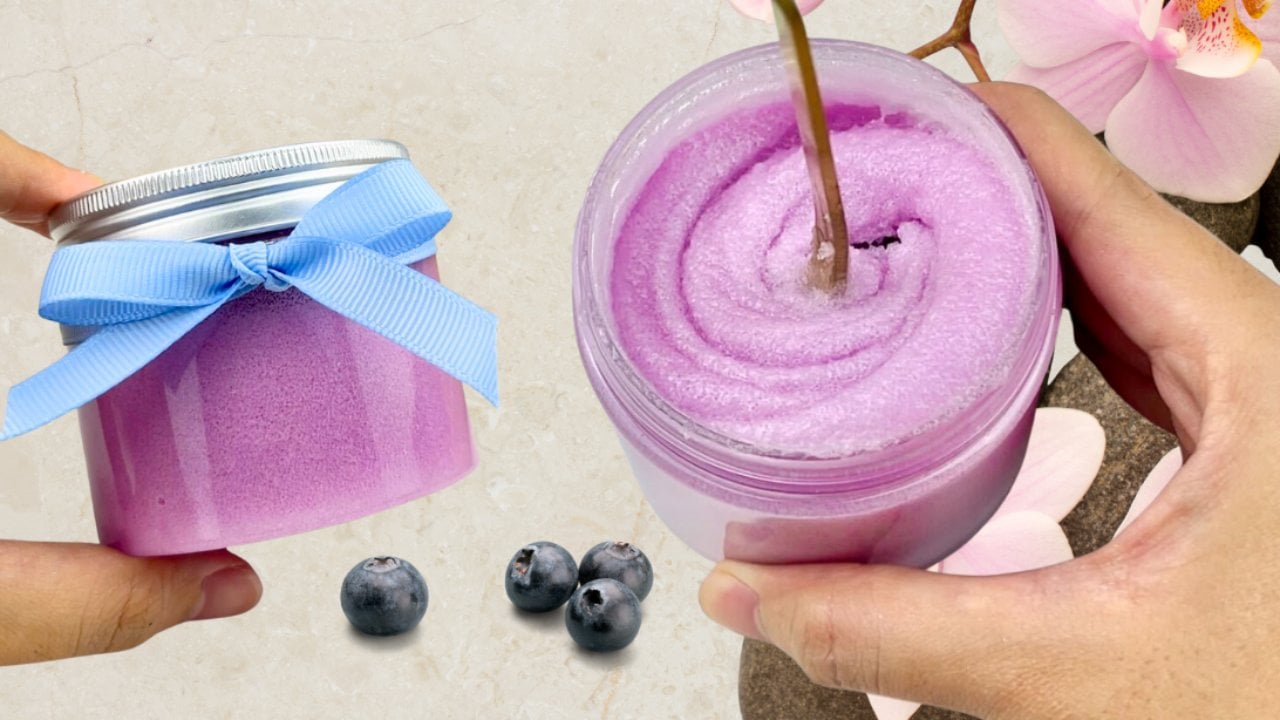
A DIY blueberry scrub is pretty enough to give away. Start with 1/2 cup of fine sugar in a jar and stir in about 1/4 teaspoon of violet or blue mica powder for color, which is optional. Add about 1/4 cup of coconut oil, 10 drops of blueberry oil and 1 tablespoon of castile soap, then mix until combined. Swap sugar for Epsom salt if you’d like a grainier scrub. Use it about once a week rather than daily, since scrubbing too often can dry skin out.
Get the full tutorial at DIY JOY.