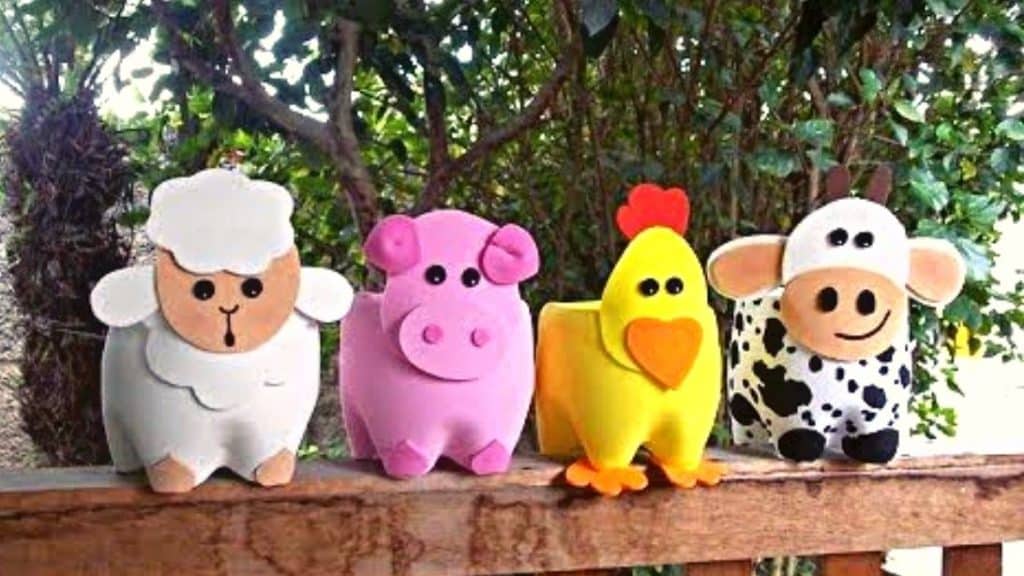
Don’t know what to do with those old plastic bottles? Transform them into a cute DIY flower pot with only a few materials and super simple steps! Simply follow this tutorial by organic garden on YouTube. Enjoy!
Materials:
- A few pieces of 1.5 liters plastic bottles
- Sharp scissors
- Soldering iron
- Clothes iron
- Marking pen
- Acrylic paint
- Paintbrush
- Googly eyes
- Hot glue gun and glue sticks
Directions:
Step 1
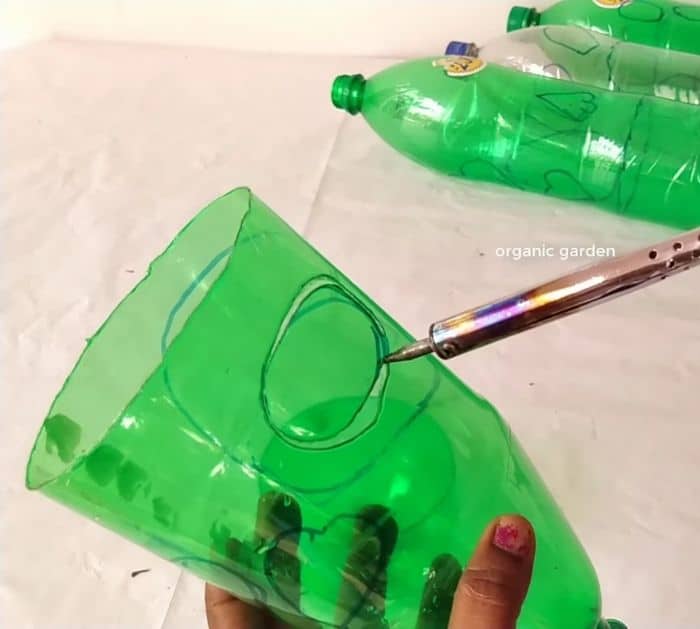
Remove the labels from each of the plastic bottles, then make sure to clean and remove any leftover glue as well, and then cut the bottom half of the bottle using a soldering iron. Next, decide on the kind of animal you want to make and draw them on paper so that you know what shape to cut the bottles into. After deciding on a shape or animal, start tracing some shapes on the upper body of the bottle, you should draw a separate shape for the ears, head, beak, mouth, and feet. Cut out the shapes using sharp scissors, but soldering iron can make the job much easier.
[social_warfare]
Step 2
Smoothen the raw and ragged edges of each cutout shape by sticking them into the bottom of an iron. Paint them according to the color of the animal you decide on, then let the paint dry completely before you start attaching the details using hot glue. Glue the ears, mouth, feet, etc. onto the painted half bottle, then attach the googly eyes as well. You can also start painting some additional details, such as the mouth and nose. Make some drainage holes at the bottom of the bottle using a soldering iron. Transfer your plant, then spray and dehydrate with water.
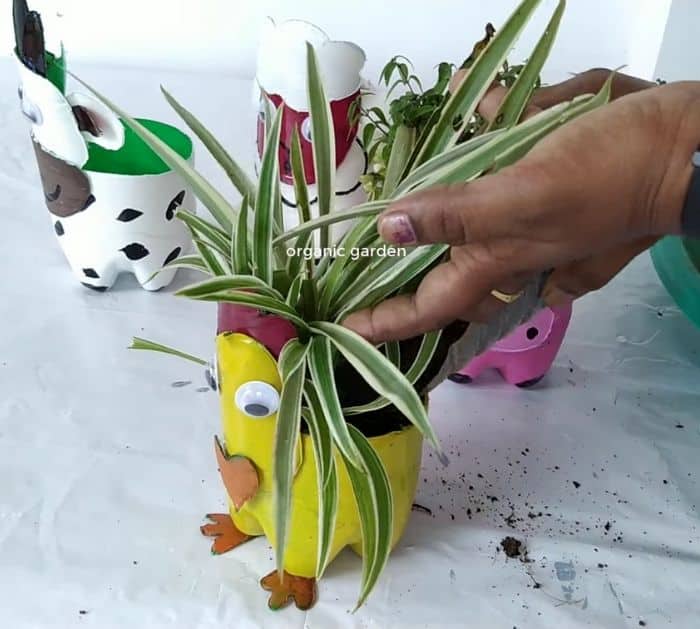
*Thanks to organic garden via YouTube for all images used here. If you loved this DIY project, then you’ll surely love their other videos too, so give their channel a visit and subscribe!


