Air-dry clay is such a fun material to work with because of how versatile it is—you can make almost anything you imagine with it. It’s also one of my favorite craft materials because many air-dry clay projects are not just beautiful but genuinely useful. Depending on the design, size, and overall quality, air-dry clay pieces can be surprisingly sturdy, yet still lightweight. That’s exactly why many crafters love using it for accessories and functional handmade items.
I’ve made several air-dry clay projects over time, but one of my absolute favorites has to be jewelry holders. They’re a practical way to store jewelry while also allowing you to experiment with unique shapes and designs that instantly catch the eye. If you really master the technique, these pieces can even become great handmade items to sell. And if selling isn’t your goal, they also make thoughtful gifts for loved ones or someone special.
RELATED: Air-Dry Clay Ring Holder
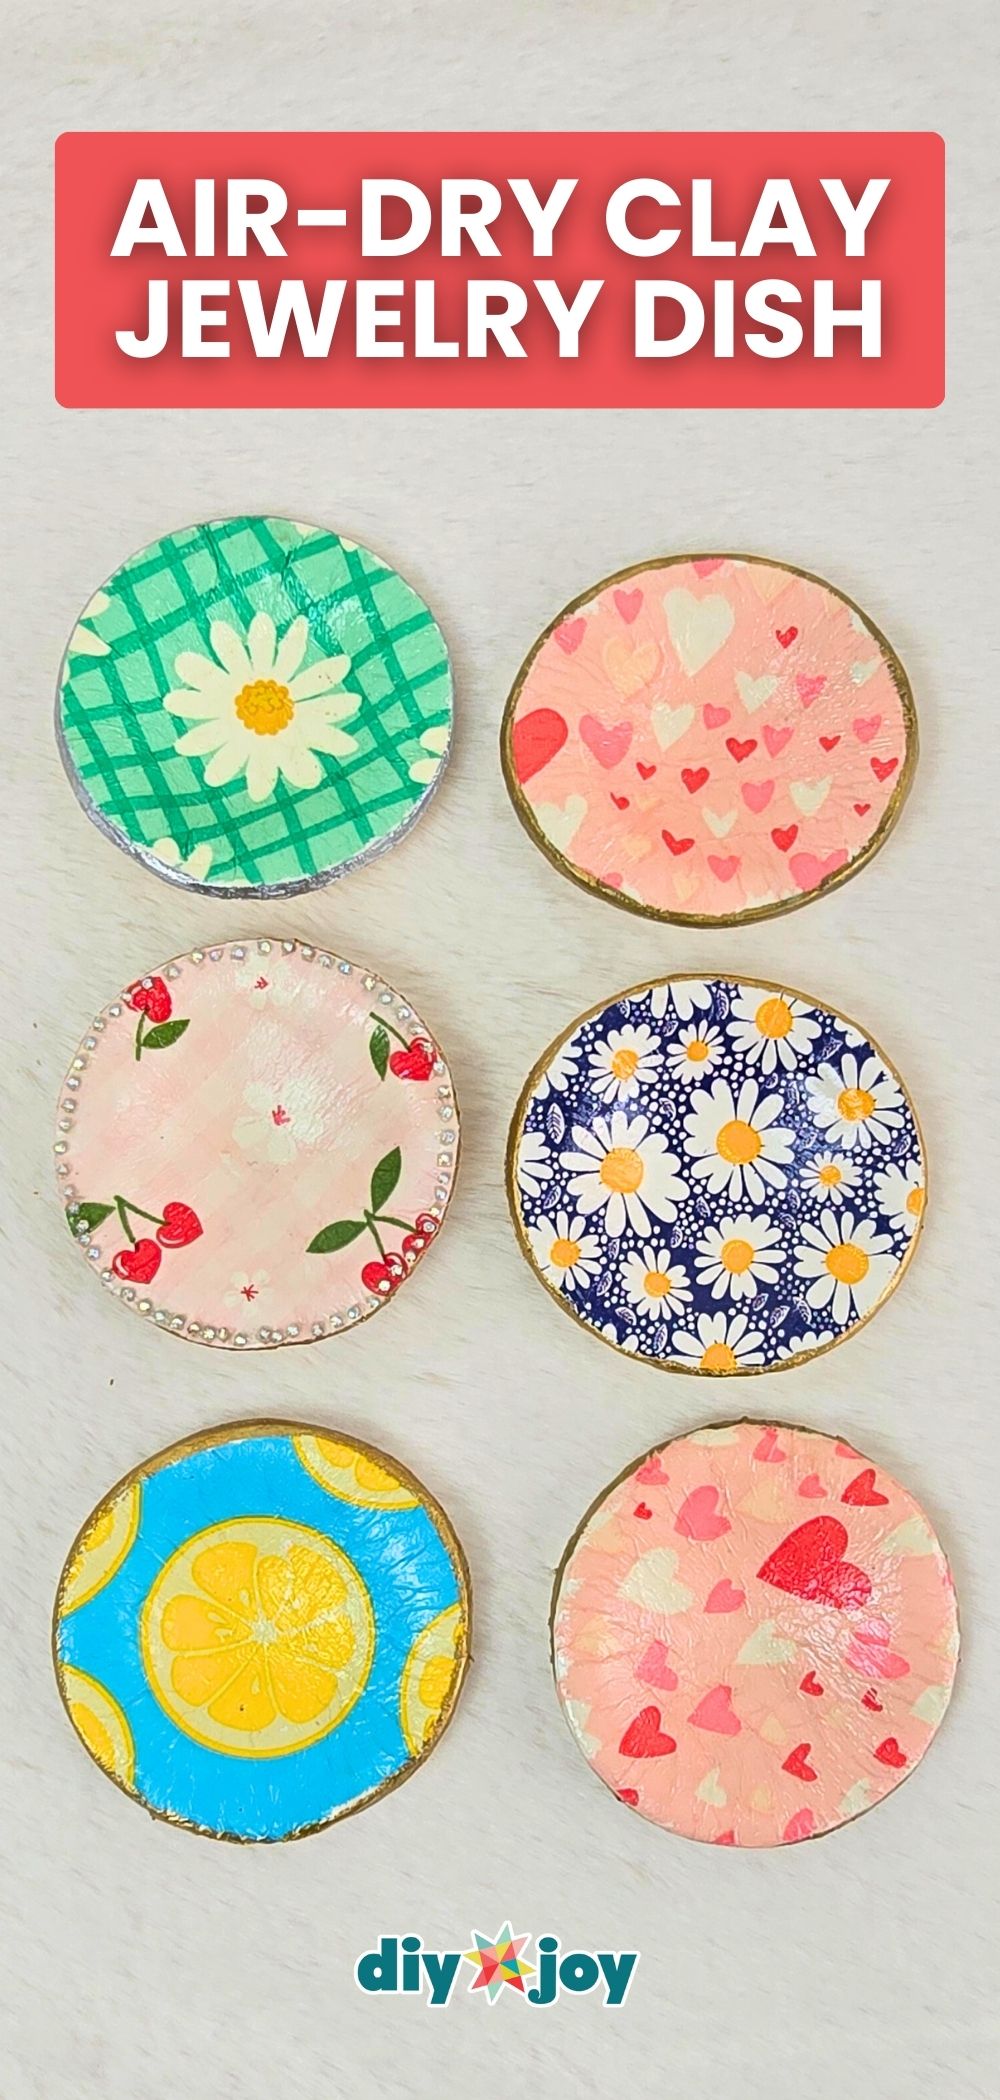
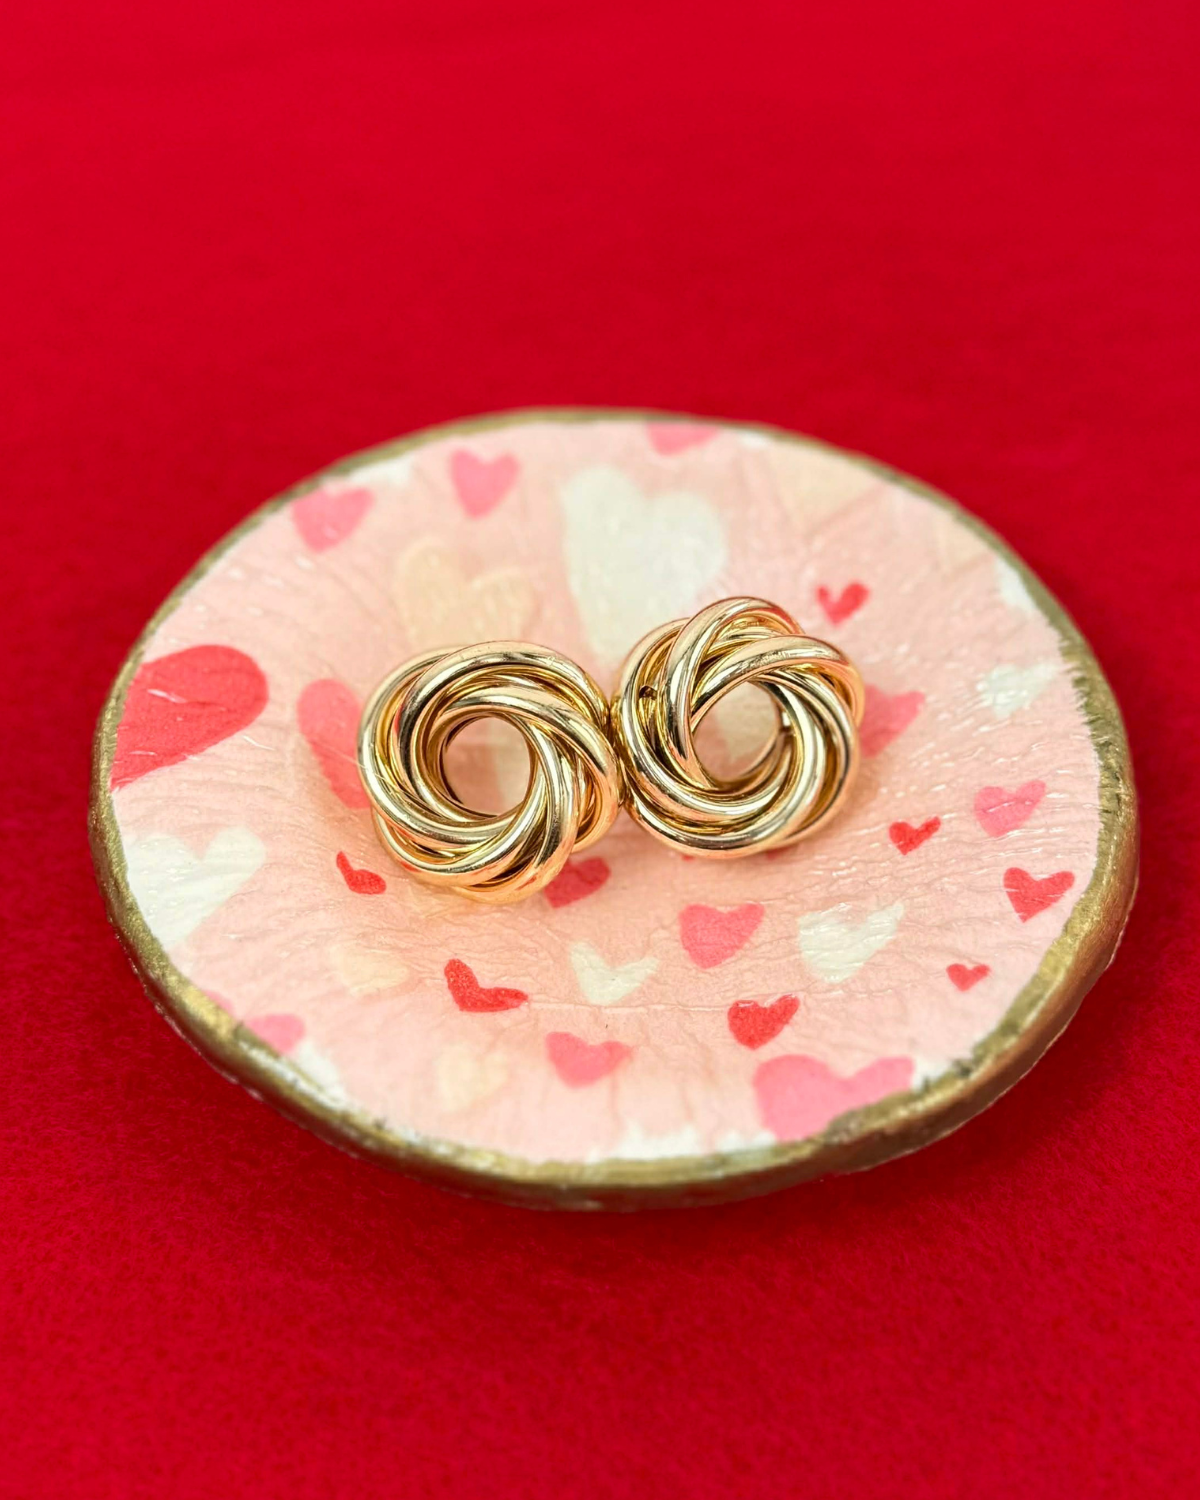
Recently, I’ve completely fallen in love with combining air-dry clay with the decoupage technique. Decoupage is such a simple yet effective way to add patterns and personality to a project, and I love how quick and beginner-friendly it is. Naturally, I decided to apply this technique to one of my air-dry clay jewelry trinkets—and the result was stunning.
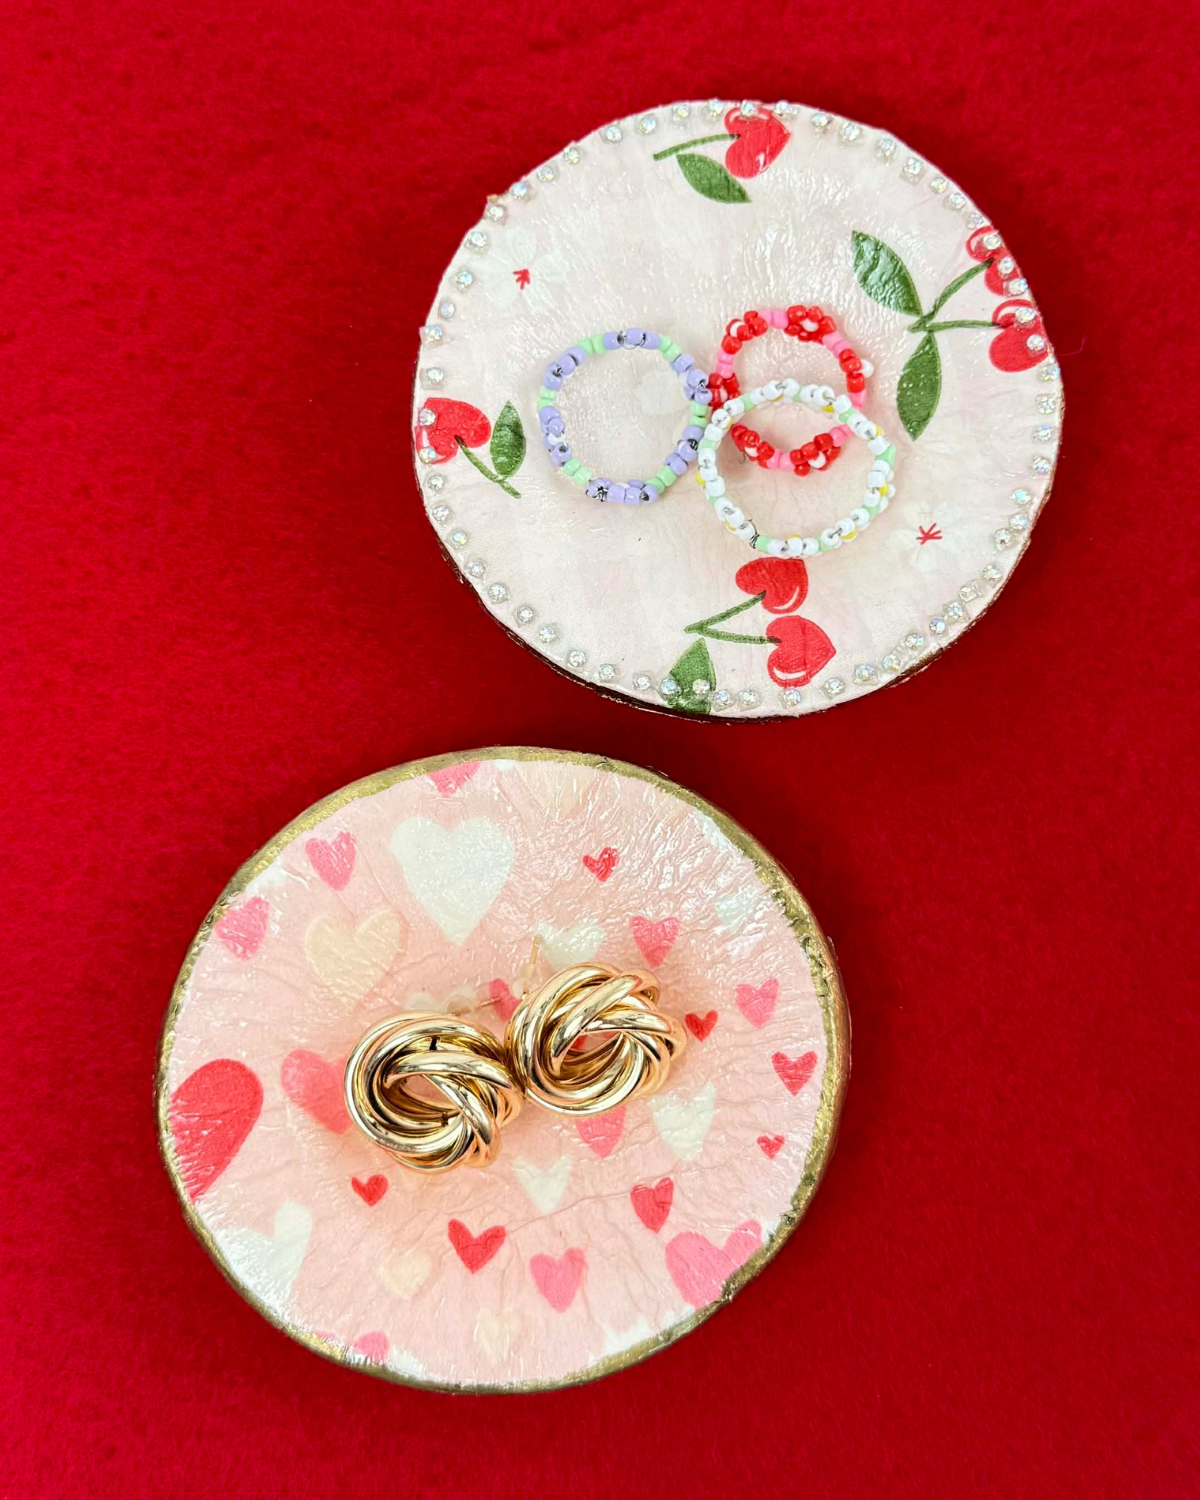
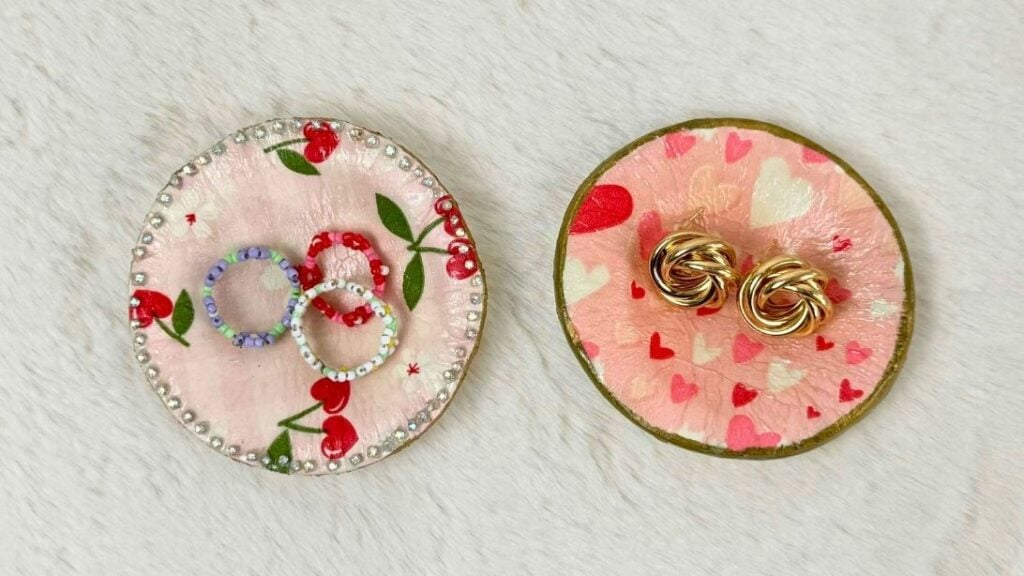
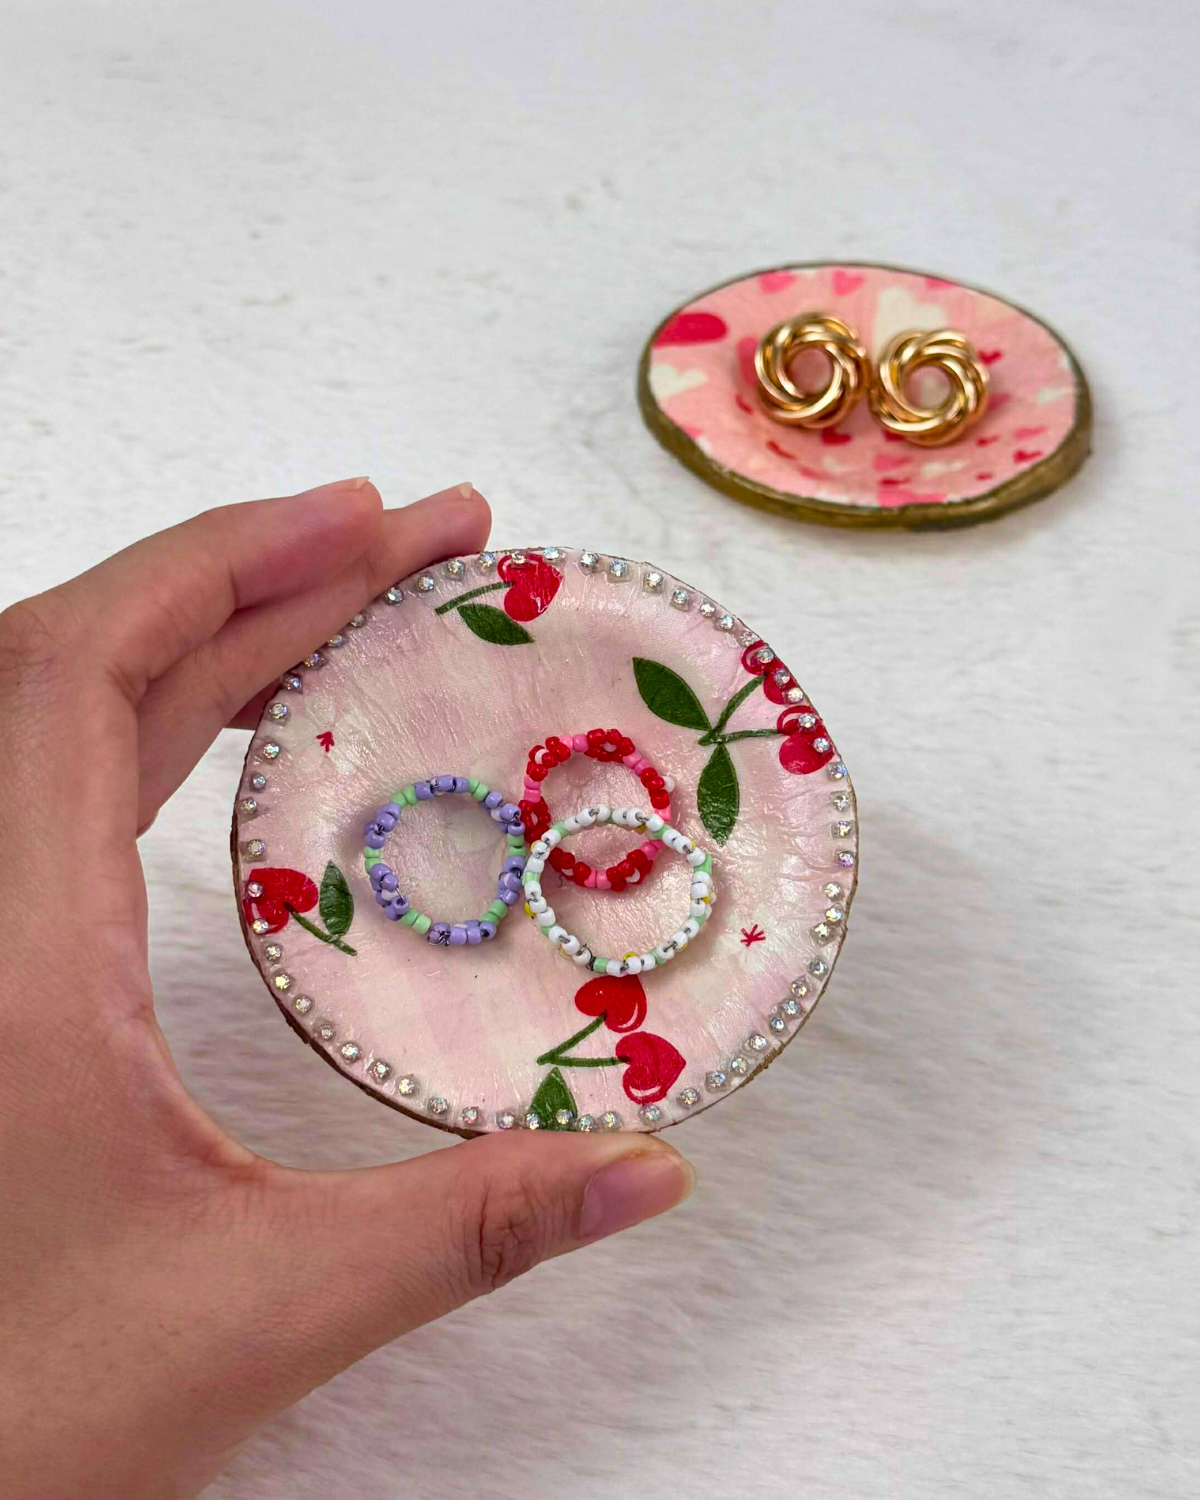
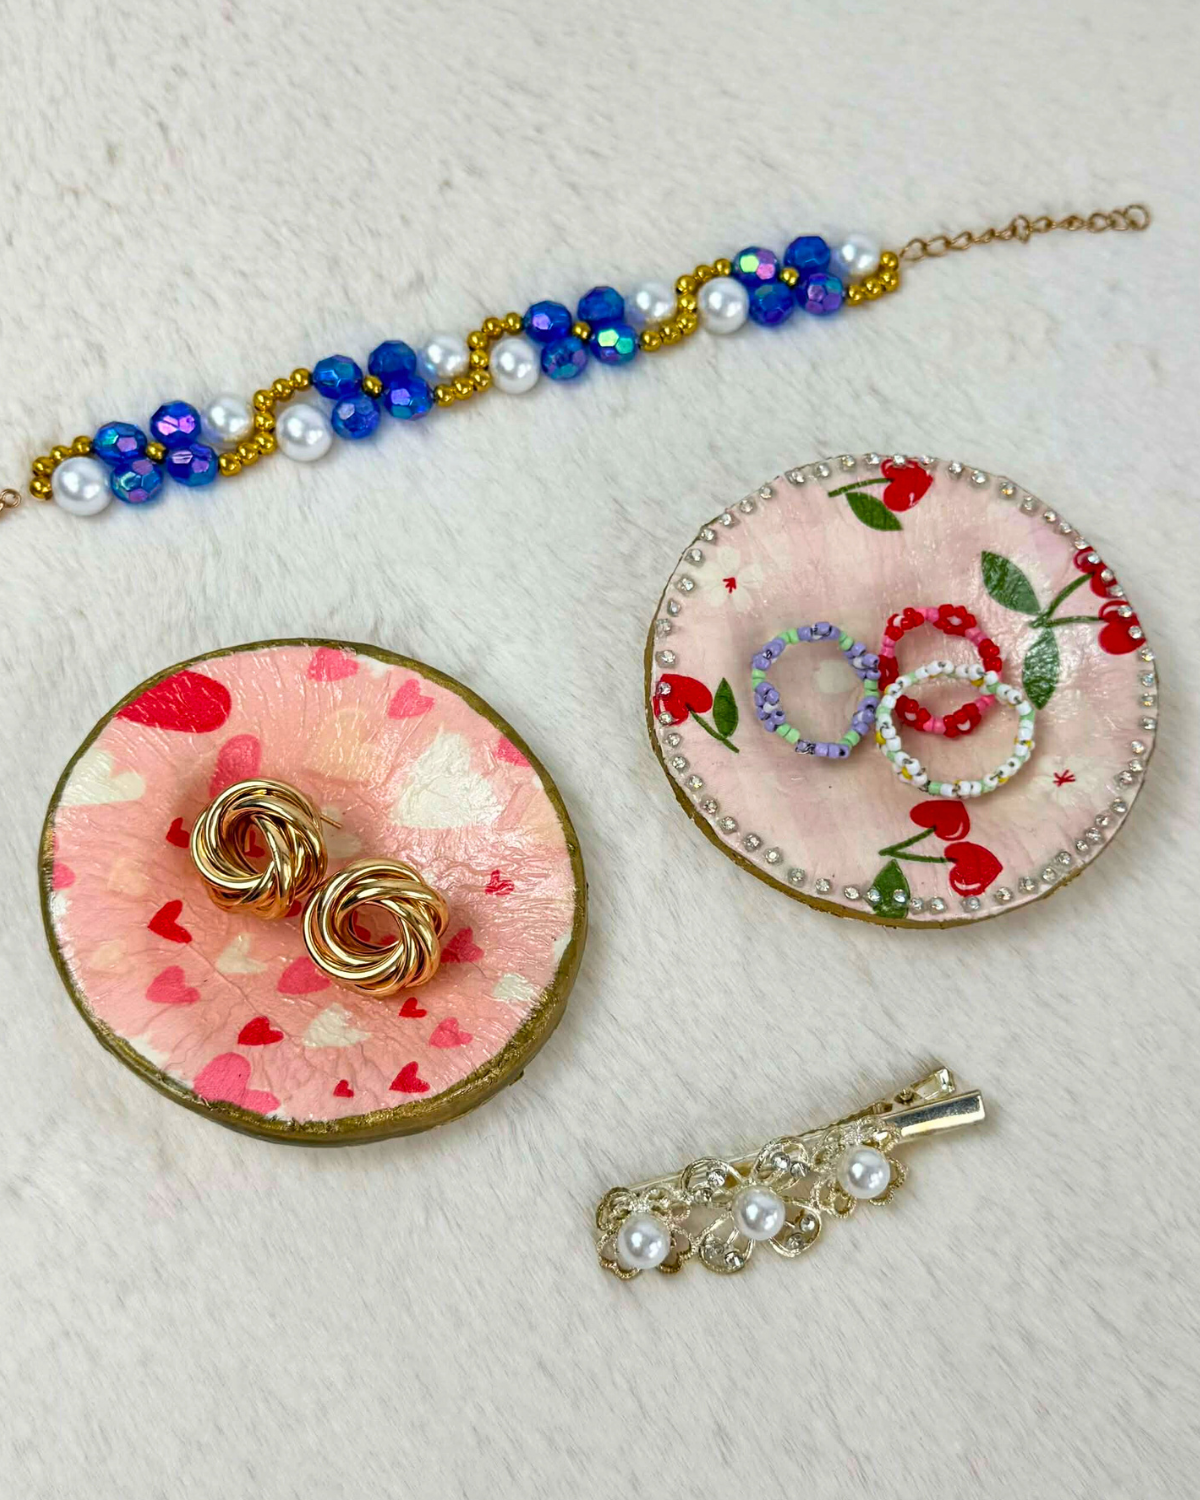
These DIY jewelry trinkets are not only beautiful but also incredibly customizable. You can enhance the design by adding rhinestones or beads, outlining the edges with gold or silver accents, or even creating your own signature look by gently crimping the edges before the clay dries. Honestly, almost anything you try will turn out beautiful.
Learn how to make your own DIY air-dry clay jewelry trinket by following the step-by-step instructions below, and have fun creating a piece that’s both functional and uniquely yours.
How to Make an Air-Dry Clay Jewelry Dish
Step 1: Prepare the Clay Base

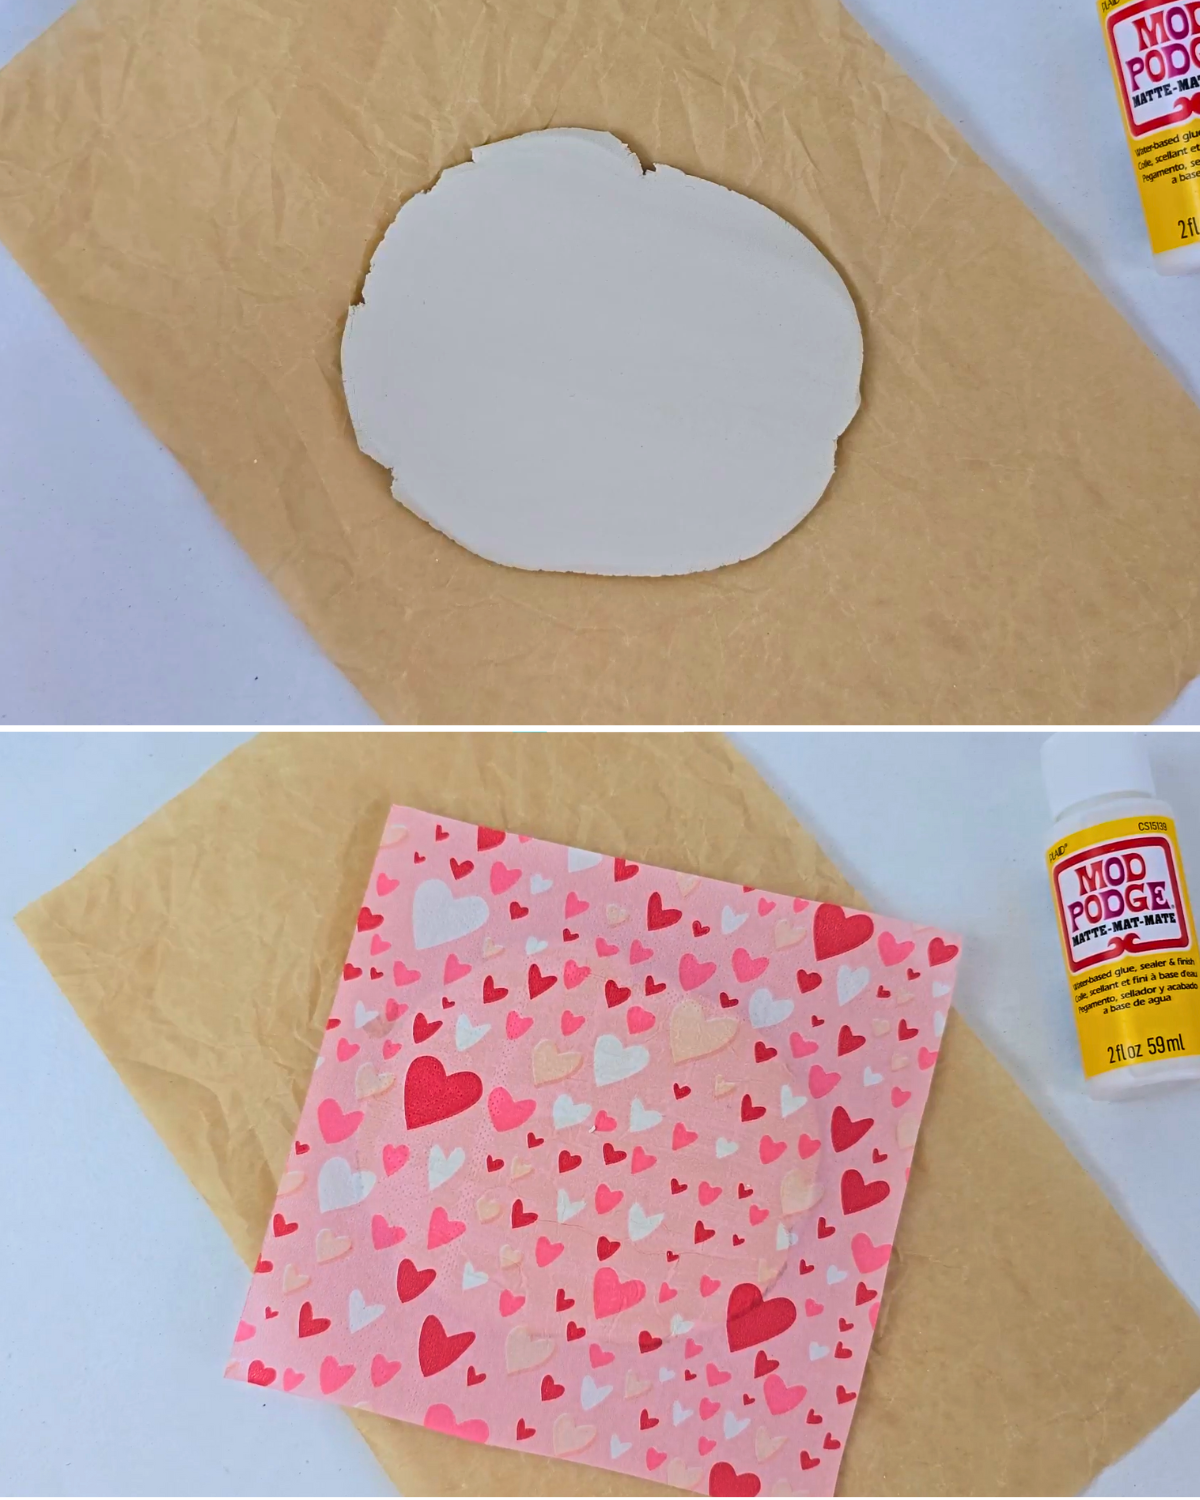
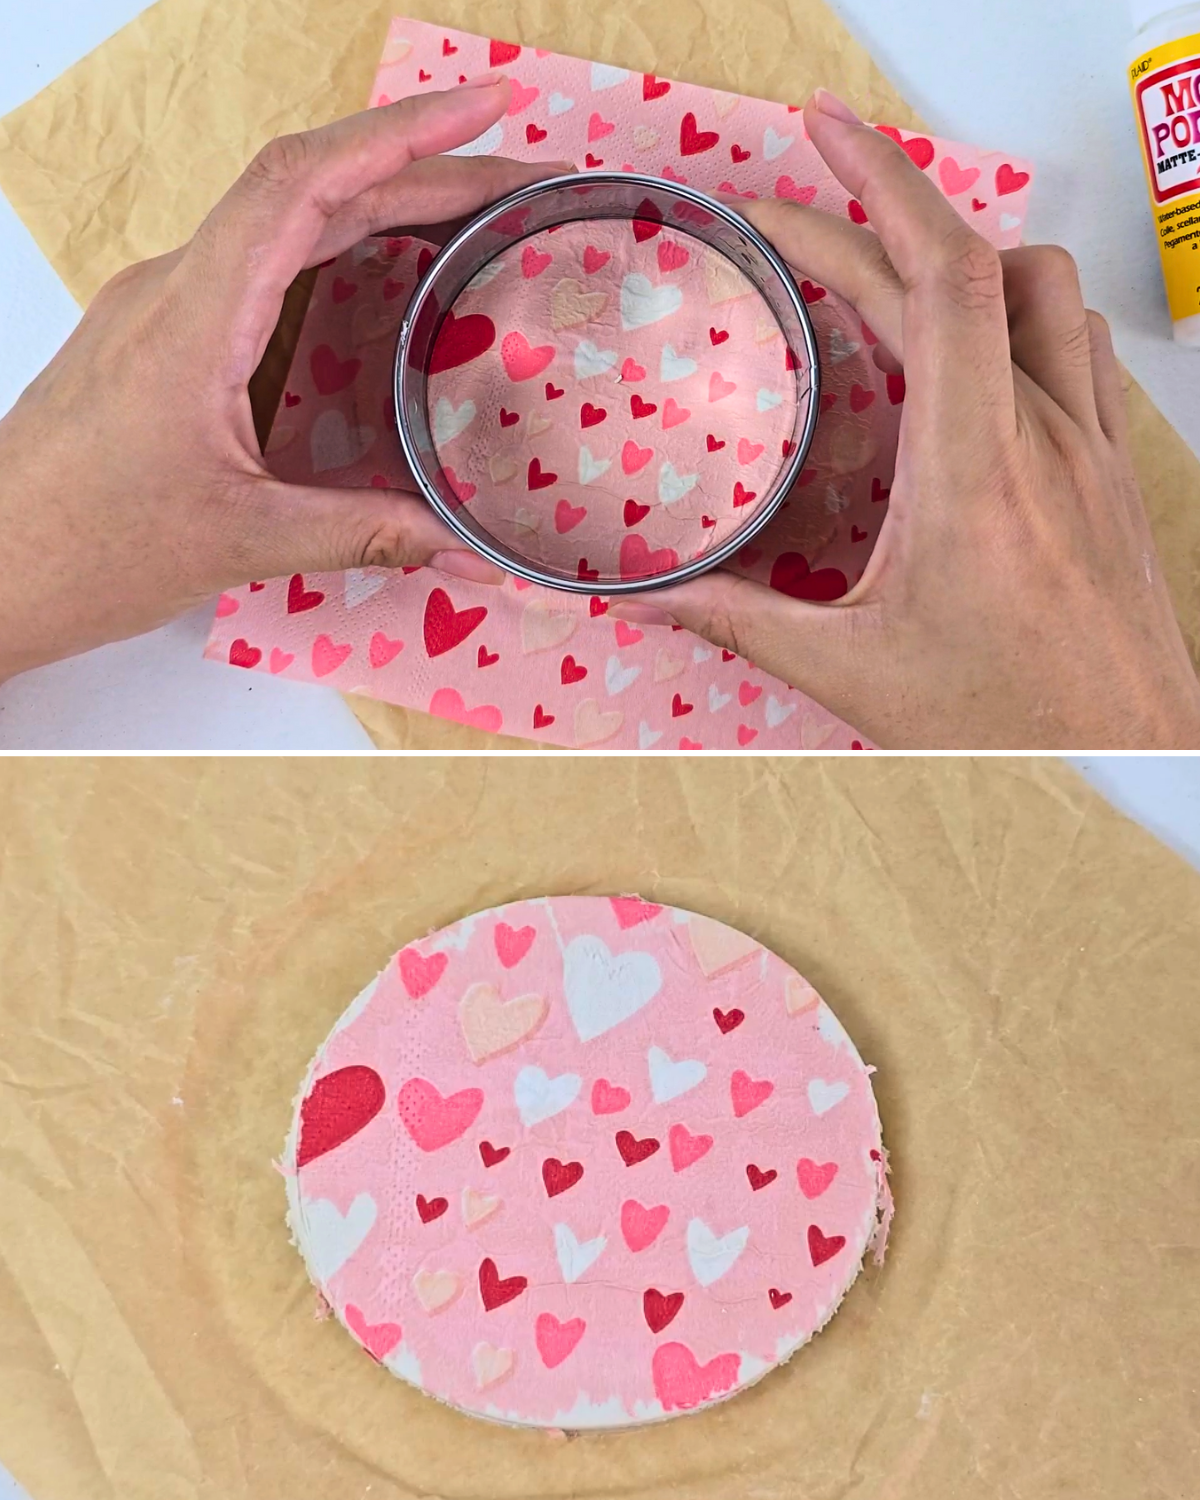
Take a chunk of clay and roll it out, flattening it to your desired thickness. Carefully remove the backing paper from the napkin and place it on top of the flattened clay.Step 2: Cut Out the Shape
Use a cookie cutter or a jar lid to cut out the clay. Remove the excess clay and napkin paper from around the edges.Step 3: Shape and Dry the Clay
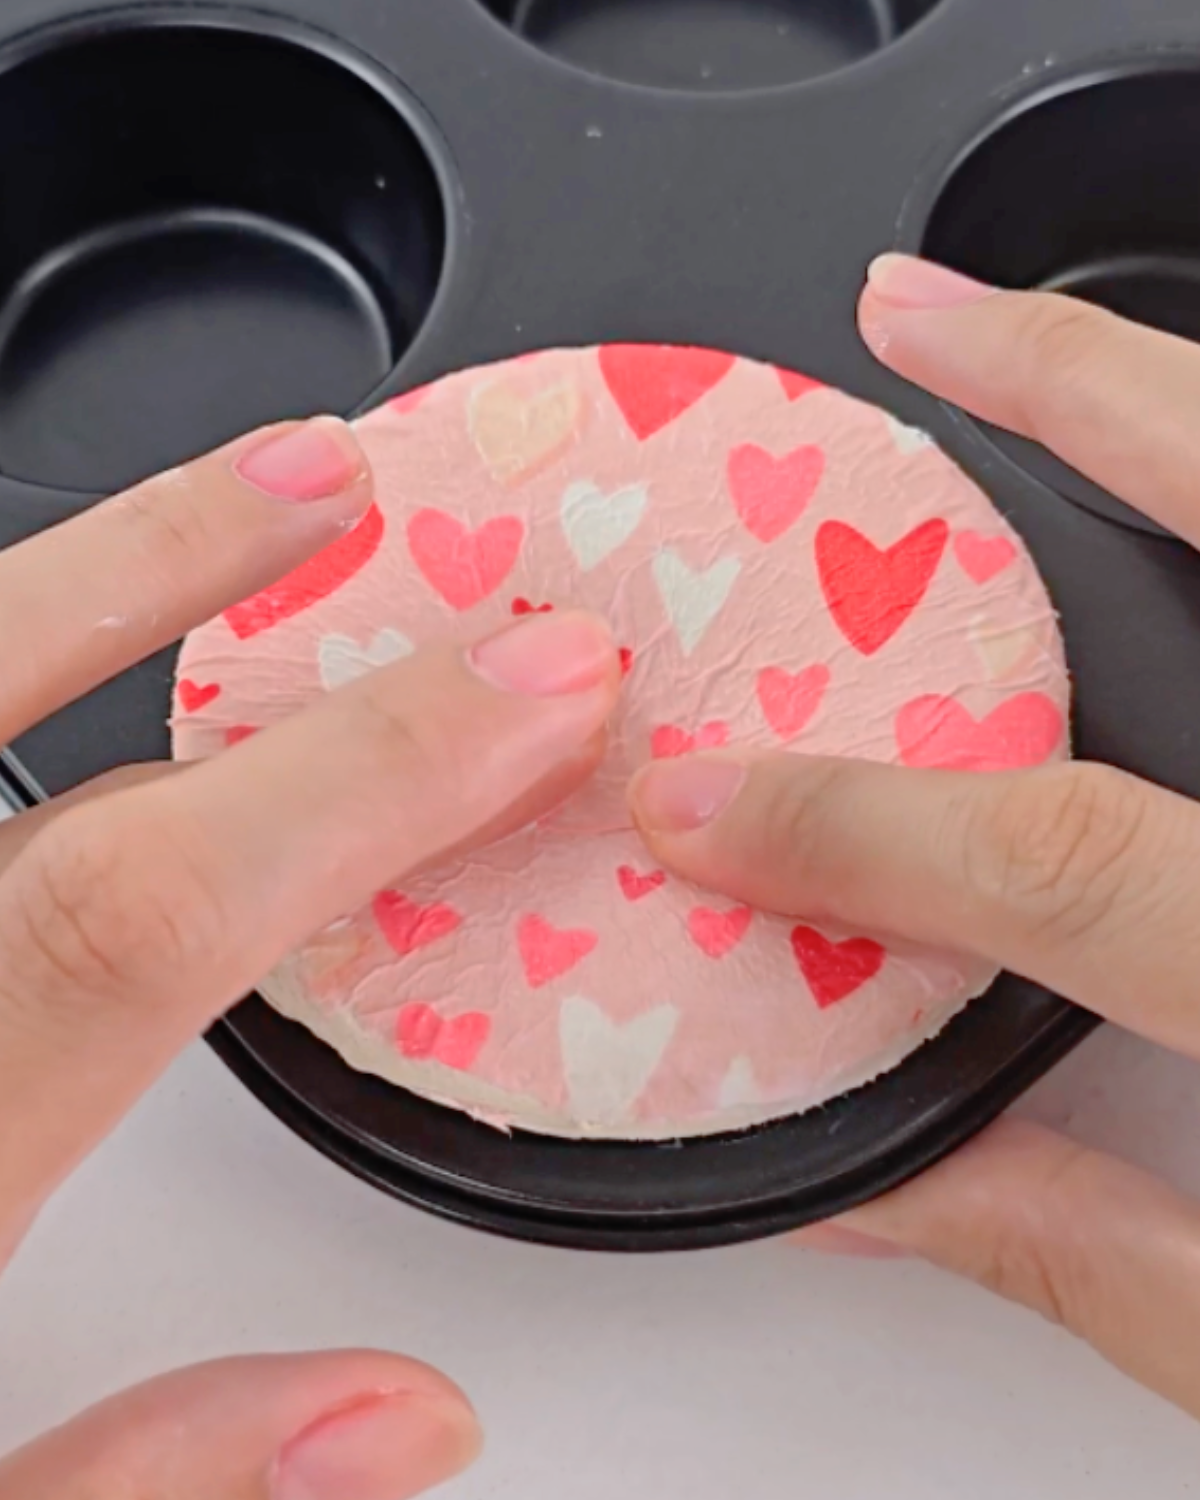
Apply a layer of Mod Podge over the dish, then transfer and gently press it into a muffin pan to create a bowl shape. Allow it to dry overnight.Step 4: Add Finishing Touches
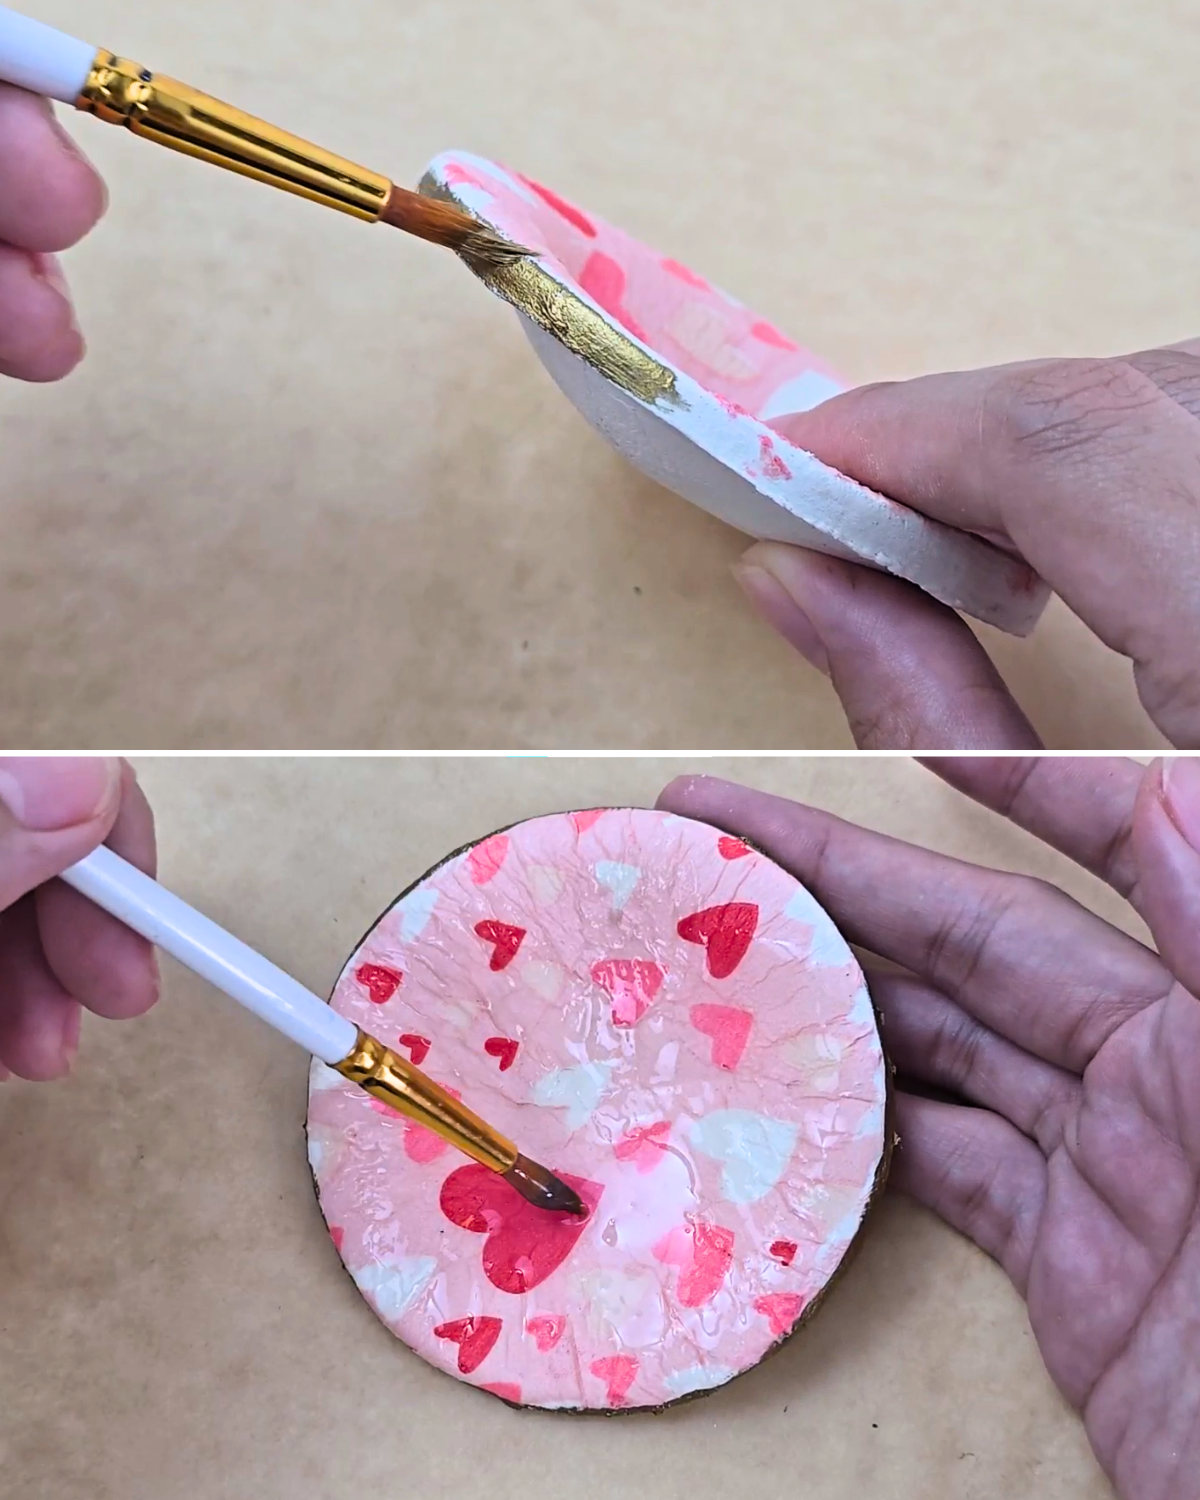
Once the clay is completely dry, paint the edges with gold paint and seal your piece with a gloss varnish for a polished finish.
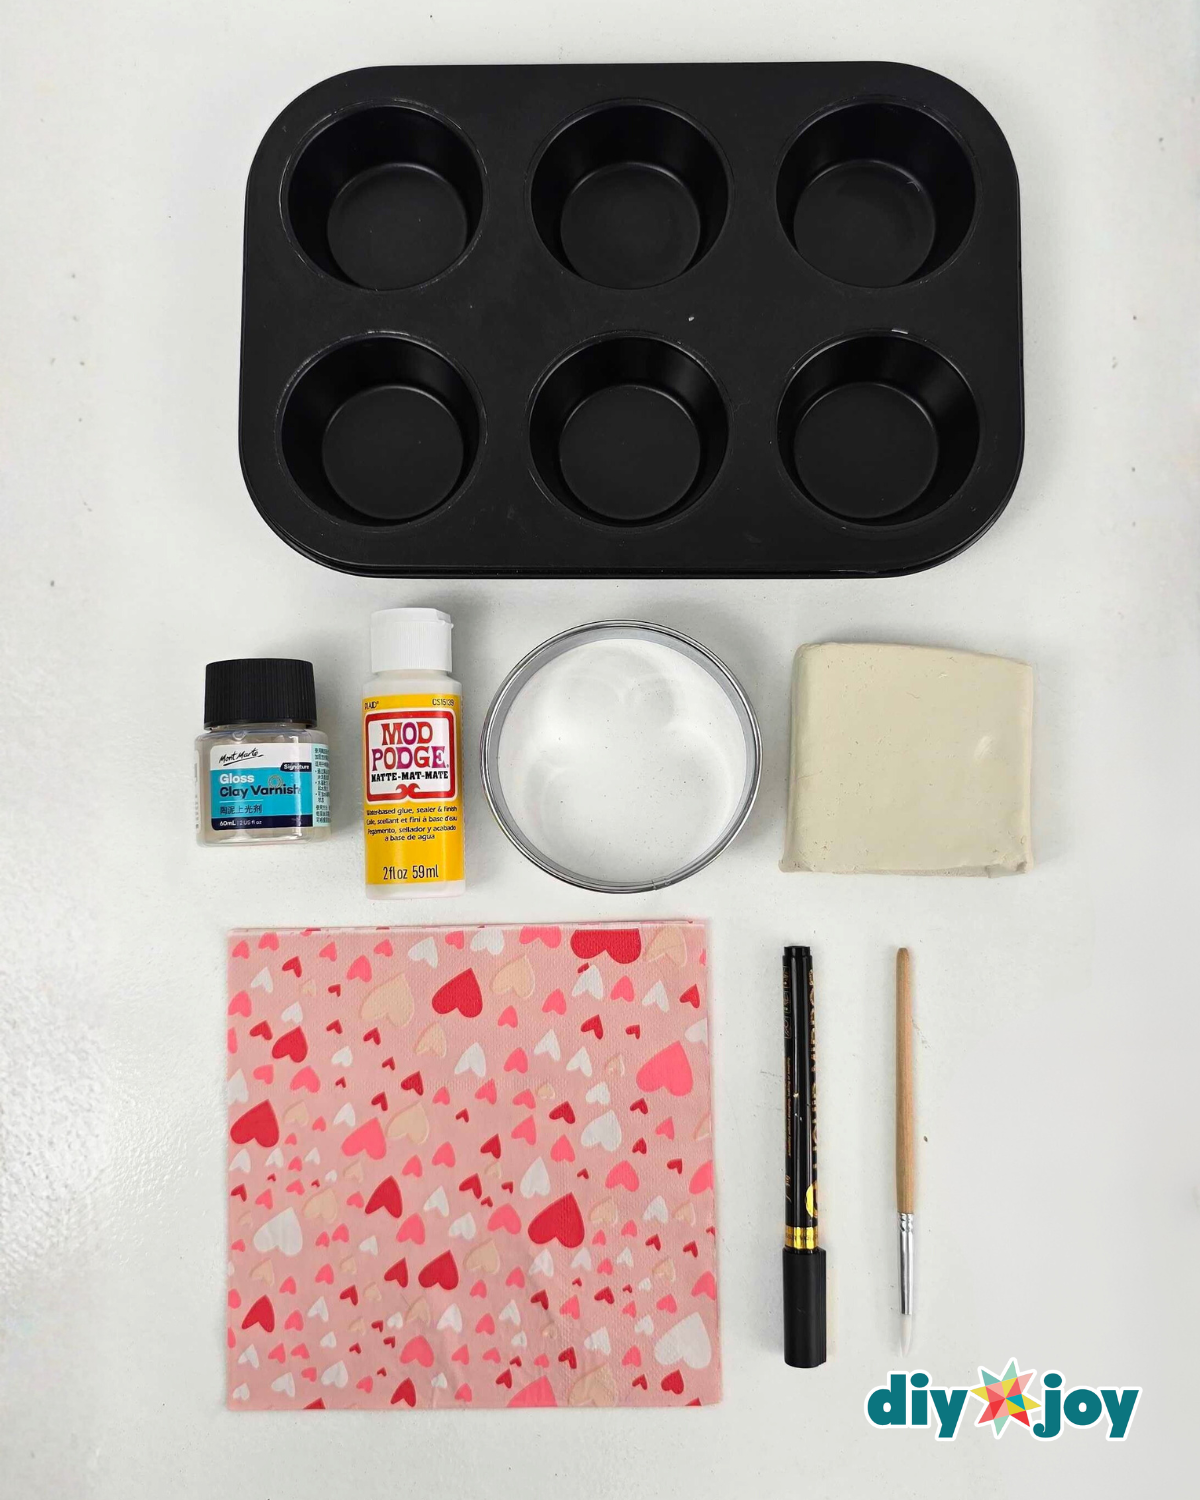
Materials
- Air-Dry Clay
- Paint Brush
- Napkin Paper
- Cookie Cutter
- Paint
- Varnish
![]()
Why You’ll Love This
- Easy to Make: Perfect for beginners, even on your first try.
- Customizable: Adjust size, shape, and colors to match your style or storage needs.
- Budget-Friendly: Uses simple air-dry clay and paper napkins you may already have.
- Functional & Stylish: Keeps jewelry organized while looking cute on your dresser.
- Perfect Gift Idea: Thoughtful handmade gift for holidays, birthdays, or special occasions.
Must-Try Crafts!

Paper Flowers

Crafts
Crafts
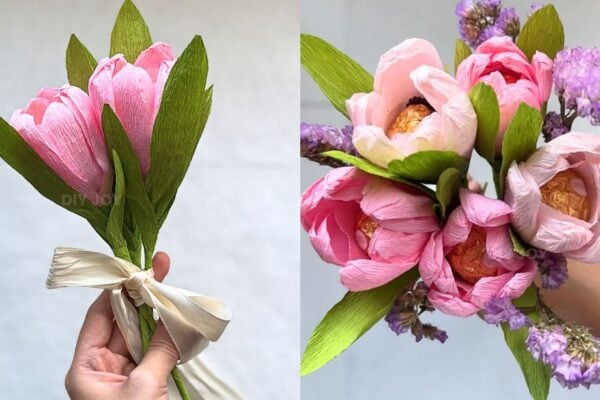
Paper Flowers
*If you love this craft, then visit our official website, follow our Facebook page, and subscribe to our YouTube channel for more!
DIY Air-Dry Clay Decoupage Jewelry Dish