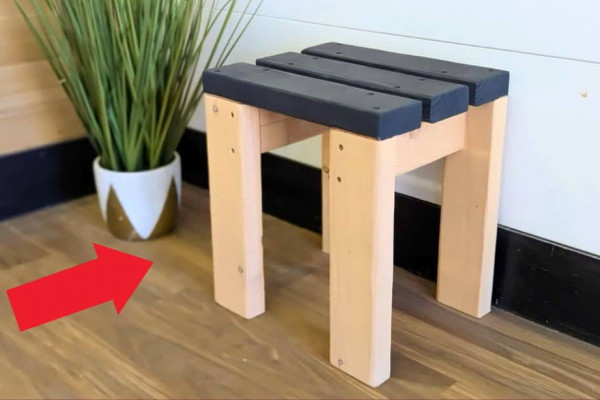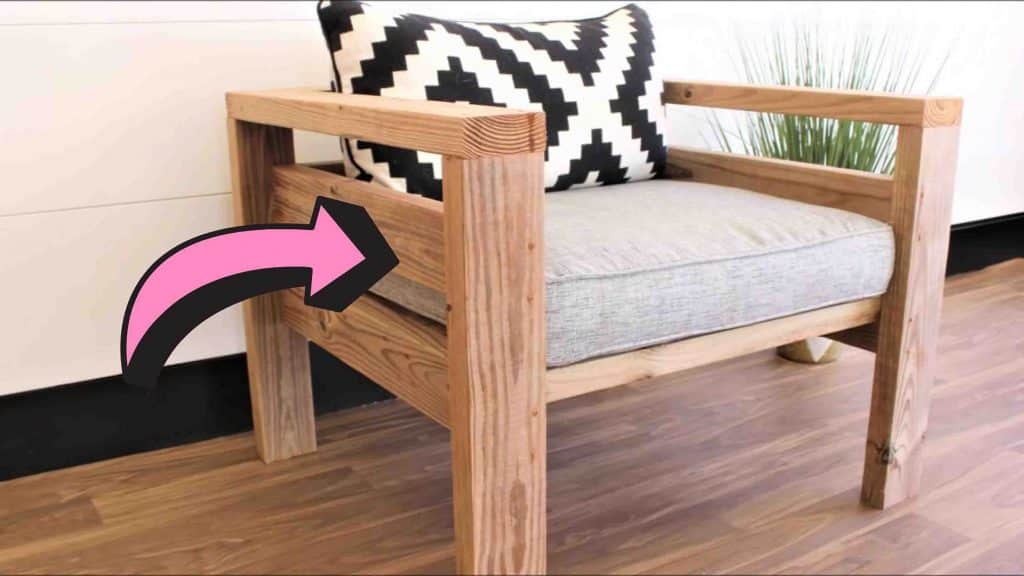
Are you in need of new chairs for your patio or just want to have a mini-makeover? You don’t need to spend a lot just to buy those nice-looking chairs at your local furniture store. This DIY patio chair tutorial from The Rehab Life on Youtube will teach you how to make your patio chair for only $30! You will not only save tons of money, but you will also have that satisfaction and pride in making your furniture. Ready to learn? Watch the video tutorial below.
Materials:
- 4″ trim head screws
- sanding block
- lumber (can be found at your local home improvement store or lumber yard)
- 24″x24″ seat cushion
- 24″w x 10-16″h back cushion
Tools needed:
- miter saw
- drill and impact driver
- tape measure
- safety goggles
- ear protection
- mask
Directions:
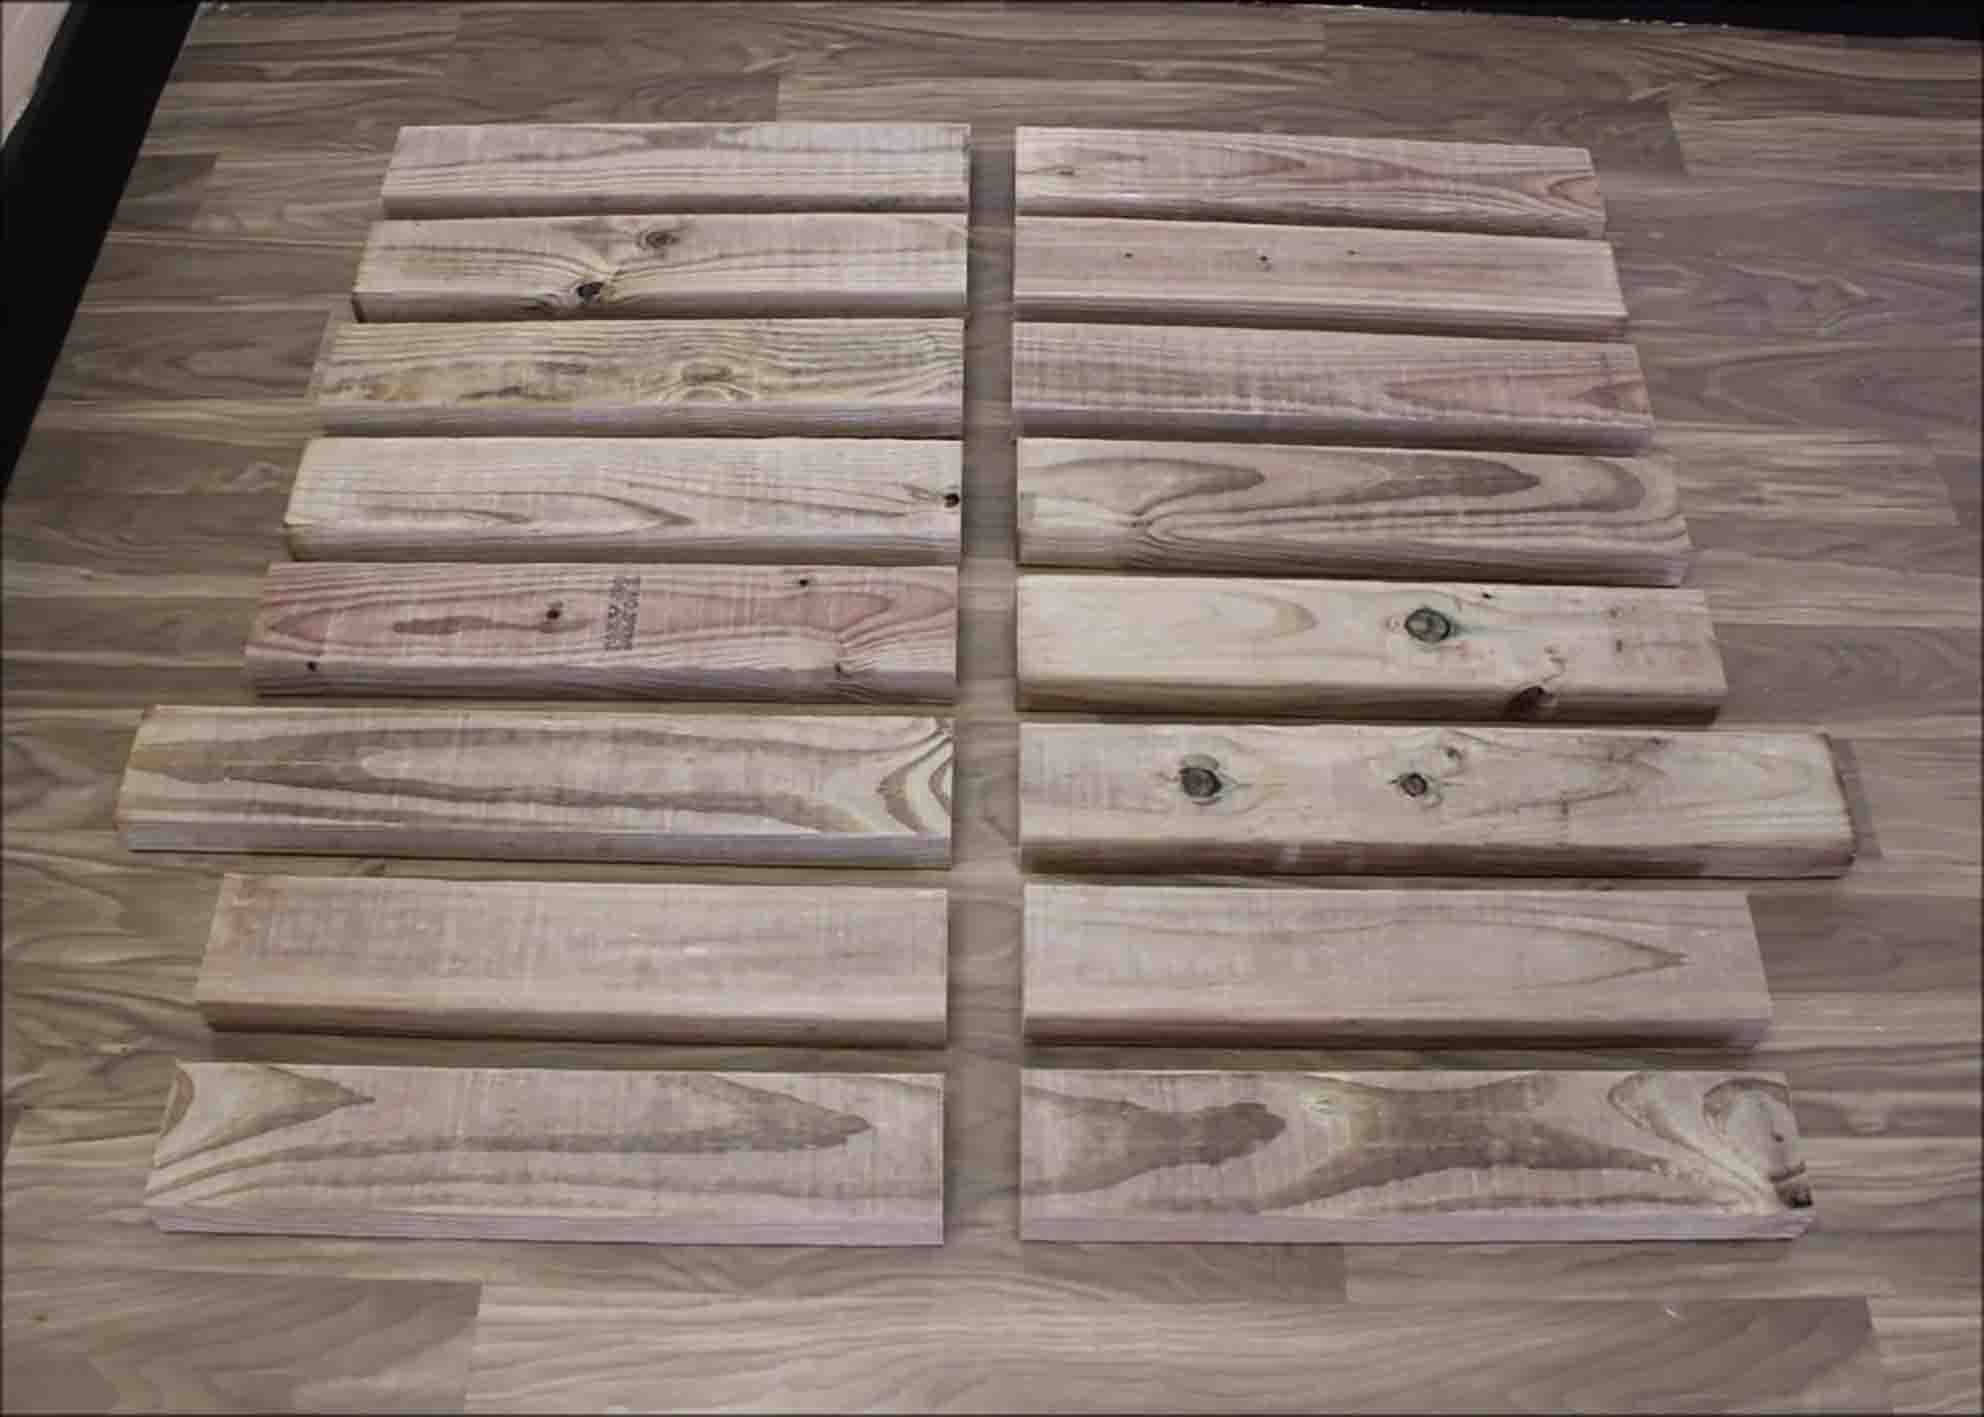
Step 1
Get the lumber, measure, and make the following cuts: ten pieces 23 7/8″ long, four pieces 22 1/2″ long, and two pieces 26 7/8″ long. After this, you should have sixteen ready-to-assemble pieces. Take six pieces of 23 7/8″ and arrange the first four horizontally, then place the last two on each side. There should be about 3 1/3″ of space between each of the four horizontal pieces. To secure them together, use trim-head screws. Next, take three more 23 7/8″ pieces and arrange them in a square shape without the bottom (like a U shape). Secure the pieces together using trim-head screws. After this, stand the two pieces next to each with a 3″ of space between each.
[social_warfare]
Step 2
For the legs. Place a 22 1/2″ piece across the top part so the inside edge is flush with the other two pieces. It should also have a 3″ of overhang off of the U shape piece. Using trim-head screws, secure the 22 1/2″ piece to the other two. Repeat the same process and spacing to the other side. Flip the chair over and just repeat the same process with the other 22 1/2″ pieces. Maintain the same spacing and overhang. Next, take the last 23 7/8″ pieces and two 26 7/8″ pieces and arrange them in a U shape, with the two 26 7/8″ pieces on each side and the 23 7/8″ on top. Secure together with trim-head screws. Place this piece across the top of the chair, serving as the armrests and the backrest. Make sure it’s flush with the legs of the chair. Secure the chair with trim-head screws. Finally, use a sanding block to smooth out any rough edges of the chair.

DIY $30 Patio Chair Tutorial