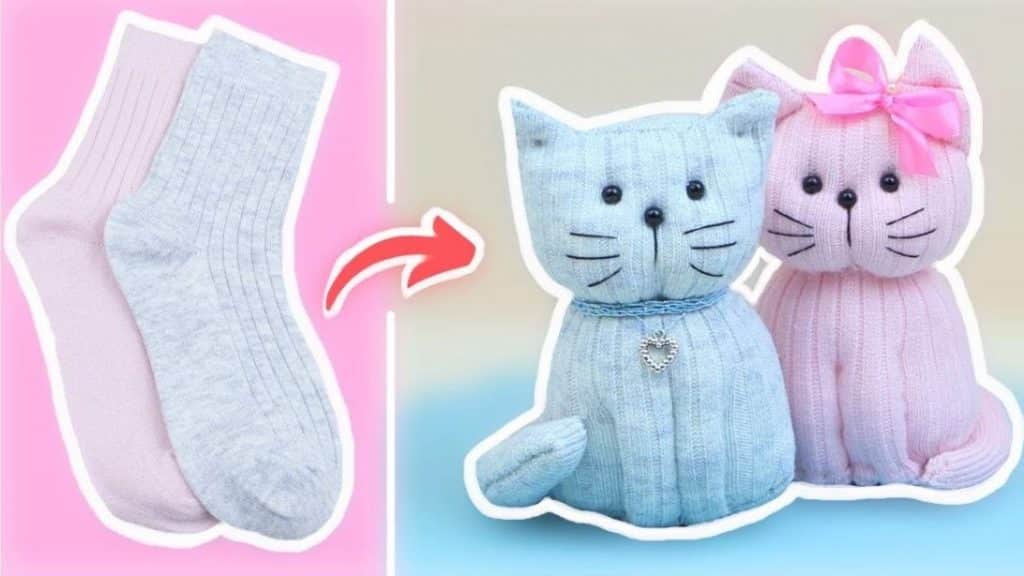
Materials:
- Sock
- White or matching thread
- Needle
- Fabric pins
- Pencil
- Black embroidery thread
- Poly-fil fiberfill
- 3 small black beads
- Ribbon and small embellishment
- Scissors
Directions:
Step 1
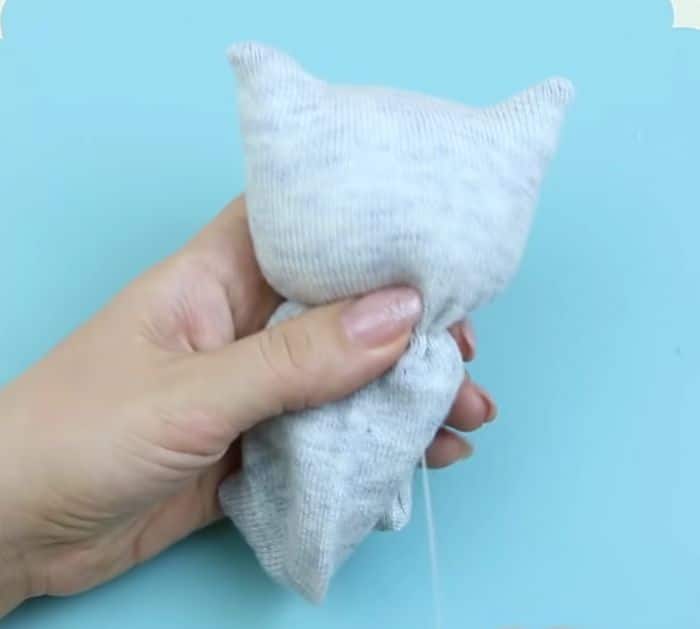
Turn the sock inside out, then pull the sock on each side and press with your hands until the heel part is spread out nicely, and then flip it over so that the front part is facing up. Start drawing the ears at the top and on each side of the sock as well as the top of the cat’s head, then sew along those lines, and trim the sock really close to the stitching line. Flip it over, then draw a line about 1½” under the heel, sew along those lines making a knot at the beginning and end of each seam, make sure to leave a gap for turning, and trim away the excess fabric about ¼” from the stitching line. Turn the piece right side out through the gap, then poke the ears nicely, and stuff the piece with filling until it forms the cat’s head. Sew under the cat’s head to secure the filling all at the top, then pull the thread tightly, and know securely.

[social_warfare]
Step 2
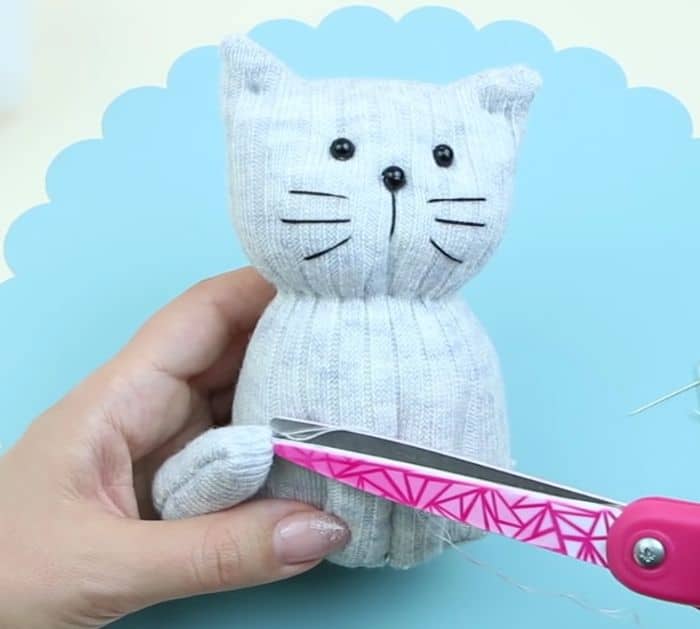
Start filling the bottom of the body of the cat, then tuck the seams of the gap nicely, and sew it close. Insert pins on the body to mark where the legs would go, then sew over them back and forth until you reach the bottom, and tighten the thread to form the legs. Sew a black bead at the center of the cat’s head to add the nose, then the other 2 small beads slightly above on each side of the nose to add the eyes, and stitch the ears a few times as well to give it more detail. Use black embroidery thread to sew the whiskers on the cat head, then draw the tail on the remaining part of the sock, and sew along the lines. Stuff the tail with the filling, then sew the gap close, and attach the tail to the cat’s body. Tie a ribbon around the cat’s neck, then add some embellishment, and you’re done!

*All image credit belongs to NataliDoma DI via YouTube. Follow and subscribe to her channel for more!


