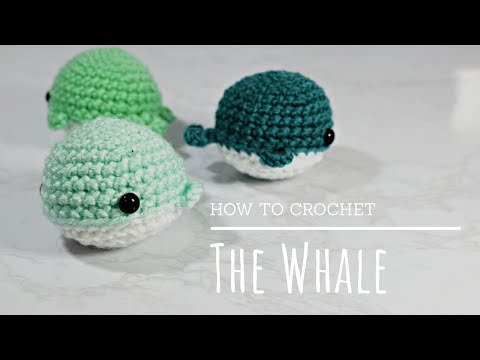
Knit Grit on YouTube proves how easy it is to crochet an intimidatingly hard to figure out Amigurumi whale. Follow this straightforward step-by-step tutorial that will also serve as crochet therapy!
Materials
- Worsted Weight Yarn
- 3.25mm/D3 Crochet Hook
- Marking Pins
- Poly-fil
- Safety eyes
- Darning needle
- Scissors
Directions:
With your yarn, make a basic slip knot. Place it on your crochet hook and make a chain. Make 6 single crochets in 1 single chain from left to right.
Once you make a D shape, go back to your first single crochet and make a double stitch. Now, continue working in the round. Use a slip market if you’re still starting. After that, you’ll have two to twelve stitches.
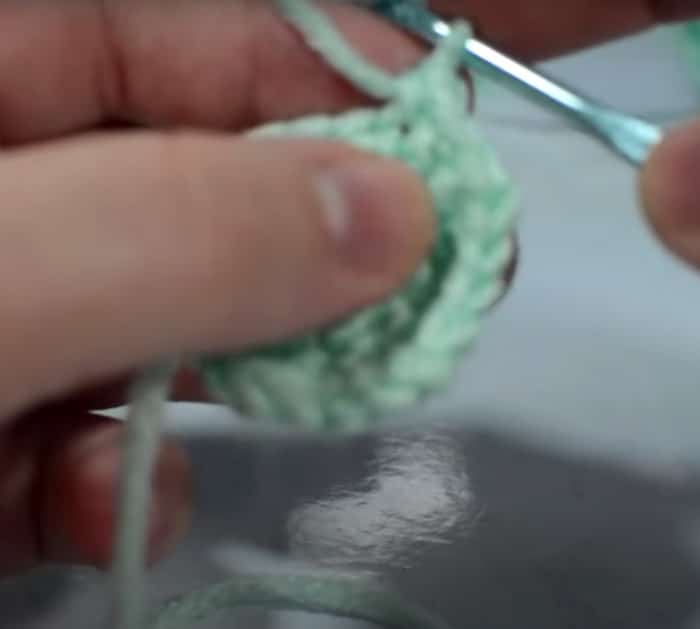
Do the same process until you stitch and increase it into a half-round shape with 30 stitches. At your last 30th stitch, make a single crochet and stitch 5 chains. Then, go into your 3rd chain from right to left, making a double stitch. There, you have the first fin of your amigurumi whale. To make the other fin, make a slip chain on the other and repeat the same process, but this time, only skip the first chain instead of the third.
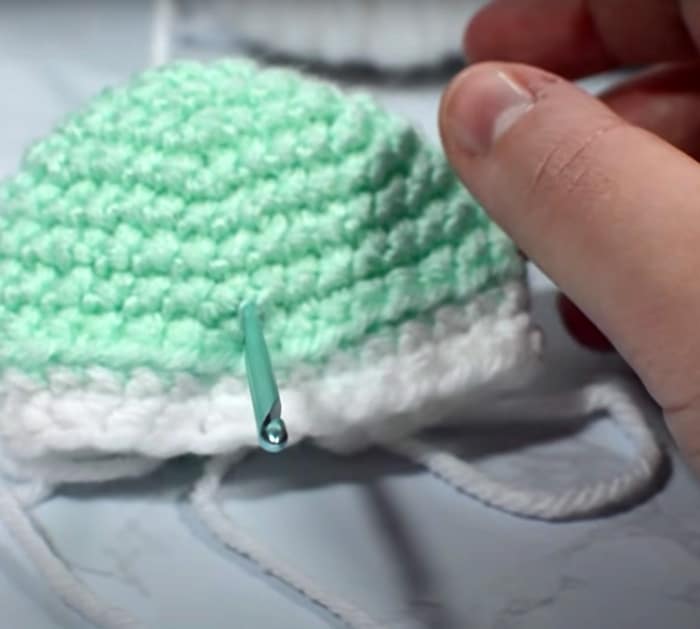
To secure and finish the tail, slip stitch it into the base, secure and cut it with your scissors. For a clean output, stitch the yarn tail in the round base crochet and tuck it in at the open end. Using another yarn, start by stitching it through under the whale’s tail. Stitch on the chain ridges around the edge of the whale’s body, making 30 stitches.
Inversely from the increased pattern of the first crochet, do a decrease of stitches as you make the bottom of the whale’s body. When you reach the 3rd layer of decreasing stitches, determine where the eyes should go and stitch the yarn’s tail from behind the whole body of the whale out of the center of the whale’s face to determine where the eyes should go. Then, attach each of the safety eyes.
Go back to decreasingly stitching the whale’s bottom body. Add the poly-fil stuffing almost to the end of the stitch. Continue stitching decreasingly while adding more poly-fil stuffing until the stitching closes up. Use a darling needle attached with yarn and stitch up the remaining hole to finish. Pull it tightly for a seamless look.
For the excess yarn tail, put it through the whale’s body and then cut it. To make the whale’s side fins, use the main yarn and stitch on 4 single crochet and make a slip stitch between the eye level and the back fin tails. Repeat on the other side.
To clean off the excess yarn tails, stitch them inside the whale’s body and cut them.
How to Crochet an Amigurumi Whale