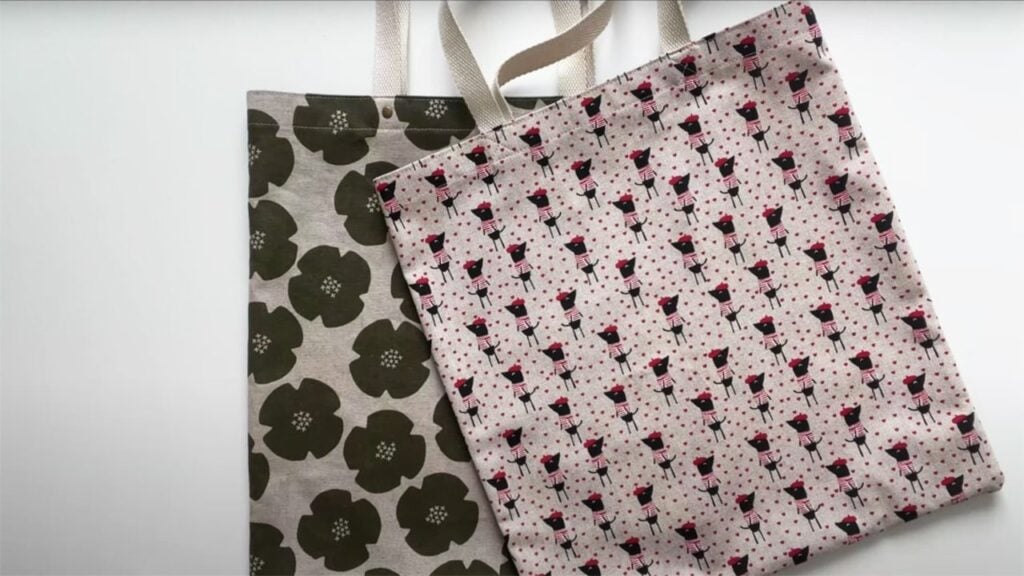
Have you ever thought of making your own tote bag with a classic French seam? Sotak Handmade on Youtube provides this simple but very meticulous tutorial on how to make this simple tote bag. You don’t have to line this bag. The French seams will hold it in place. This tutorial is good for beginners. It’s perfect for those who are starting to explore more sewing projects.
Materials:
- 1/2 yard of medium-heavy weight fabric (canvas, denim, home decor fabric, etc.)
- two 26-inch (66-cm) cotton or polyester ribbons
- Some webbing for the handles, 26 inches
- thread
- sewing machine
- rivets
- cutter
- fabric pen
- ruler
- Tape measure
- Sewing clips
Directions:
The finished bag will be 14 inches wide and 16 inches tall. The handle will be 22 inches long. But you can make the handle shorter or longer depending on your preference.
You will not use any lining for the bag. But you will be using French seams on the hems to prevent them from unravelling.
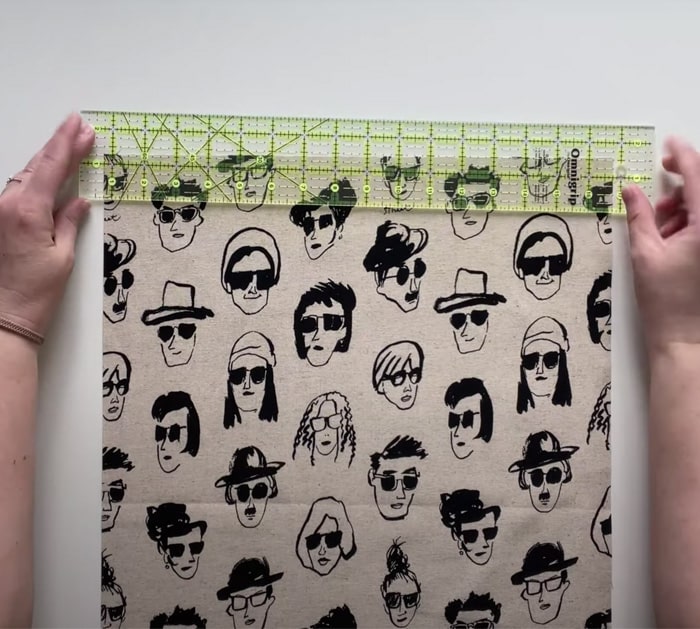
Start by placing your fabric on the table. You will need to cut two panels that are 16 inches wide by 18 inches tall out of your fabric. You will also have to prepare webbing that is 3/4 inches wide. And each piece of the webbing should be 26 inches long.
So start by working on one panel at a time. On one panel, draw a line 1 inch from the top edge with a fabric pen. Then, on an iron board, press the fabric along the drawn line using a hot iron on cotton setting. Fold it over one more time and press another inch.
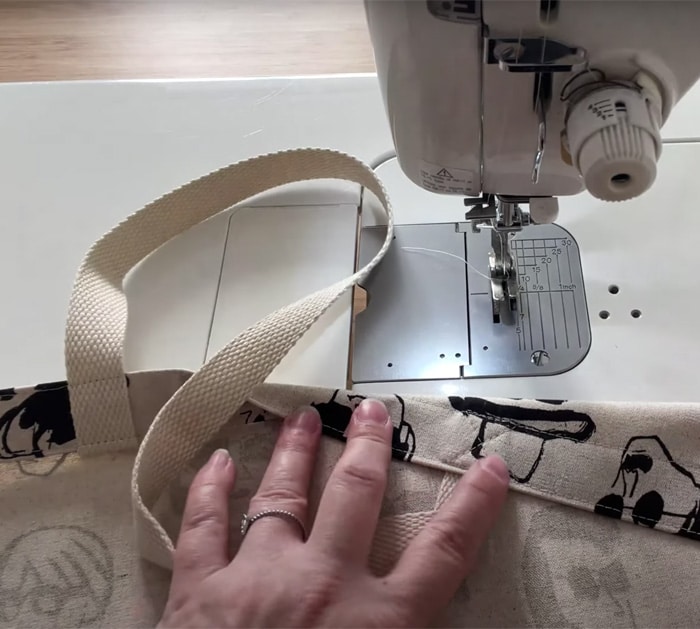
Then use a ruler and fabric pen to find the middle point of your panel. Mark an 8-inch point on the panel. Then draw two points 2 1/2 inches from the middle point. Those points are going to be the placement points for the handle. Put the webbing inside the fold along the points from the middle point. Place a sewing clip to hold the webbing in place. Use pins to hold the folded edges. Then flip the handle towards the top edge. Hold the handle in place with the clips.
Now sew the edges of the fold to secure the handles in place. Back-stitch an x on the edge of the handles to finally secure them in place. Or you can also use some rivets.
Repeat the process on the other panel and sew your handles following the same directions.
Now you have 2 panels with handles attached. You now have to begin assembling the bag. Put one panel right side down on your flat surface. Then place the second panel right side up on top. Line up the edges. Then pin the edges of the panels to put them in place all the way around.
Then you sew the side edges and bottom edge of the bag. Backstitching from the beginning and end. Once done, take out the pins and trim the sides of the bag with a cutter.
After that, turn the bag inside out. Push the corners out to make them nice and neat. Then use an iron to press the seams.
Add pins again around the bag to hold the panels when you stitch. Then sew the edges of the bag using a half inch seam allowance. Don’t forget to backstitch at the beginning and end. Then remove the pins and press the seams again.
Turn the bag right side out. Smooth out all the edges and push out the corners. Then, lastly, press all the edges again neatly. Trim out the extra threads.
Your bag is finished.
DIY Classic French Seam Tote Bag for Beginners


