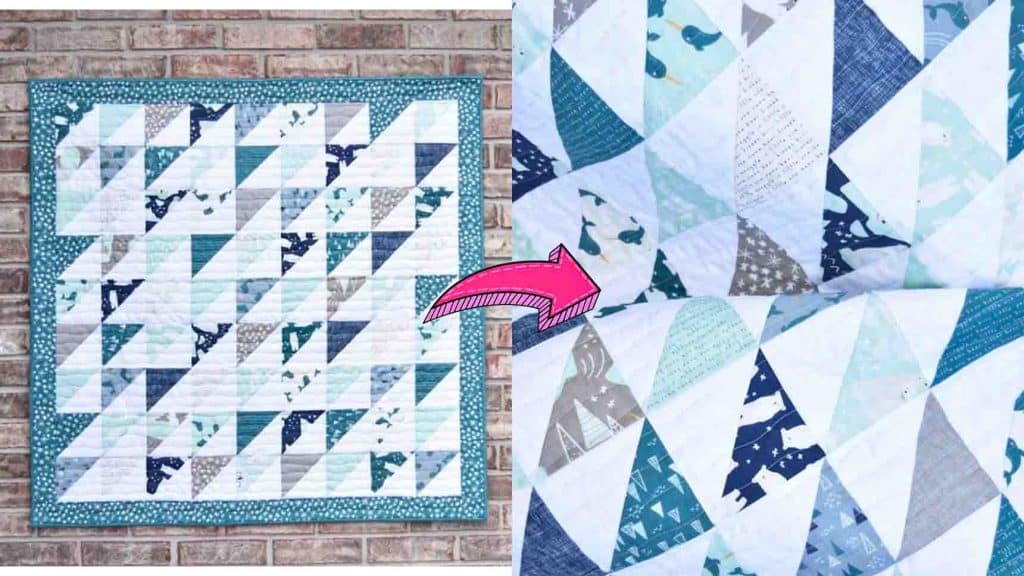
Are you attending a baby shower soon? This last-minute baby shower quilt idea from Material Girl Quilts on Youtube is the perfect project for you. It’s also a great project for you to use up those charm squares in your stash. You also don’t need to worry because this project is totally beginner-friendly! Watch the video below to learn the step-by-step tutorial.
Materials:
- 1 print charm pack (42 pre-cut 5″ squares)
- 1 solid charm pack (42 pre-cut 5″ squares)
- 1/3 yard border fabric
- 1 & 1/4 yard backing fabric
- 1/3 yard binding fabric
- ruler
- iron
- rotary cutter
- pins
Directions:
Step 1
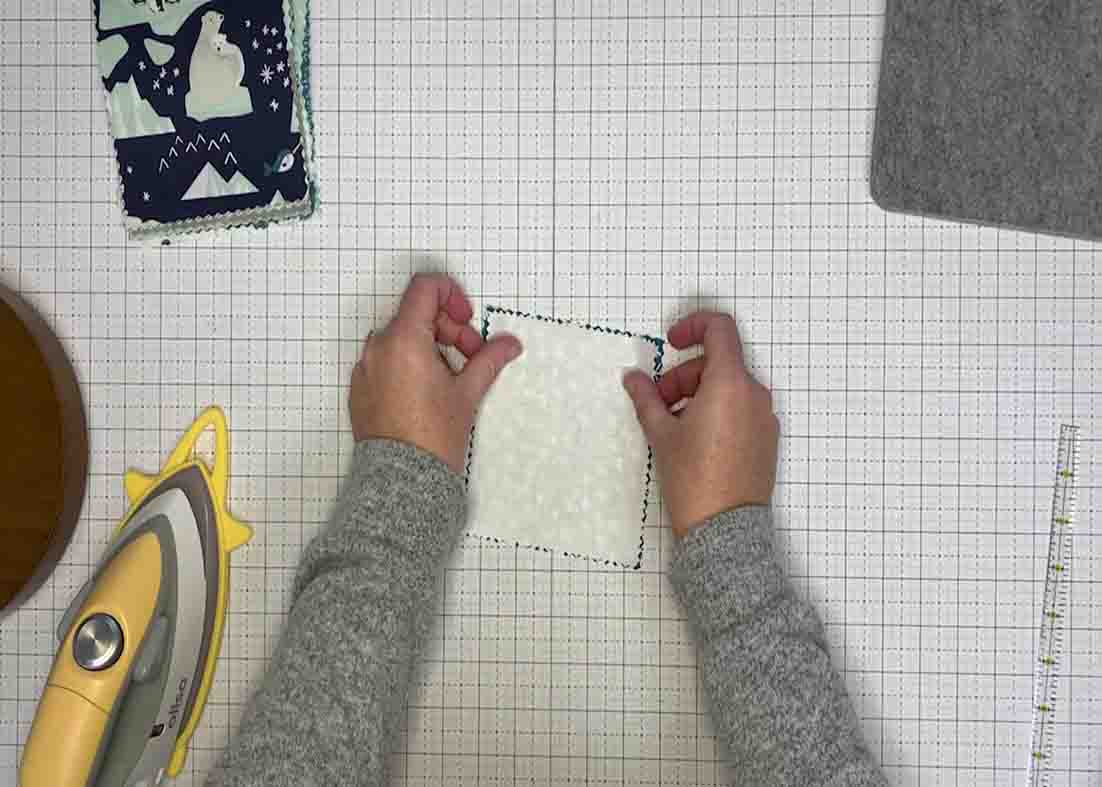
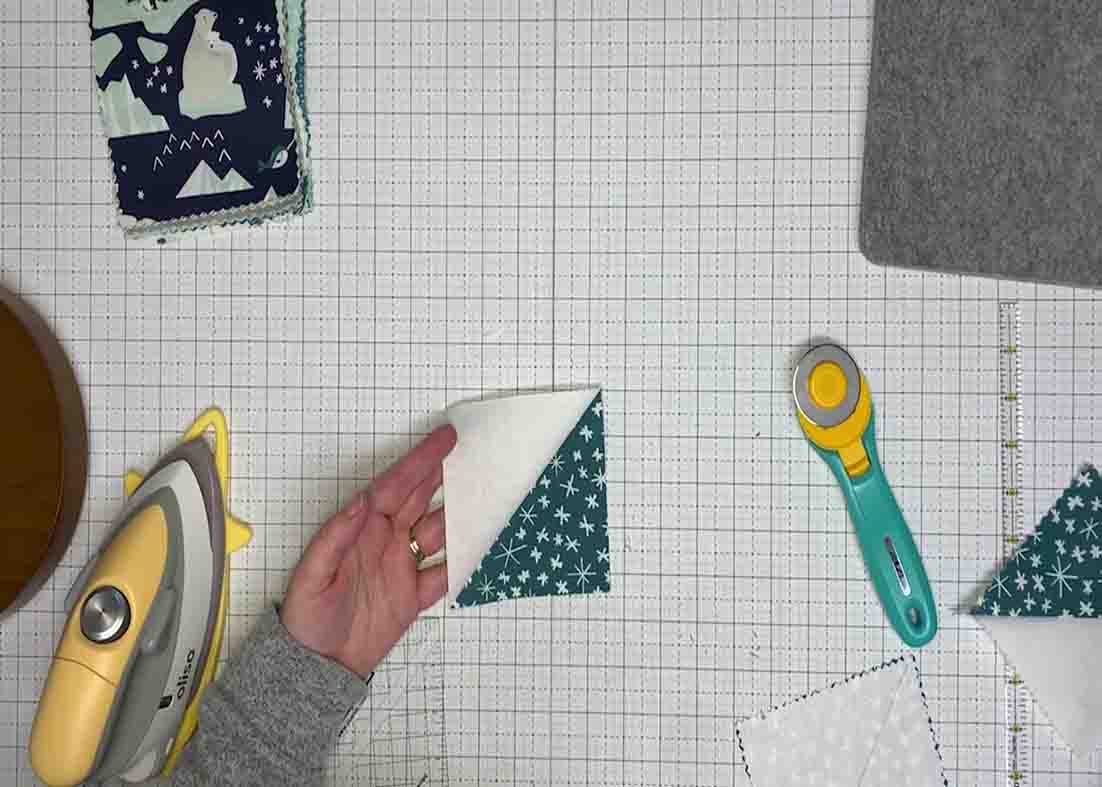
To make the half-print triangle, select one print 5″ square and one background square. Place them right sides together, then draw a diagonal line to the solid-colored fabric corner to corner. Sew 1/4″ on either side of the line. After it has been sewn, cut it directly on that line and that will give you two half-square triangles. Press these triangles open.
[social_warfare]
Step 2
After pressing, trim the triangles down to measure four and a half inches square. Repeat this process for all of the 42 squares in your charm pack and you will end up with a total of 84 half-square triangles. Once you’ve completed piecing and trimming the half-square triangles to be four and a half inches square, select 81 of them and lay them out into nine rows of nine blocks each. You can do the traditional layout where all the blocks are going in the same direction or you can choose to lay them out in a stripes pattern on the diagonal, a chevron pattern, a pinwheel format, or a herringbone pattern – the options are limitless. Now, if you like to add a border, you will need to cut four strips that are two and a half inches in width of fabric and then trim them down to add the sides and tops for the borders. Cutting them only at two and two and a half inches will make your overall quilt 40 inches square.
Charming Triangles Baby Quilt Tutorial


