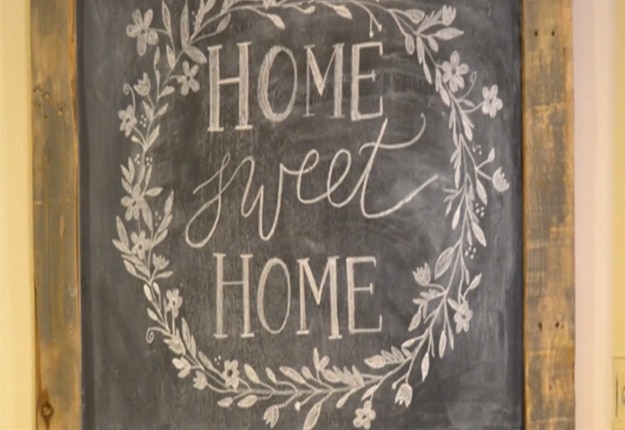
A DIY Rustic chalkboard sign is an easy craft you can make with pallet wood and chalkboard paint. This fun craft idea is the perfect addition to your DIY home decor. This DIY wall art tutorial includes easy step by step instructions so you can make this rustic chalkboard sign in a matter of minutes!
DIY Rustic Chalkboard Sign
Supplies:
- Wood Slabs from a Pallet
- Board
- Chalkboard Paint
- Kregg and Drill
- Saw
- Chalk
- Wood Finish
- 1/2 Wood Screws
Instructions:
Step 1
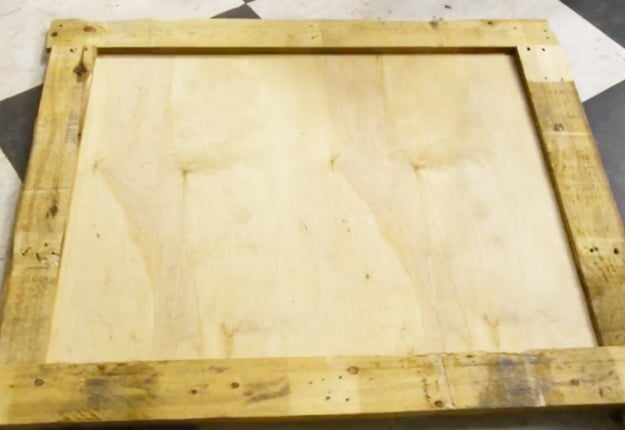
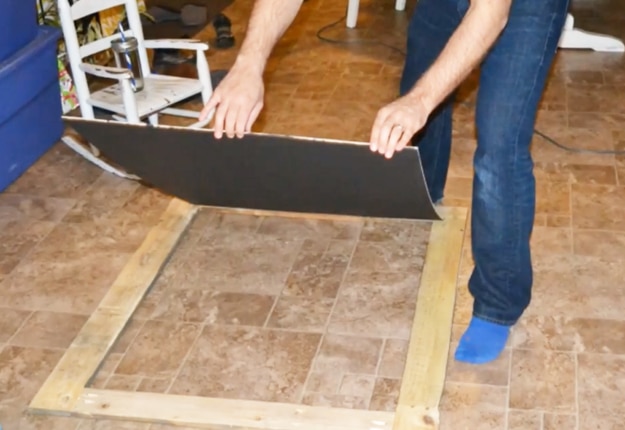
Get 4 slabs of wood from a pallet that would serve as the frame and remove the nails. Lay the frame out around the board and mark each side.
Step 2
Trace one of the wood slabs on the sides of the board for an exact cut. Use this as a guide for the other 3 wood slab frames.
Step 3
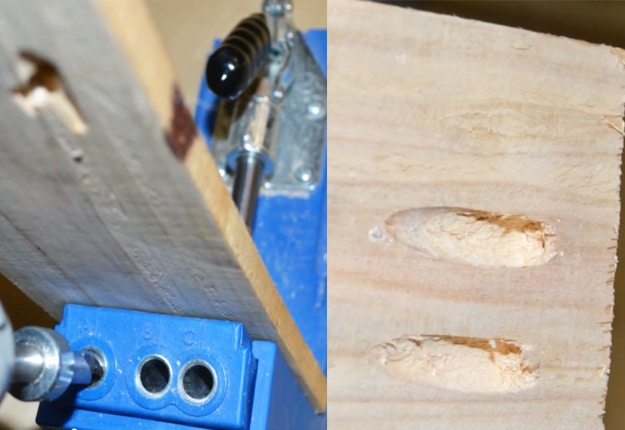
Get your kregg and drill and place wood in kregg. Make sure the screw holes are on the side which is not showing and drill 2 holes for each side of the board.
Step 4
Now for the top and bottom wood panel frames, choose the side that you wanted to show, line the boards up and insert the screws.
Step 5
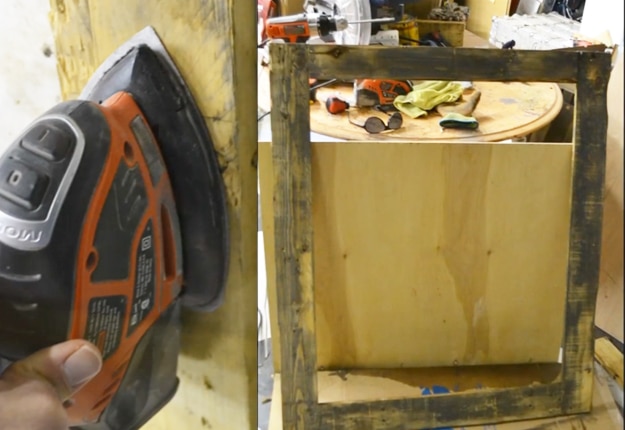
Sand the entire frame to look smooth and stain the frame.
Step 6
Sand the board before putting the chalk paint on to help the paint adhere better. Paint the board in a uniform direction, let it dry and apply a second coat.
Step 7
Once dried, lay the chalk board to the frame with the front facing down. Trace around the chalkboard onto the frame and apply wood glue within the traced border.
Step 8
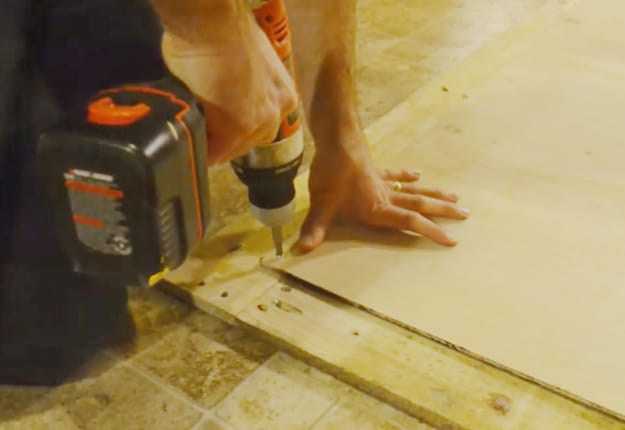
Use a 1/2″ wood screw and secure the chalkboard to the frame.
Step 9
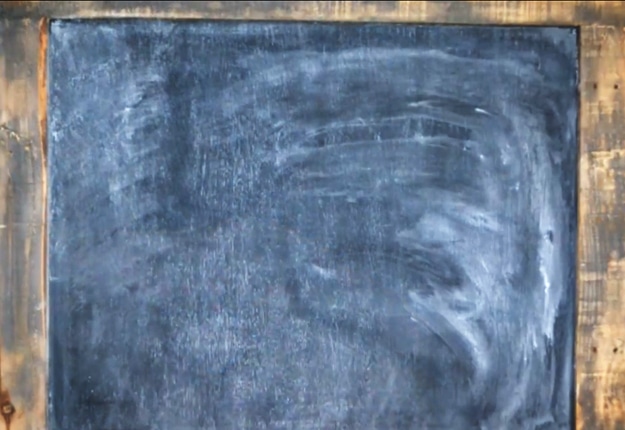
Season the chalkboard by rubbing chalk up and down, side to side.
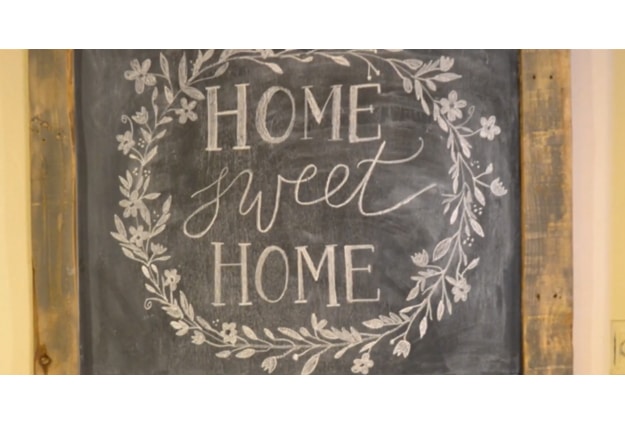
Clean it off and your DIY Rustic Chalkboard is done!
