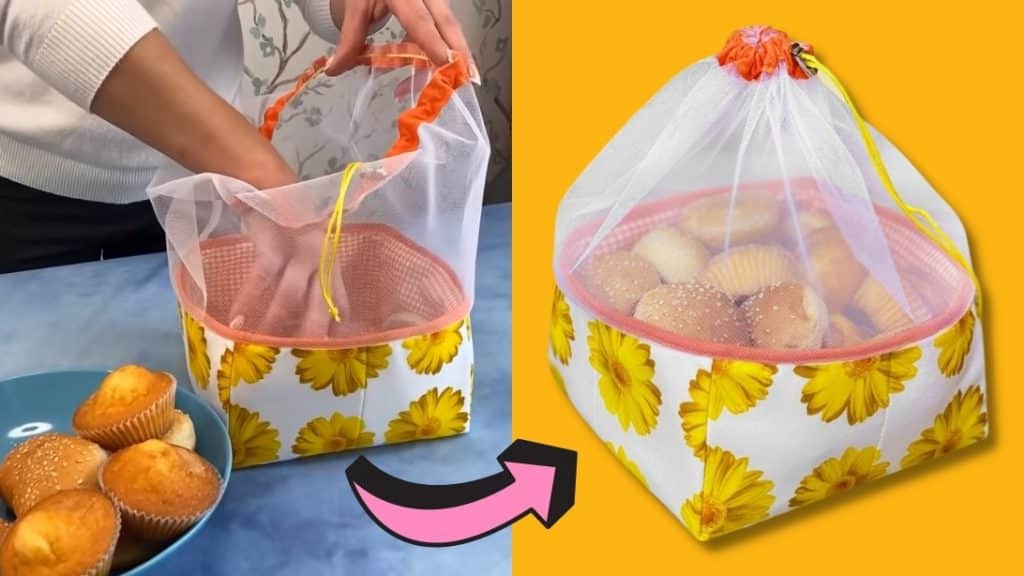
I have found the cutest and most useful sewing project for you! This is a lovely bread basket food cover DIY Tutorial by Estadistica Datos del Mundo on Youtube. It is beginner-friendly, so anyone can easily follow the steps in creating this beautiful piece at home. If you are going out on a picnic soon, don’t forget to bring this. It will surely come in handy. Watch the video below for detailed instructions.
Materials:
- 2 cotton fabrics for inner and outer (15.7 in by 15.7 in)
- fine wadding (17.3 in by 17.3 in)
- bias
- tulle fabric (mesh)
- rope
[social_warfare buttons=”Facebook,Pinterest,Twitter,WhatsApp”]
Instructions:
Step 1:
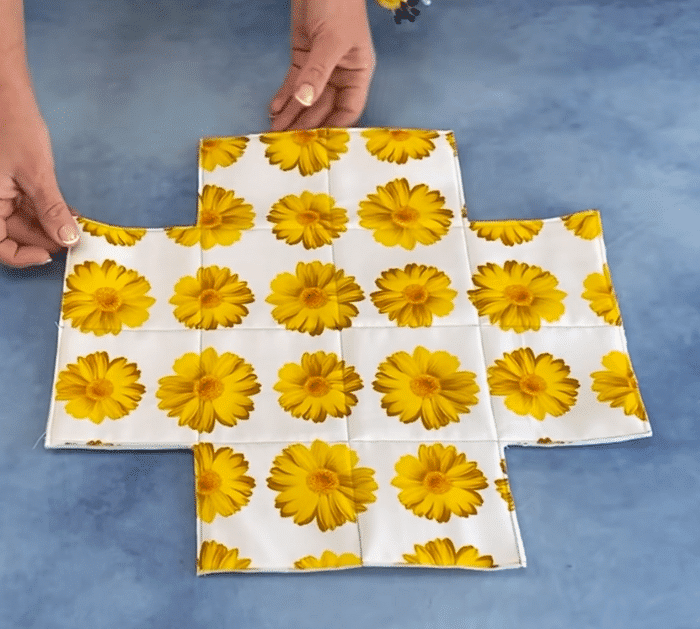
Get the cotton fabric. Measure and divide into 4 equal rectangles horizontally and vertically. Place in the fine wadding and secure with pins. Pass the seam along the lines. Once done, cut off the excess wadding.
Step 2:
Cut the four square corners. Join the ends together making a box. Secure it with pins and sew the edges. Cut off the excess fabric.

Step 3:
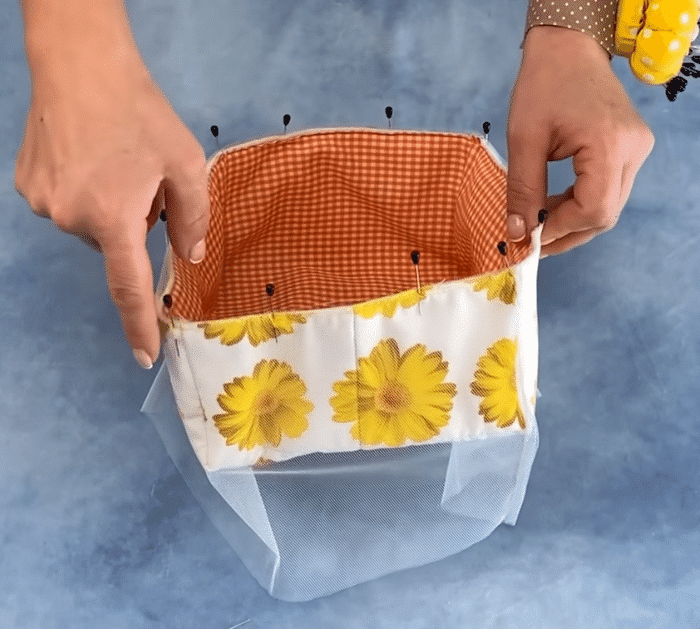
Get the other cotton fabric and cut the same square corners from the first one. Join the ends together and secure them with pins. Sew with allowance. Once done place inside the outer fabric and sew the top edges.
Step 4:
Measure the contour for the length of the tulle or mesh fabric. Add some allowance for sewing. Next, measure the height. With these measurements, cut a rectangle with the tulle or mesh fabric. Fold in half crosswise and sew the ends together. Flip and sew again with seam allowance.
Step 5:
Place the top of the tule around the top edge of the basket and secure it with pins. Sew them together.

Step 6:
Fold the bias in half and sew on the top edges. Once done, pull out the mesh. Get the bias and fold the end a little and secure it on the top edge of the tulle using pins. Sew them together. Flip the bias out and sew to the edge. Insert the rope inside the bias and cut to the preferred length. Put the closure and you are done.


