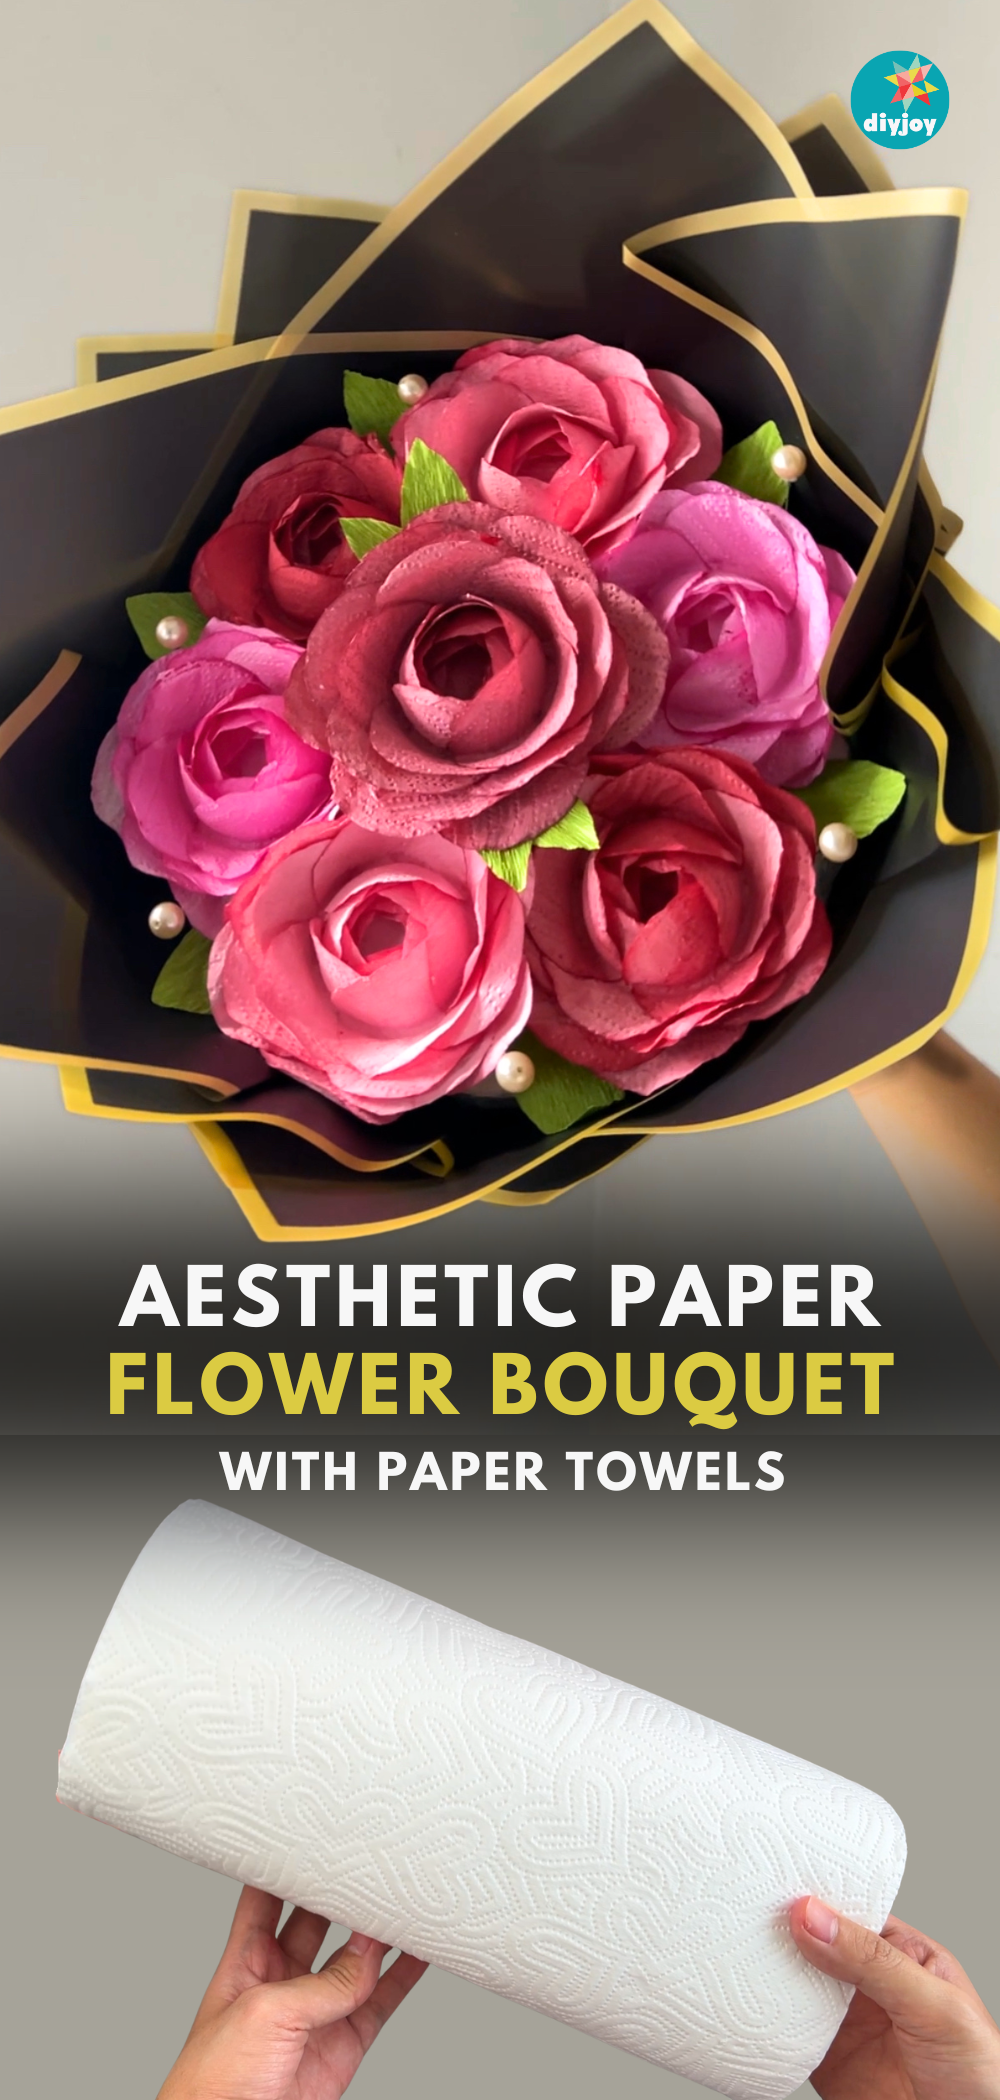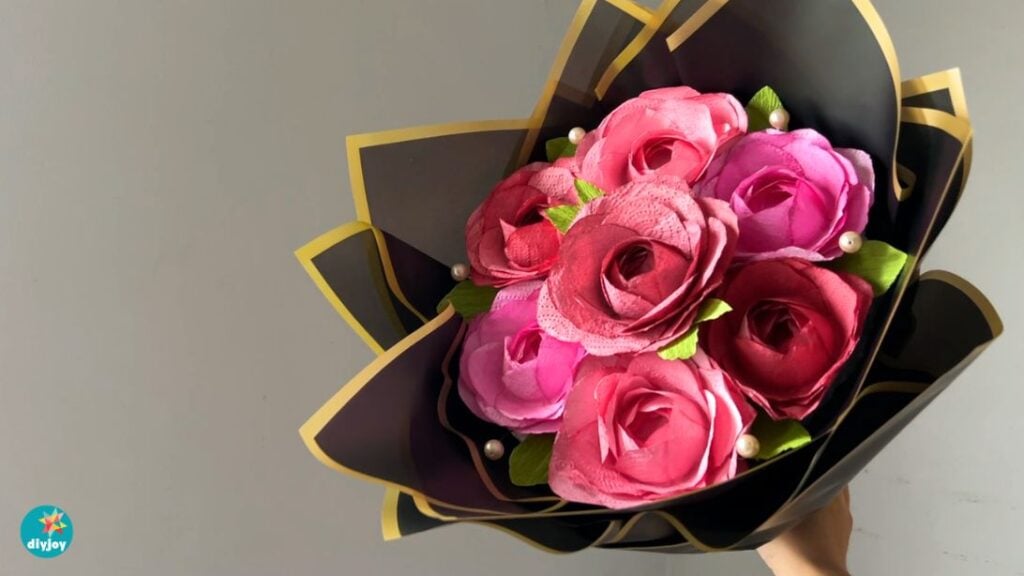
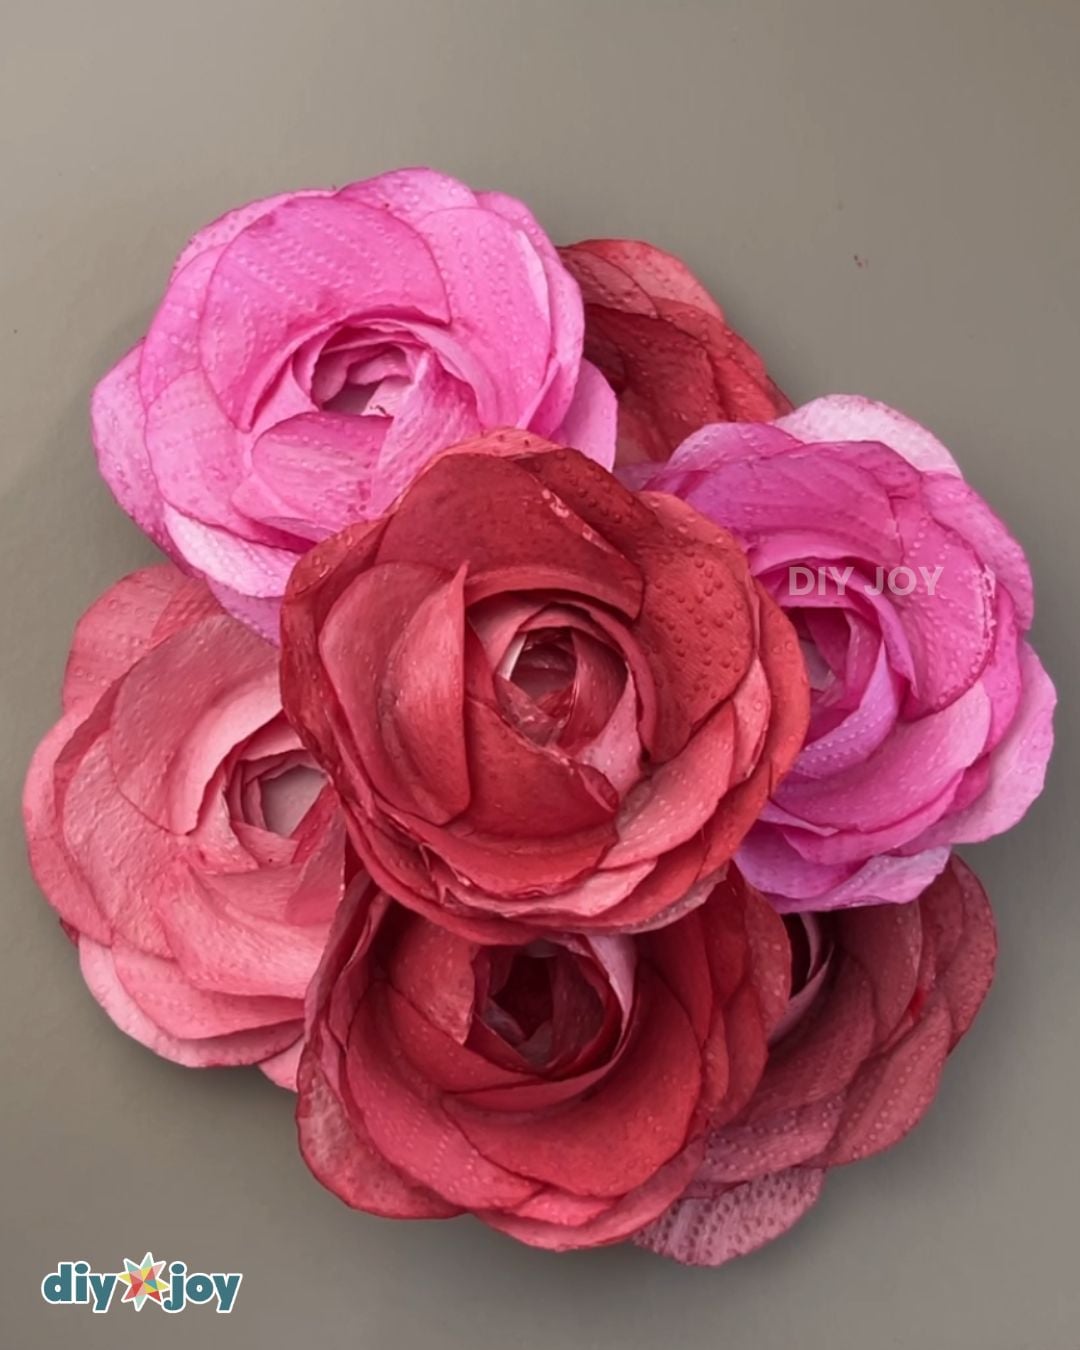
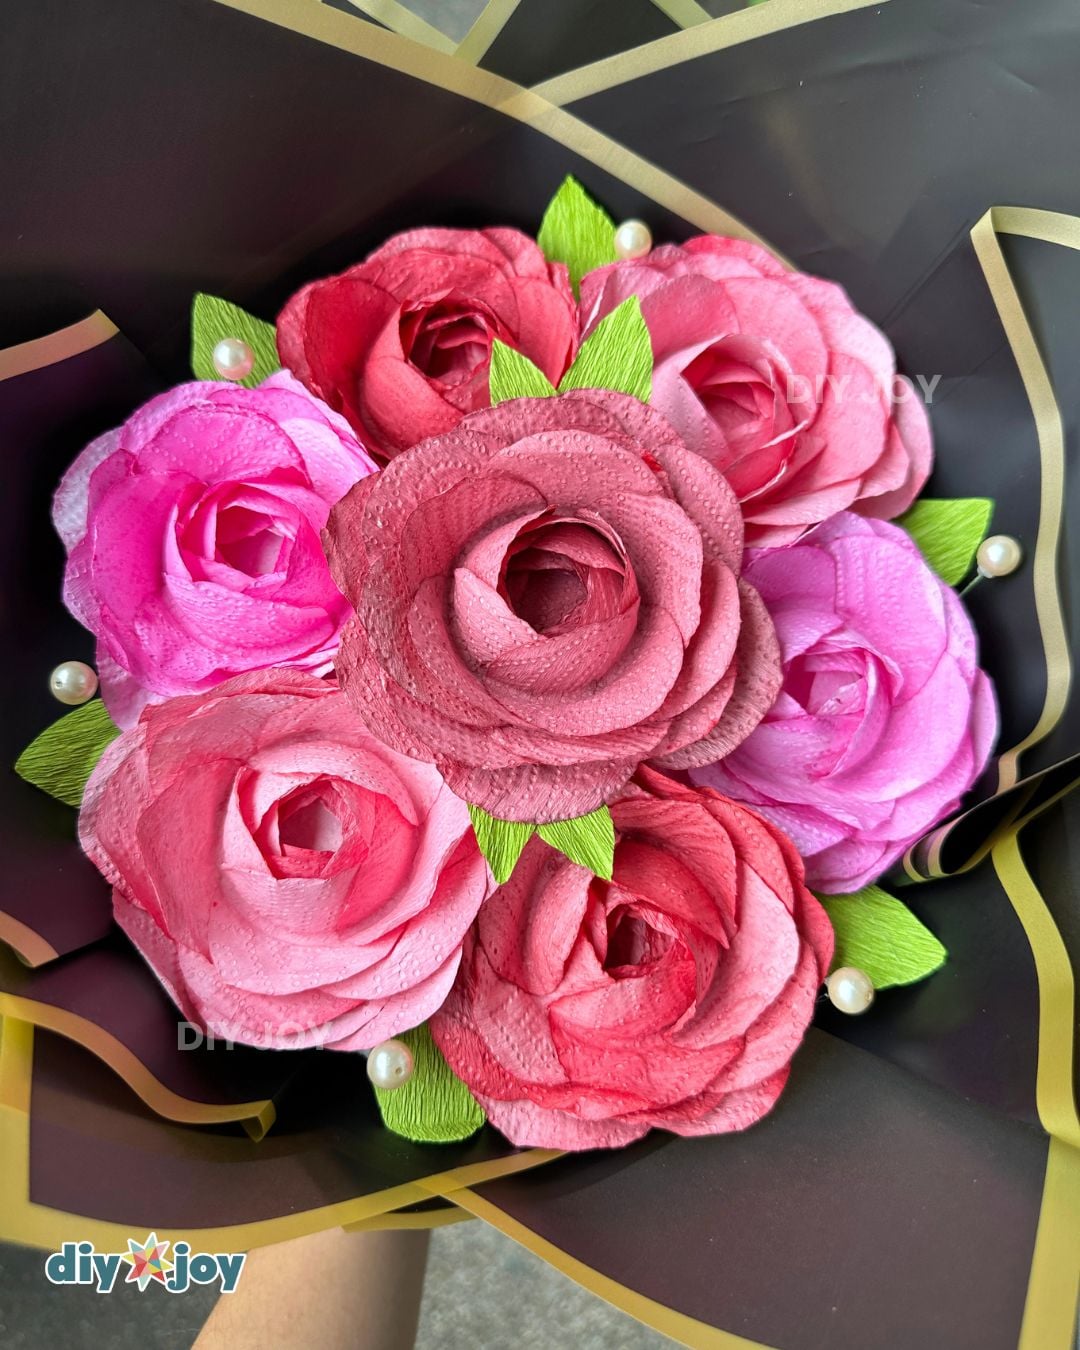
Would you believe that this aesthetic paper flower bouquet is made of paper towels? Yes, it is! These paper flowers are an easy paper craft that anyone can make. They are perfect handmade gifts for anniversaries, Mother’s Day, Valentine’s Day, and birthdays, or a beautiful piece of DIY home decor.
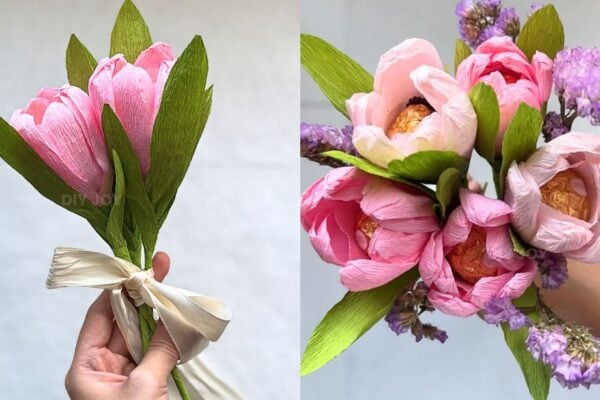
RELATED: Toilet Paper Flowers Tutorial
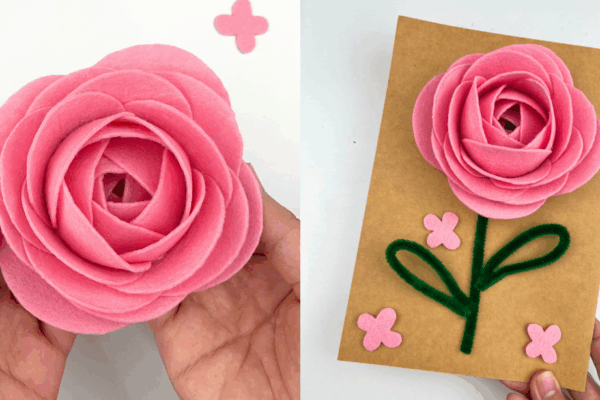
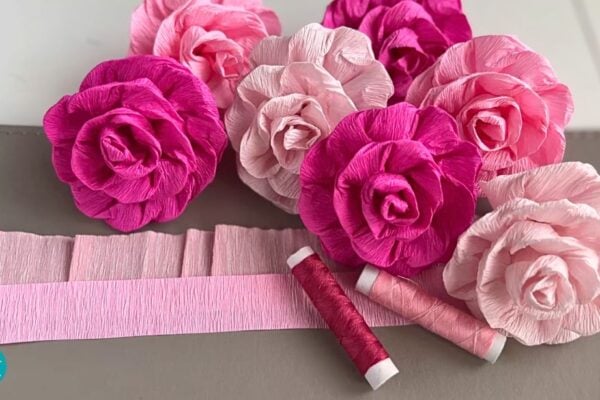
This DIY bouquet is such an amazing craft. It starts with cutting paper towels into circles, dipping them into paint, and letting them dry. Once they are fully dry, they are assembled using a glass to form the paper rose. This technique is similar to the salami rose. The paper roses are then glued to a foam base and wrapped in floral wrapping paper. If you’re wondering about the stems, no, you don’t need to add stems to turn the flowers into a bouquet. I know it’s hard to believe, but this paper flower is really made from paper towels. If you don’t have paper towels, you can use toilet paper or tissue. It’s easy, simple, and super fun to make!
This DIY paper flower bouquet turned out better than I expected. If you’re on a budget but still want to make someone special, give this one a try. It’s the perfect DIY gift. Keep reading or watch the tutorial below for the full instructions. Happy crafting!
List of Supplies for the Paper Flower Bouquet
- paper towel
- acrylic paint
- small glass
- glue
- foam
- green crepe paper
- skewers
- tape
- floral wrapping paper
- floral wire (optional)
- pearl beads (optional)
- pencil
- glue stick
These products are all listed on our DIY JOY Amazon store, so you can order and know exactly what you will get, and when. We do earn a small commission on these links and very much appreciate your support ❤️
How to Make an Aesthetic Paper Flower Bouquet Using Paper Towels
Learn how to make a paper flower bouquet using items you already have at home!
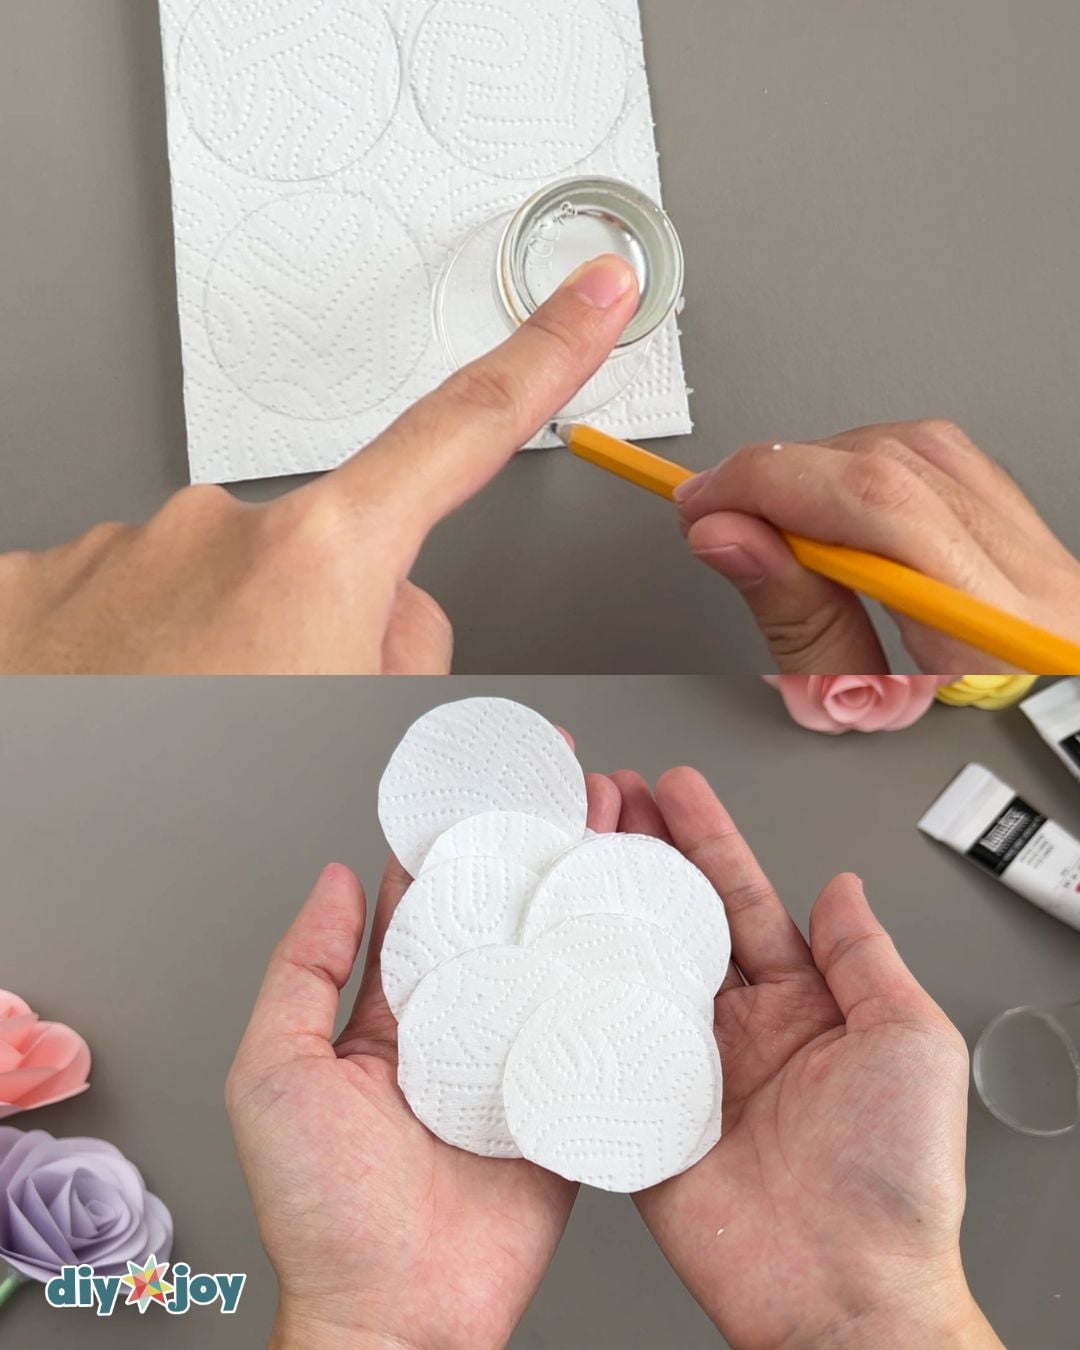
Tracing and Cutting
Begin by tracing the rim of a glass onto your paper towels to create circles, then cut them out. You will need 21 circles to make one complete flower.

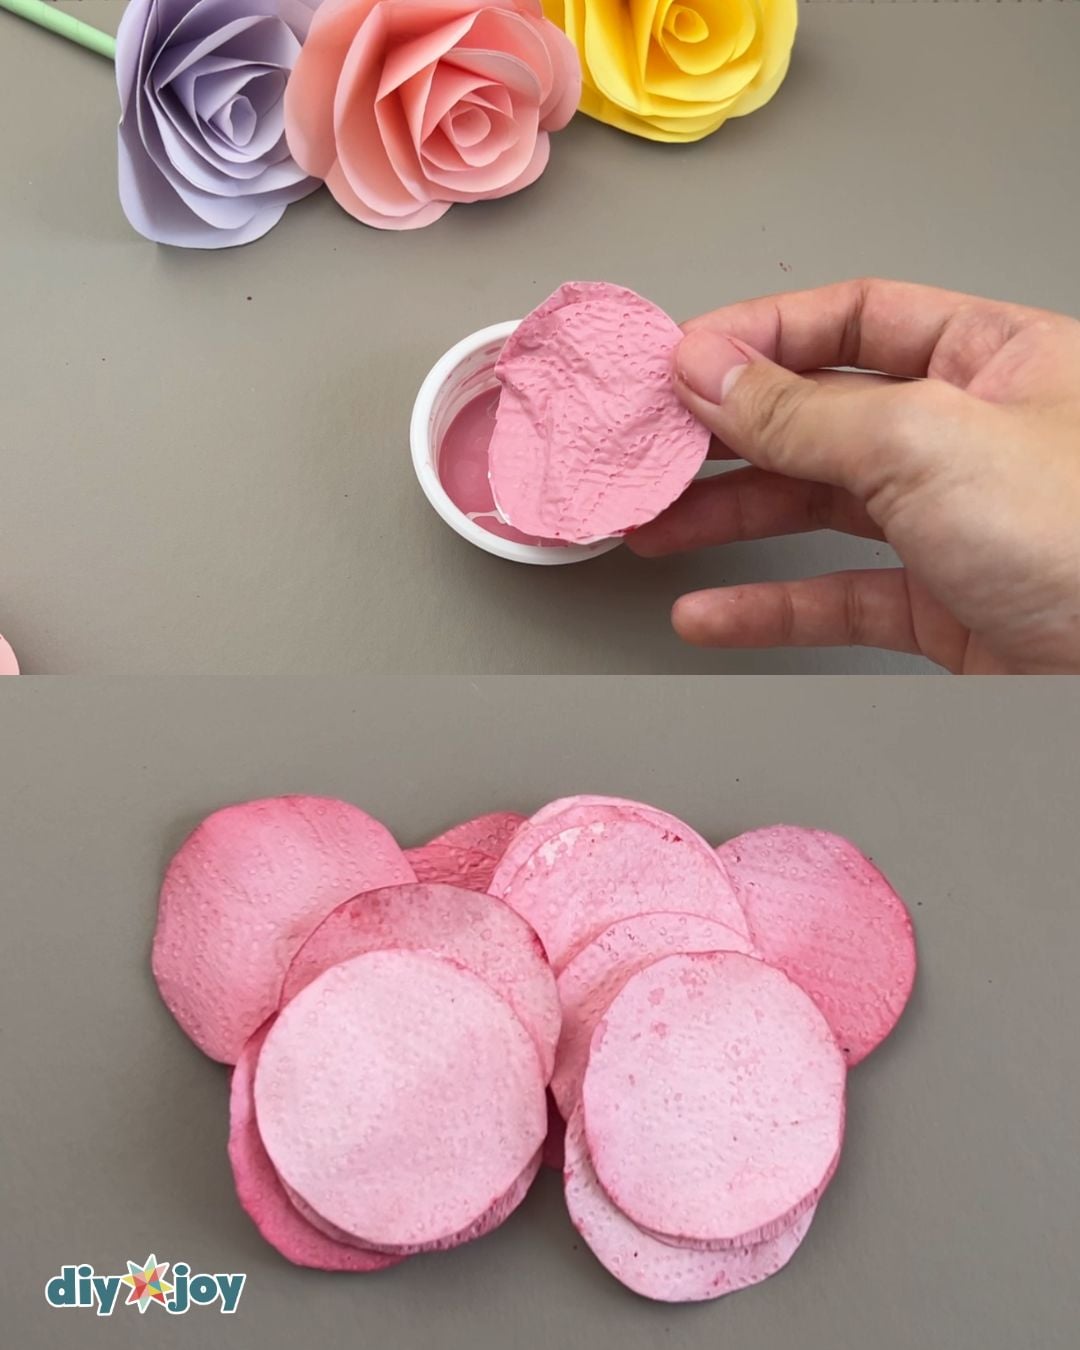
Dyeing
Dip the paper towel circles into your diluted acrylic paint to dye them. Gently squeeze out the excess liquid, carefully separate the pieces, and lay them flat on a plastic sheet. Allow them to dry completely before peeling them off the plastic. Set one circle aside to use later.
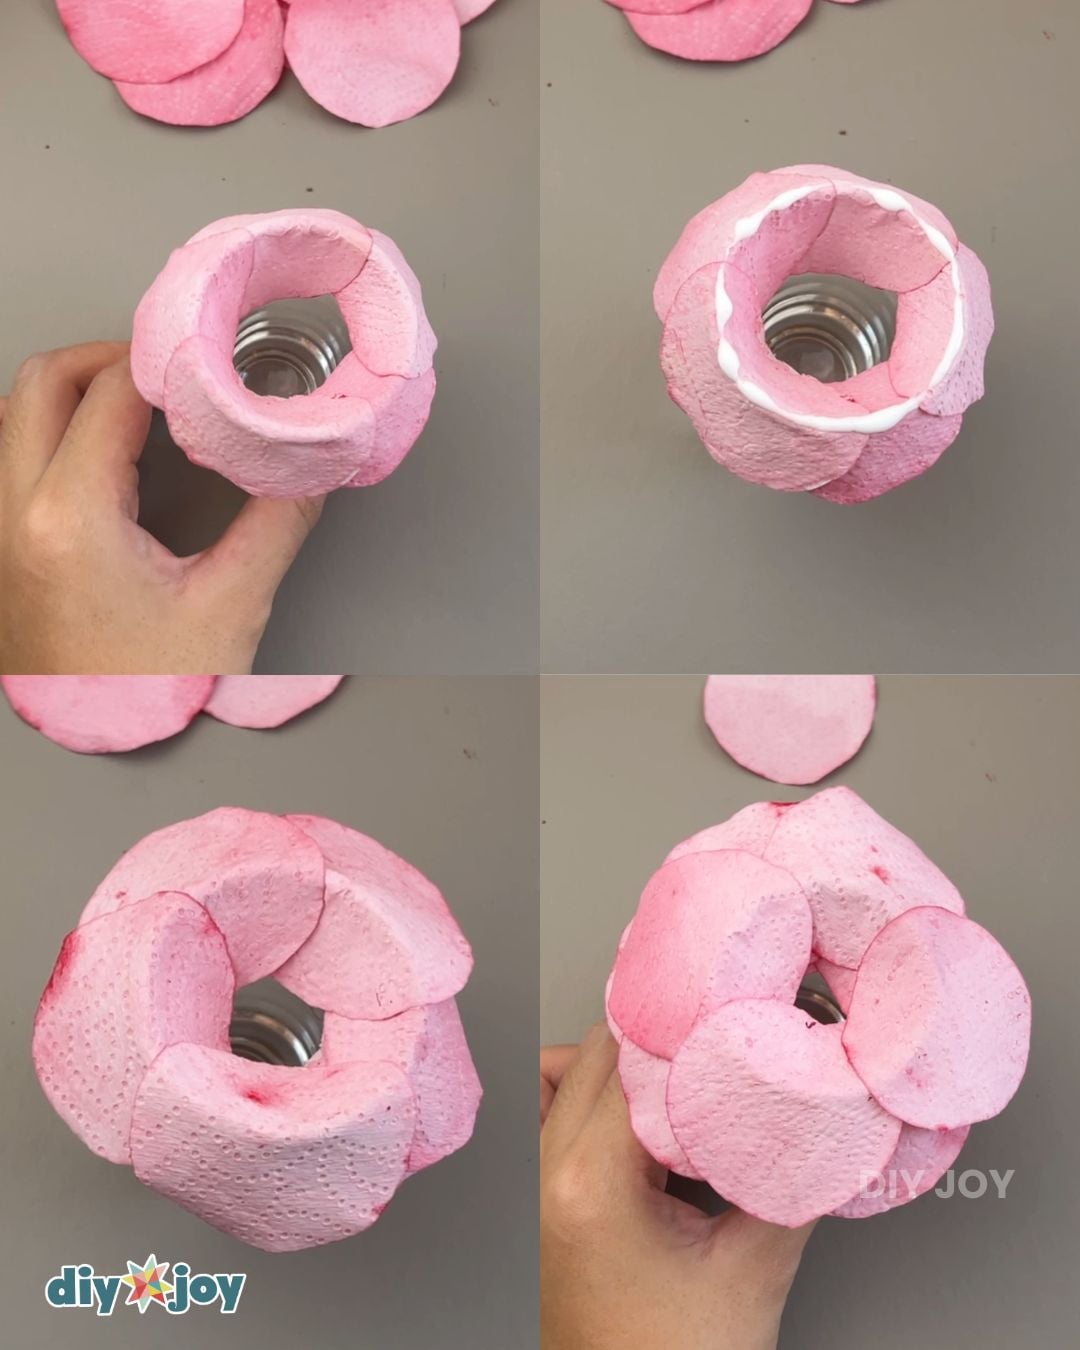
Making the flower
Now it is time to build the flower using the glass as a mold. Start with 5 circles for your first layer. Fold one circle tightly over the rim of the glass and add a small drop of glue to one end. Fold the next circle over the rim so it overlaps the first one. Repeat this overlapping process until the entire rim is covered.
Continue this same folding and gluing technique for the remaining pieces. Position the circles of the next layer in the spaces between the petals of the previous layer. Keep going until you have used all your remaining circles.Removing the flower
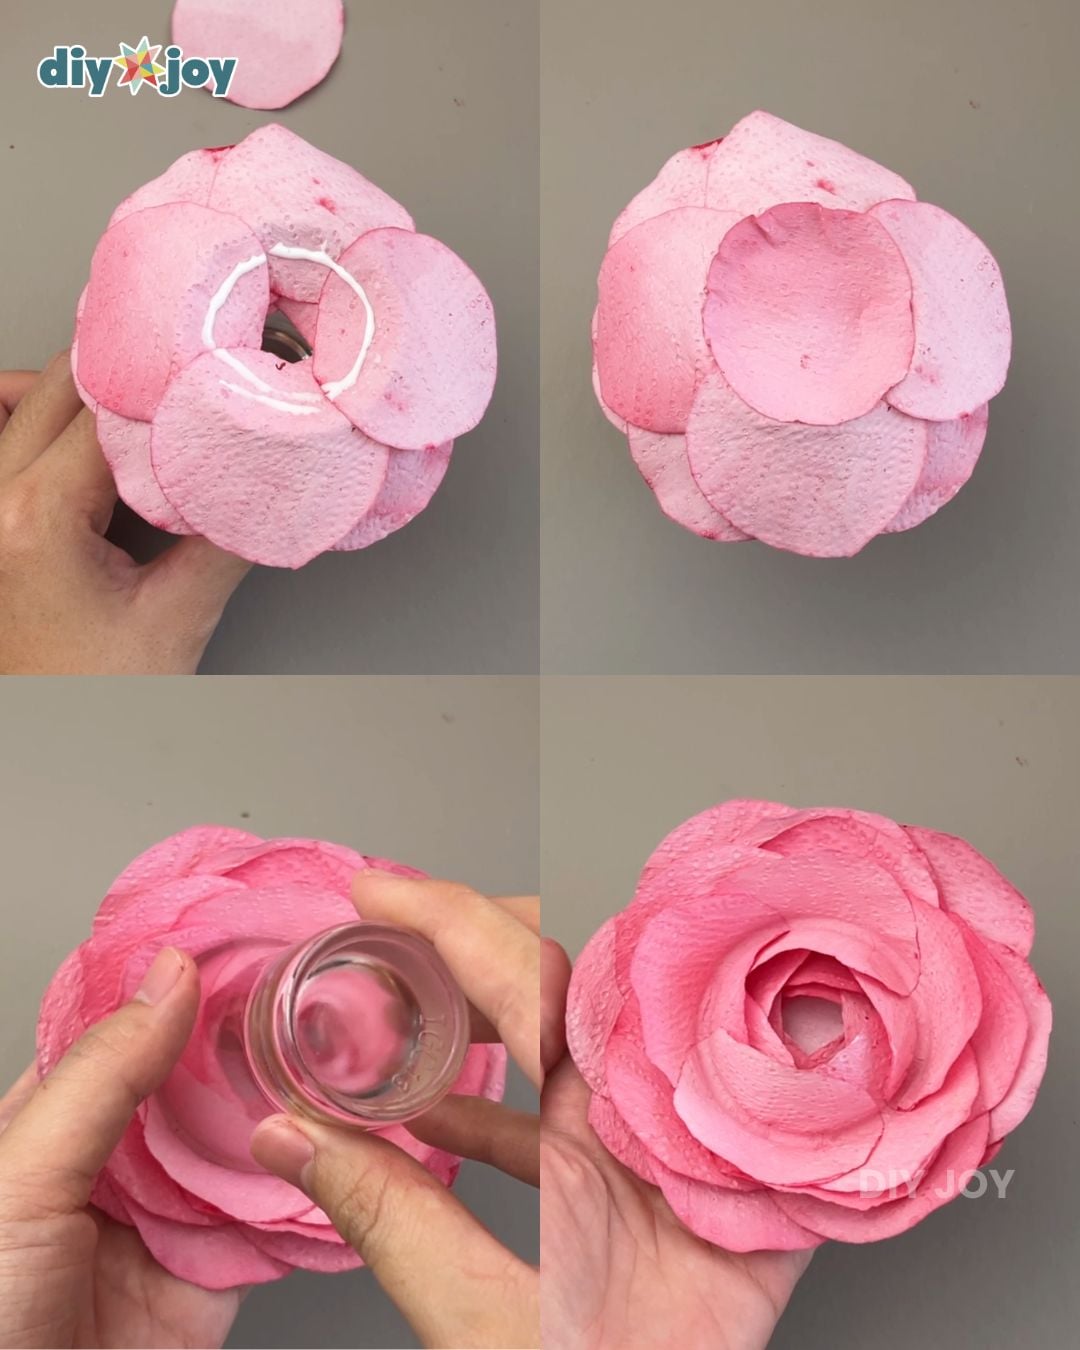
Apply glue to the very top flat center of your folded layers, and press the single circle you set aside earlier right into the middle to seal it. Turn the glass over and carefully remove your finished flower from the rim.
Making more flowers
Repeat this entire process to make more flowers in different shades of paint. You will need a total of 7 flowers for this bouquet.
Gluing the flowers
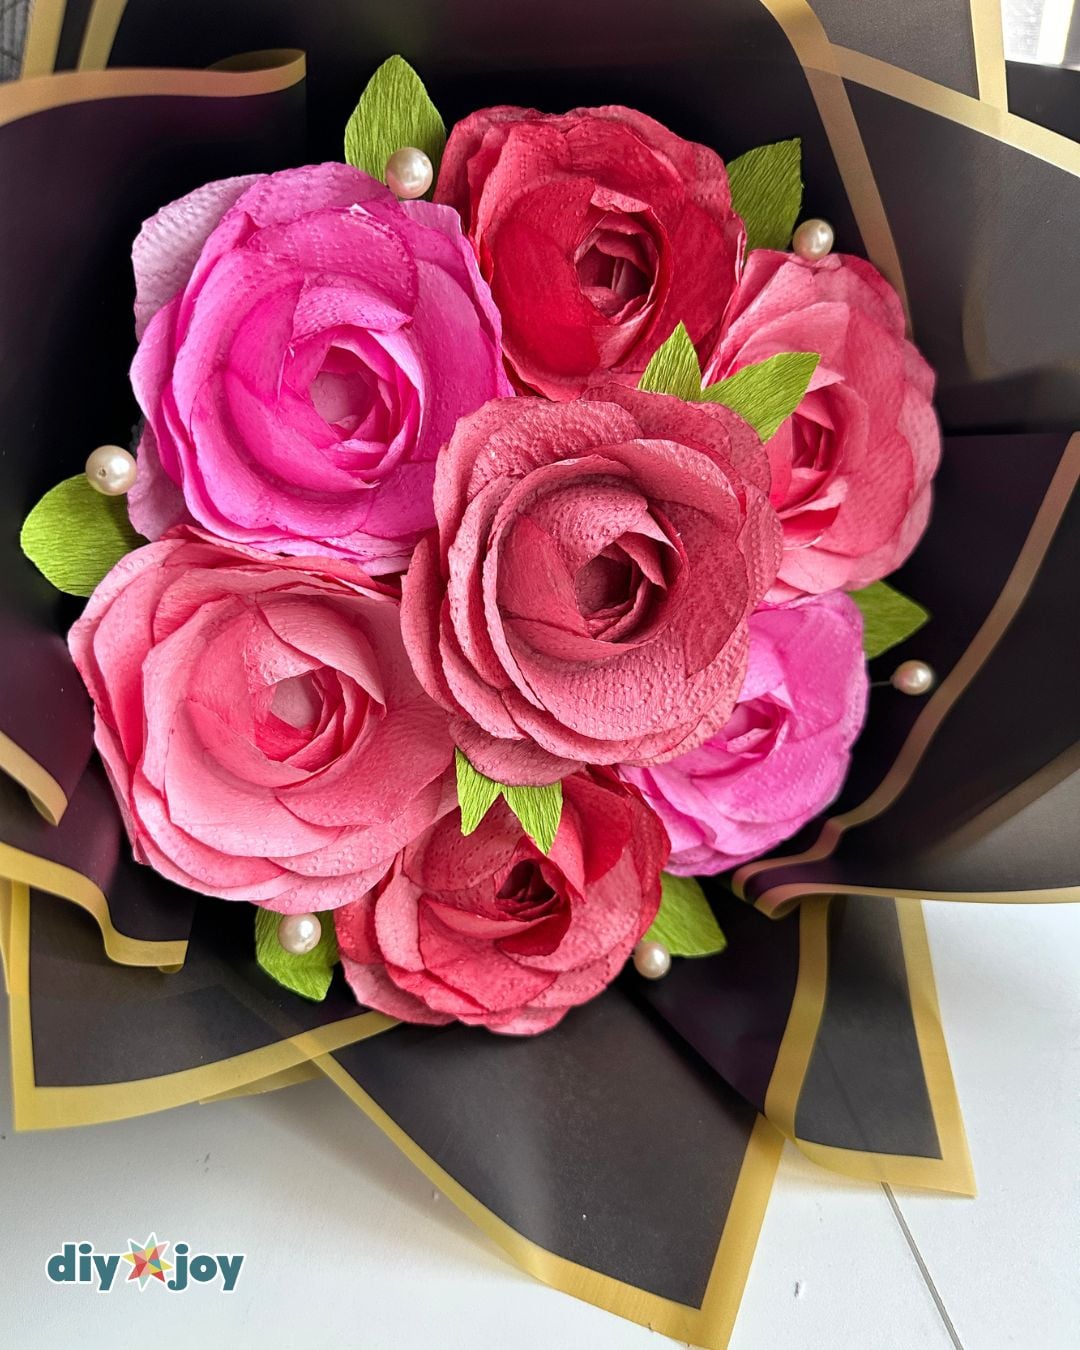
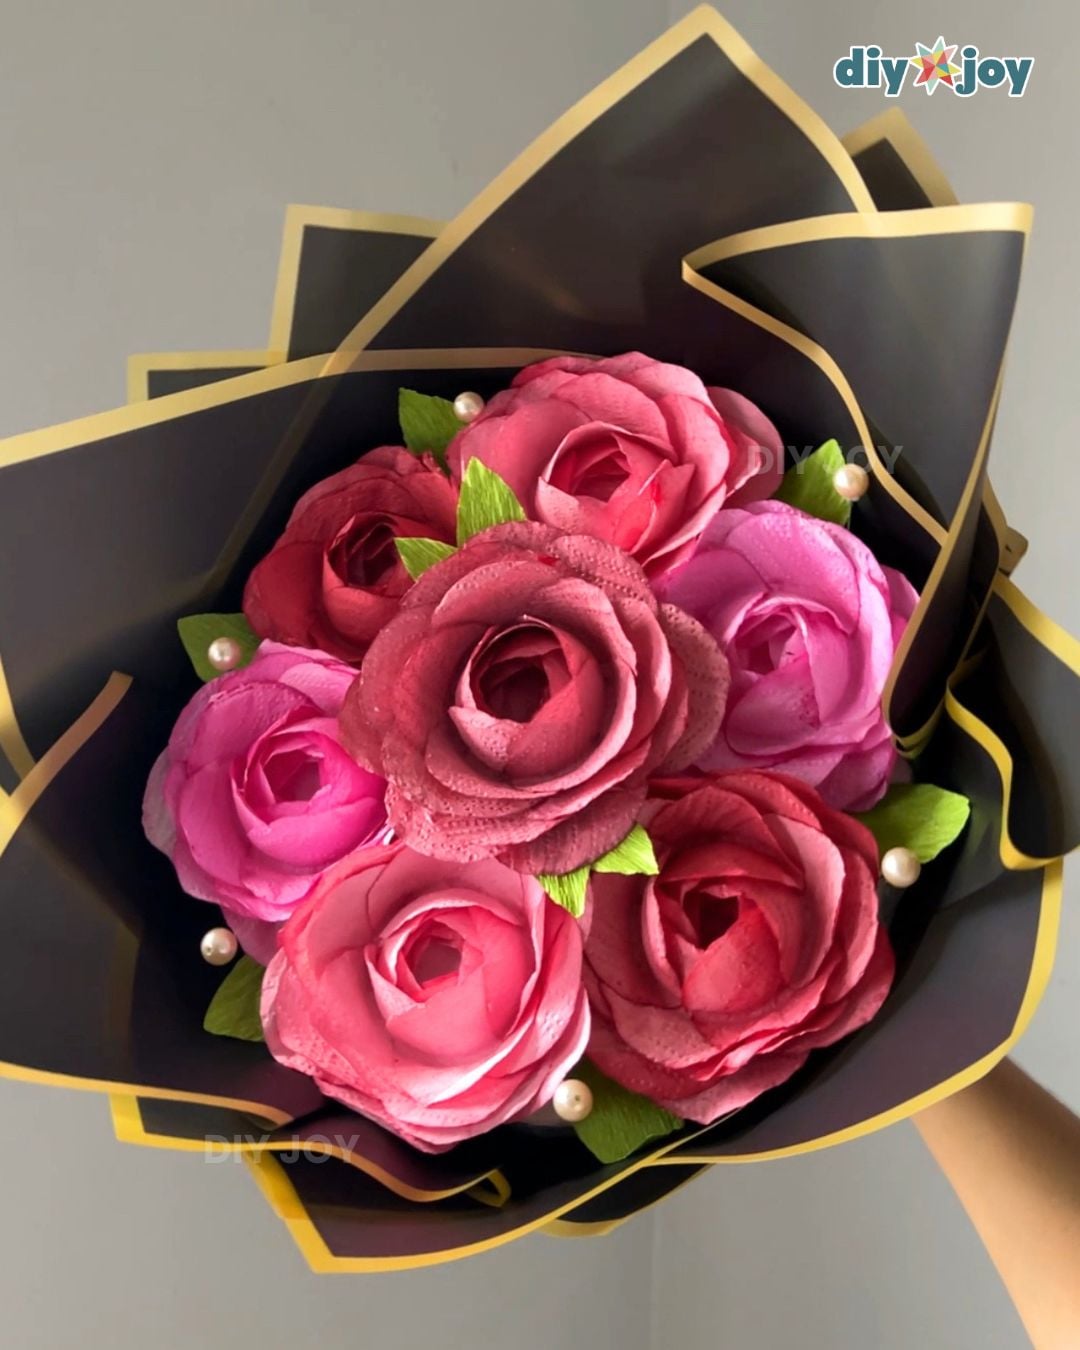
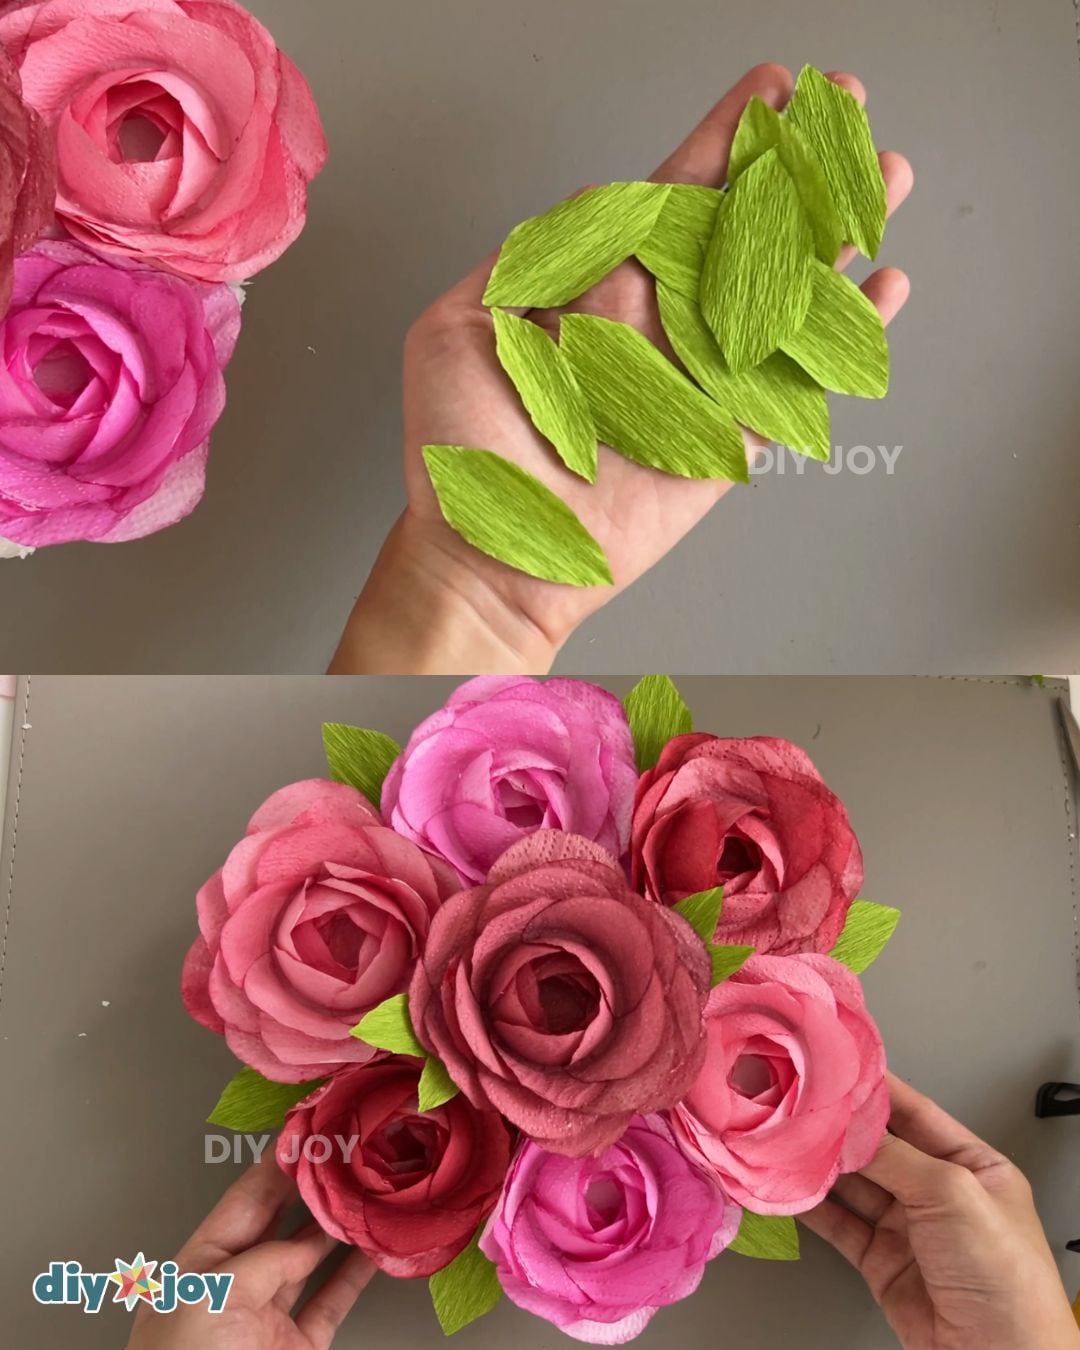
Cut an 8.3-inch or 21cm round piece of foam for your base. Arrange 6 flowers in a ring around the outer edge of the foam and glue them securely in place. Glue a small rectangular scrap of foam directly in the center, and attach your 7th flower right on top of it to create volume.
Adding leaves
Cut out small leaf shapes from green crepe paper. Glue these leaves into the gaps between your flowers to fill out the arrangement.
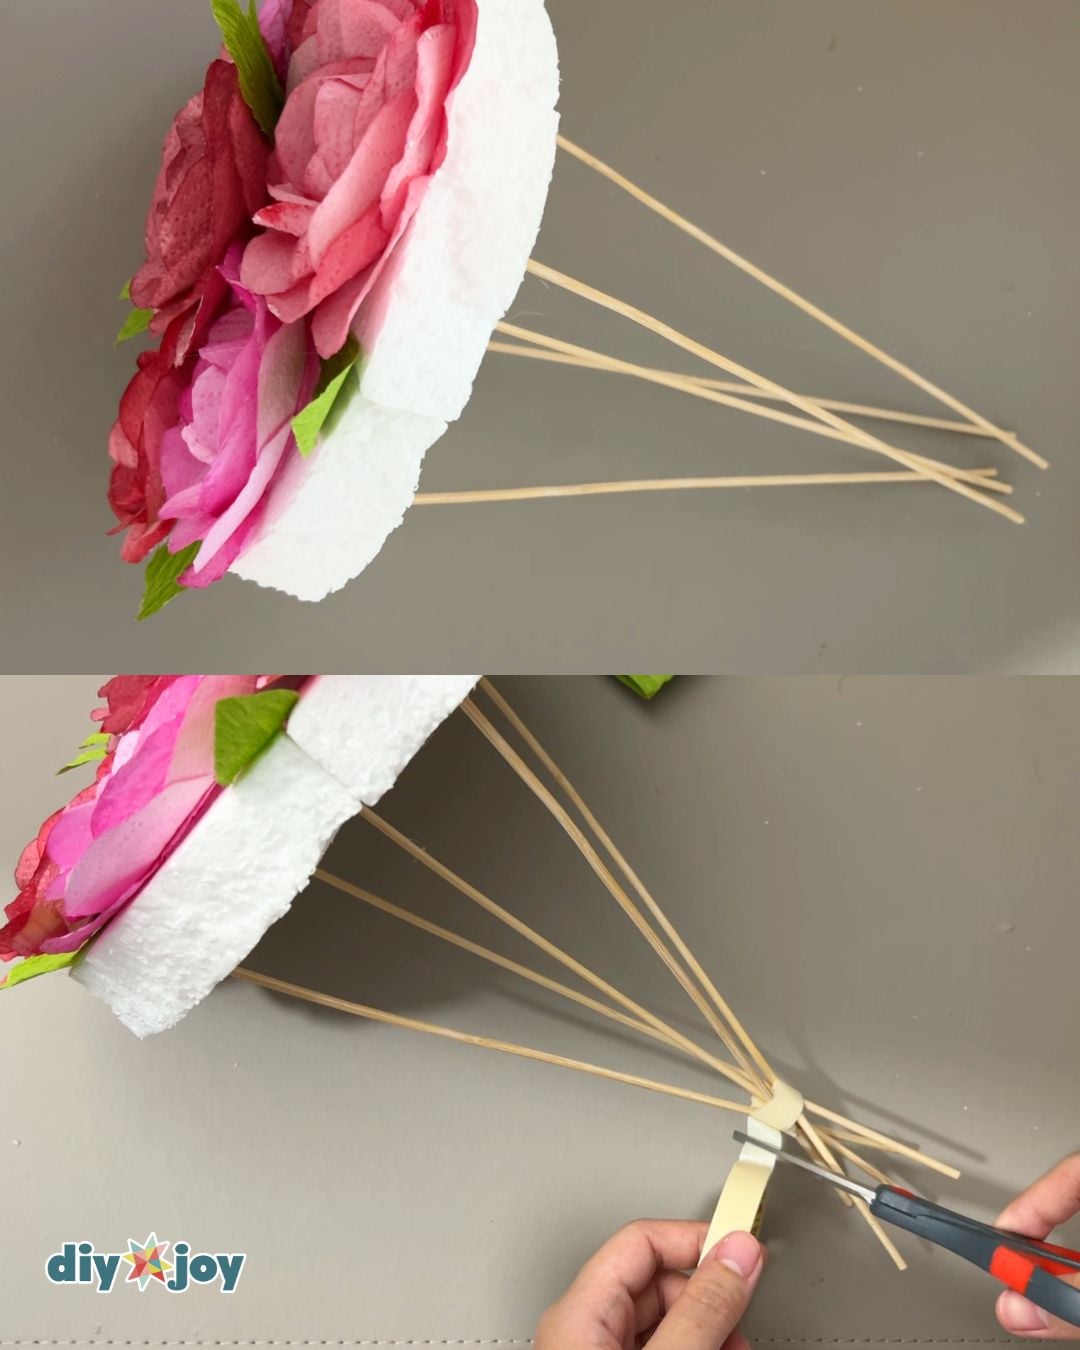
Inserting skewers
Flip the arrangement over and insert four wooden skewers firmly into the back of the Styrofoam base, spacing them evenly. Insert a fifth skewer directly into the center. Gather the loose ends of the skewers together and tape them tightly to form a handle.
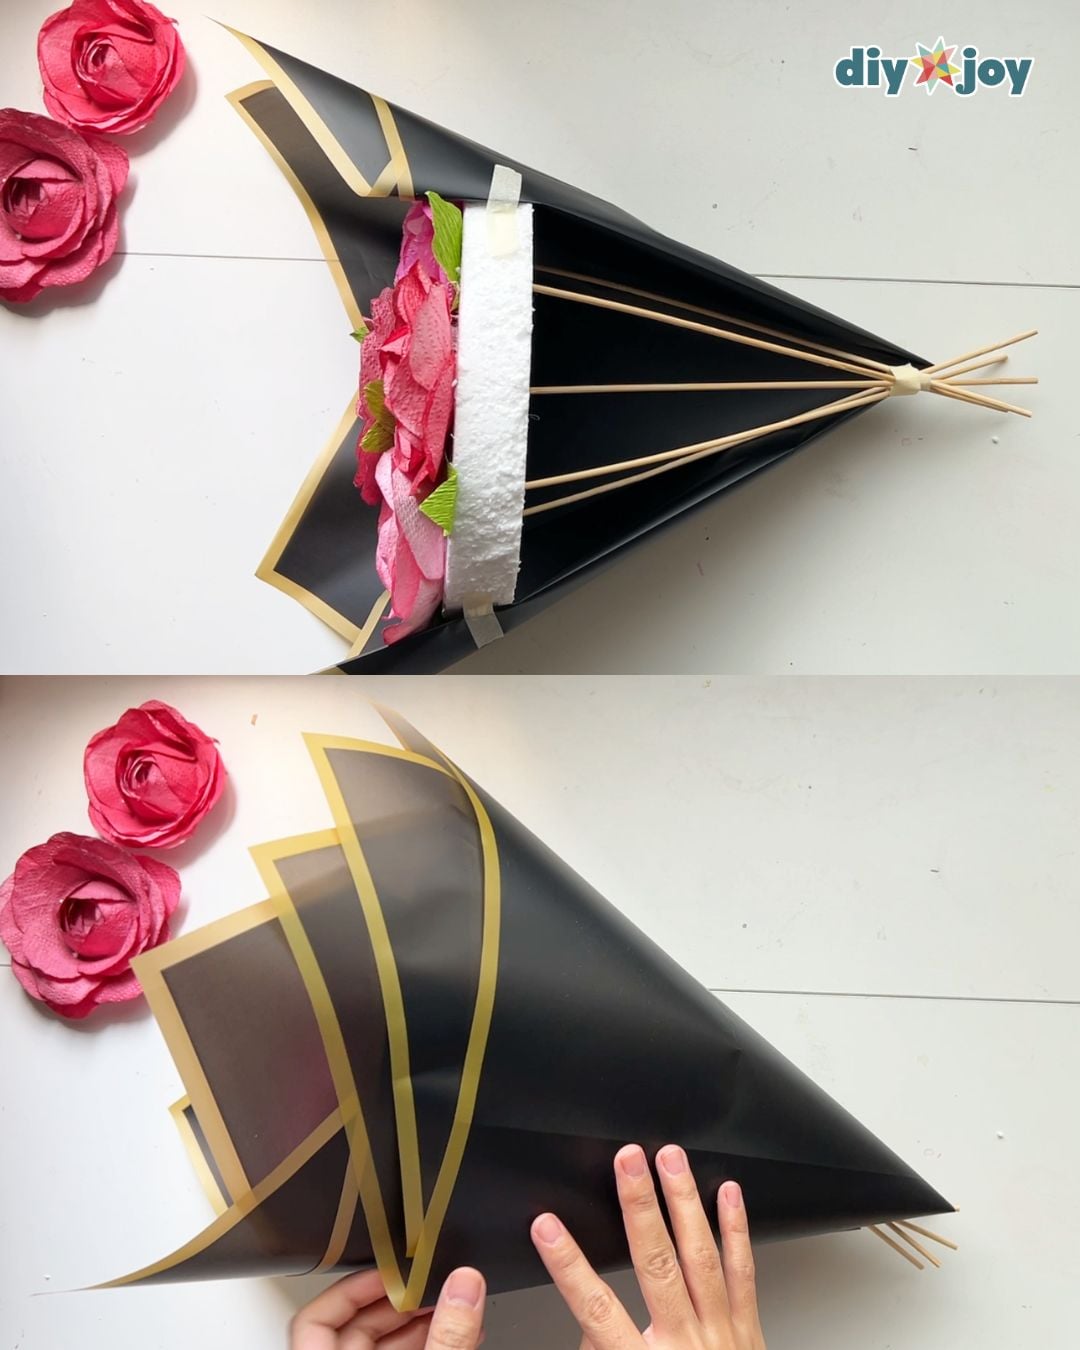
Folding the wrapping paper
Take a sheet of floral wrapping paper. Fold one end at a slant to create a nice angled edge. Next, fold both sides inward toward the center and tape them down securely. Repeat this process until you have 3 prepared wrapping pieces.
Wrapping the flower
Tape or glue the 3 folded wrapping papers evenly around the outside of the Styrofoam base to frame the flowers. Use one final sheet of wrapping paper to completely cover the bottom handle section.
Finishing touches
For an optional extra detail, cut short pieces of floral wire and glue small pearls to the ends. Insert the bare ends of the wire directly into the Styrofoam so the pearls peek out between the flowers. Finally, wrap the bottom handle of the bouquet with a ribbon and tie a nice bow.


Tools
- glue gun
- scissors
- ruler
Materials
- paper towel
- acrylic paint
- small glass
- glue
- Styrofoam
- green crepe paper
- skewers
- tape
- floral wrapping paper
- floral wire (optional)
- pearl beads (optional)
- pencil
- glue stick
![]()
Crafting Tip
The trick to getting that full bloom? Make sure the next layers after the first one don’t go in as far so that the petals naturally fan out.
Creative Ideas and Variations
- Sizes. Play with different sizes to create depth.
- Colors. Don’t be afraid to experiment with colors. I used different shades of red and pink for this floral arrangement, but feel free to use any color you prefer.
- Stems. If you want to add stems to your flowers, check out the tutorial here: Toilet Paper Flowers Tutorial
- Leaves. The leaves are optional, but they add contrast to the colors of the flowers, making your arrangement look more put-together. You can try different leaf shapes and sizes for your bouquet.
- Embellishment. The beads are optional, but this small detail made the flower bouquet look more sophisticated. You can also add butterflies with the same technique.
- Floral wrapping paper. Choose a color that will make your flowers stand out. A black
More Paper Flower Tutorials

Paper Flowers

Paper Flowers
Paper Flowers
Paper Flower Bouquet With Paper Towels Video Tutorial