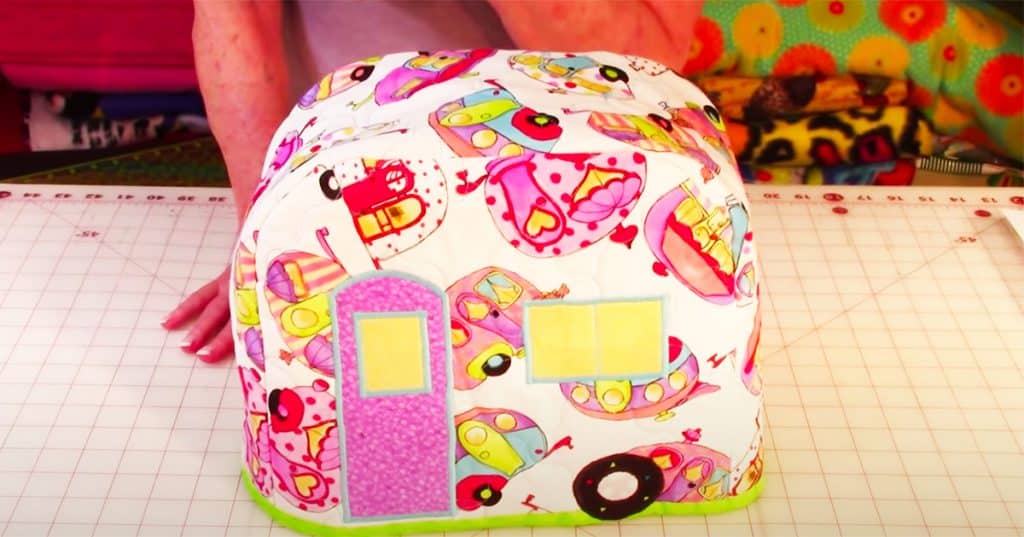
This DIY toaster cover by The Sewing Room Channel on YouTube is an easy and beginner-friendly sewing project that is a great gift idea. This toaster cover can fit a basic 2 slice toaster, but you can easily change the measurements if you have a 4 slice toaster. She makes all of her sewing projects quick and low-costing. I love how she makes a cover for almost anything in the kitchen, and it becomes super handy. This tutorial is easy to follow along with because her instructions are very detailed and thorough. I want to give this tutorial a try because it would be nice to have a toaster cover since mine gets dusty easily.
Supplies:
- bias tape
- cotton batting
- lining
- front and back fabric
- gusset
Directions:
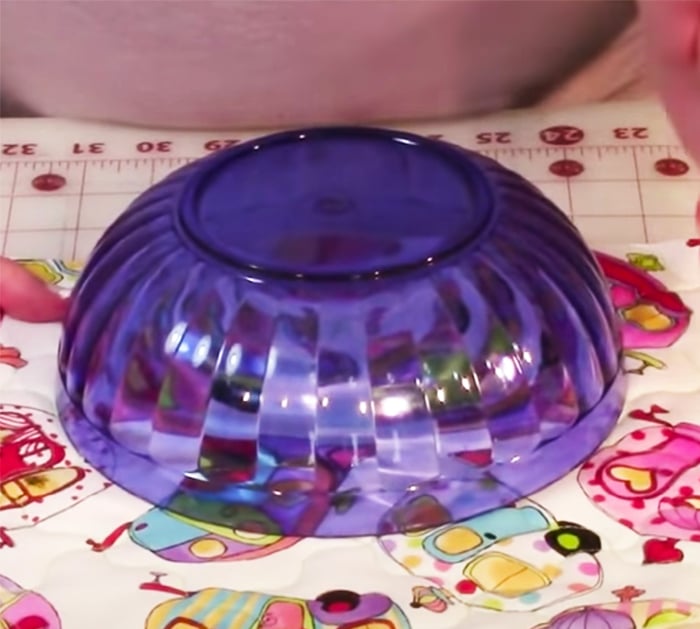
First, have all your fabric pieces cut and layer all of the fabrics together. Place the lining down, cotton batting, and the outer fabric. The cotton batting goes in between the outside fabric and the lining. Then, do a quilting stitch pattern on all of your pieces. Continue to watch The Sewing Room Channel tutorial on YouTube for further instructions and details.
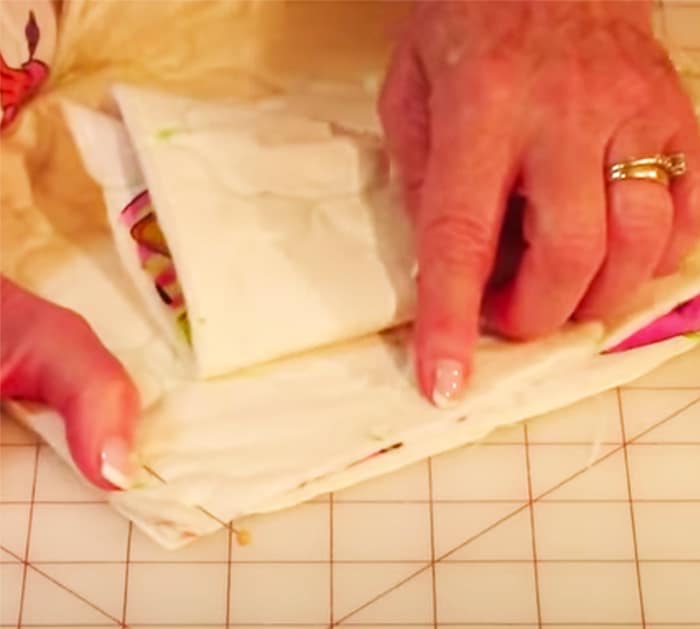
Next, attach all of the pieces together, and match the pins. Everything needs to be centered so you can easily make a 1/4″ stitch seam all around.
Overall, I love this toaster cover because it looks like an RV. Toaster covers are convenient and useful if you don’t use the toaster every day. Plus, you can use whatever fabric design you like to match the aesthetic in your house. This sewing project is creative and it inspires me to create my own and for others. All you need for this project are basic sewing skills, and then you’re good to go.


