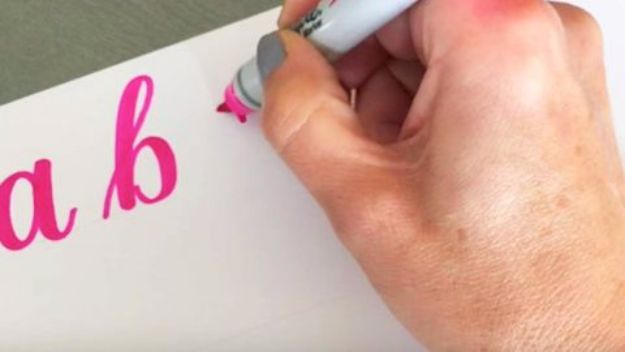
Have you noticed all the cool hand-lettered type lately on everything from signs to banners to cards to crafts? This fun style is called “brush lettering” and I first saw it being used by some of my favorite DIY bloggers and designers. I thought it was lovely, but figured it was not for me, since my handwriting is not all that great. Turns out brush lettering is something that is pretty easy to learn, and with practice, you will soon be the hand lettering expert of your neighborhood. With easy to follow step by step tutorials for beginners and some more advanced techniques for the experienced in lettering, things like shading and other cool accents, you are sure to learn some helpful new tips here. Shadows, shapes and specialty letters can all be made easily when you follow these tutorials. Learn a nifty new skill today with these easy brush lettering tutorials.
Brush Lettering Tutorials
1. Faux Calligraphy
If you find yourself intimidated by using a dip pen, then faux calligraphy is for you! This ultimate tutorial shows you how to create faux calligraphy in a step-by-step format and shows you useful ways to utilize faux calligraphy at its finest.
2. Create Colorful Rainbow Brush Lettering
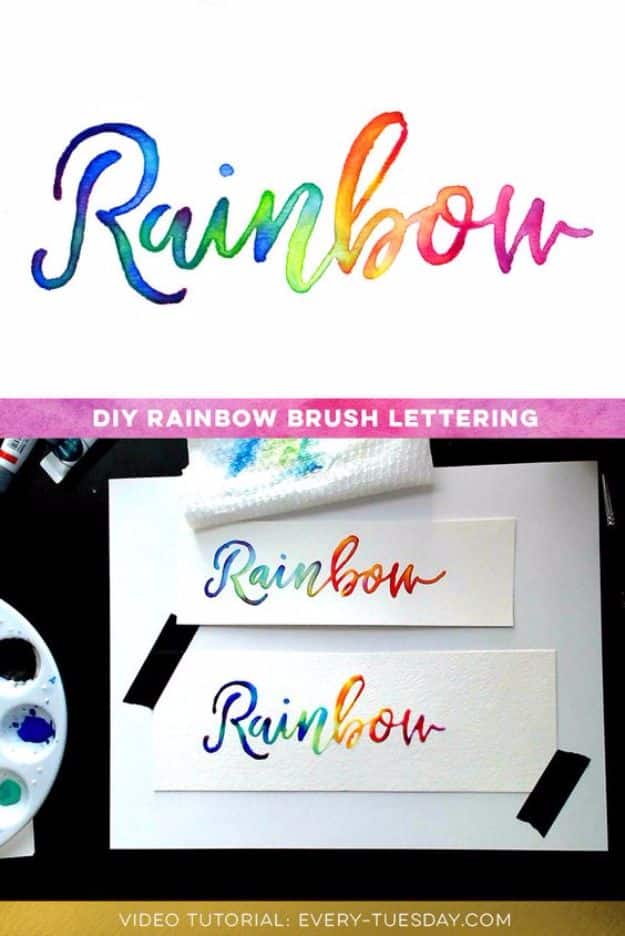
A style that is gaining in popularity over on Instagram is rainbow brush lettering. Follow this step-by-step tutorial to create a beautiful gradient fill for your lettering. There are two methods shown in the video – one to ease you into the process and the other to take full advantage of all the colors you’d like.
3. Create Blended Lettering
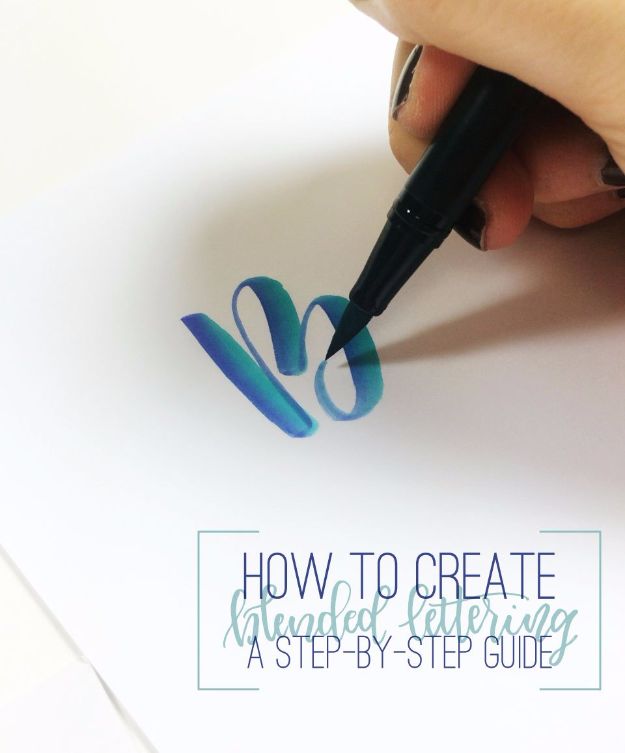
To get the blended lettering look, you’re going to want to look for colors that complement each other or the same color in a very light and very dark shade. Play around with different color combinations because you can really get some amazing blended lettering results depending on which colors you choose.
4. Hand Lettering for Beginners
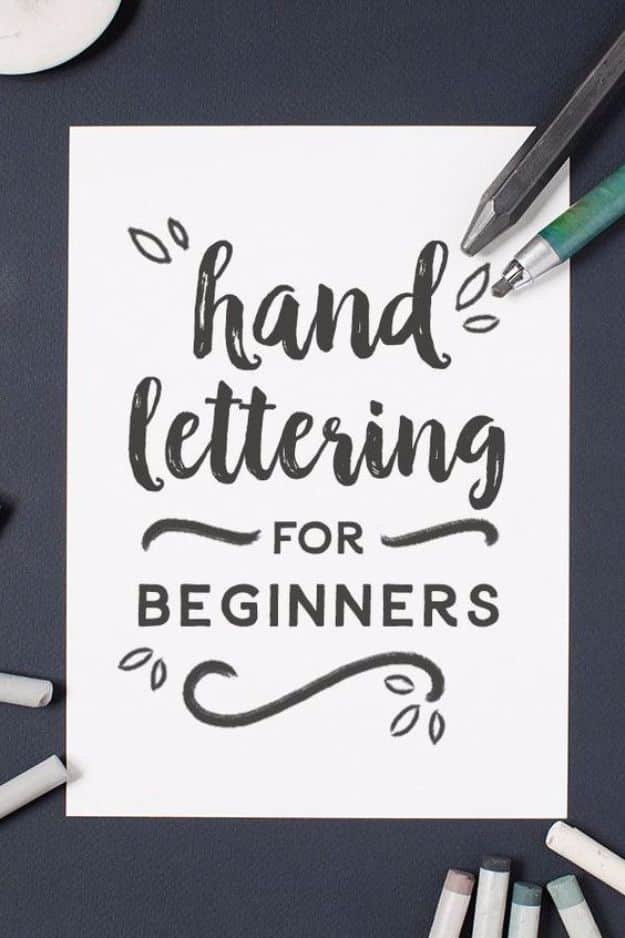
Learn how to create beautiful hand lettering of your own! This lettering tutorial will teach you the basics of hand lettering and learn about perfecting the motions of your pen. So, get some basic materials, start practicing, and you’ll be well on your way to creating unique and personalized text for any occasion.
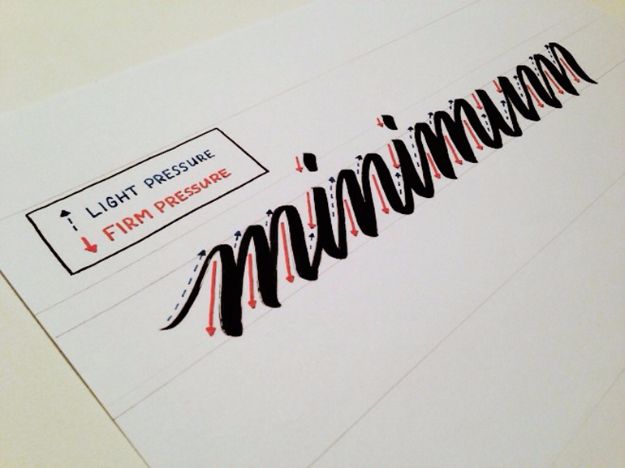
5. Looping Letters
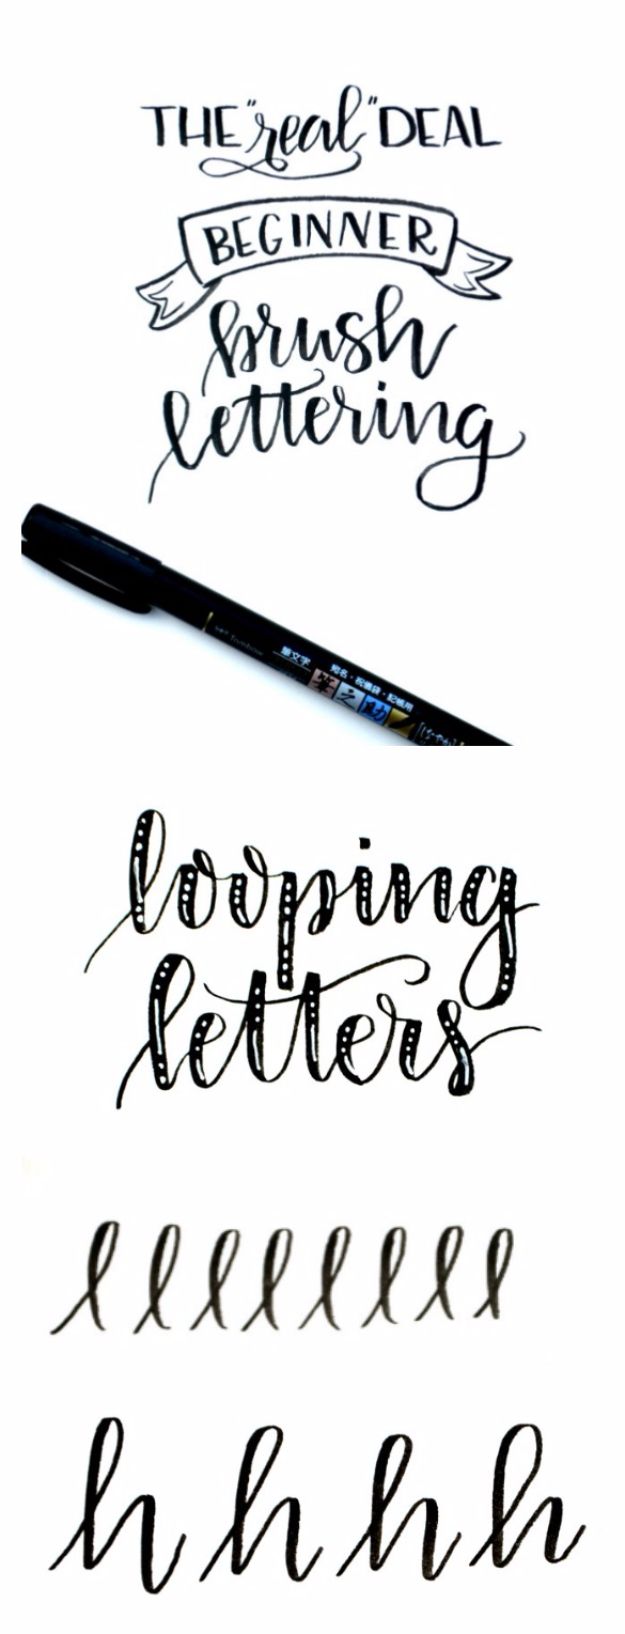
Master the real technique of Brush looping Letters with this simple tutorial from One Artsy Mama. Brush lettering requires you to control the angle and pressure of your pen to create thick down strokes and thin upstrokes, which creates the look we’re all so crazy about!
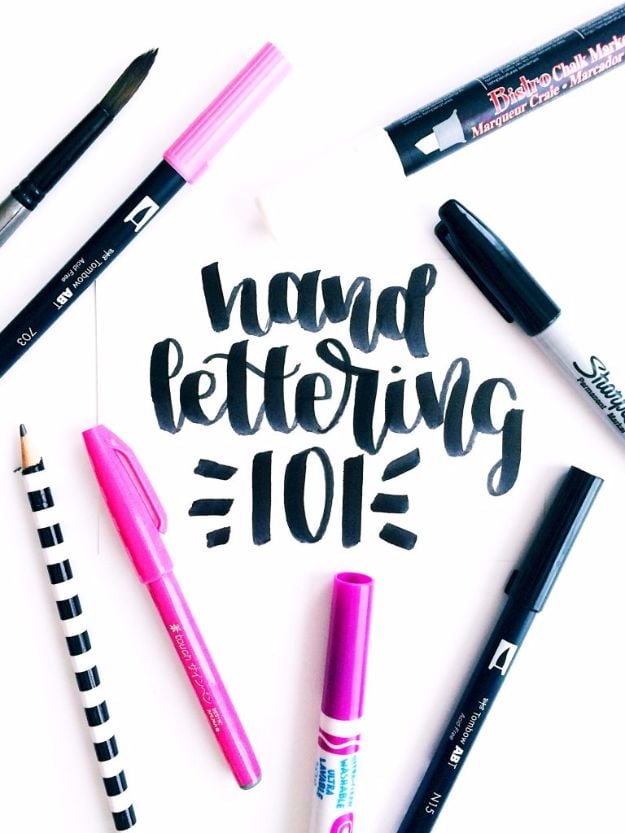
6. Hand Lettering 101
Discover the best ways to learn how to master hand lettering basics and why font really matters. Start with cheap materials and work your way up. With this simple tutorial, you can write a word, thicken up the down strokes, and then round out and smooth out the rest.
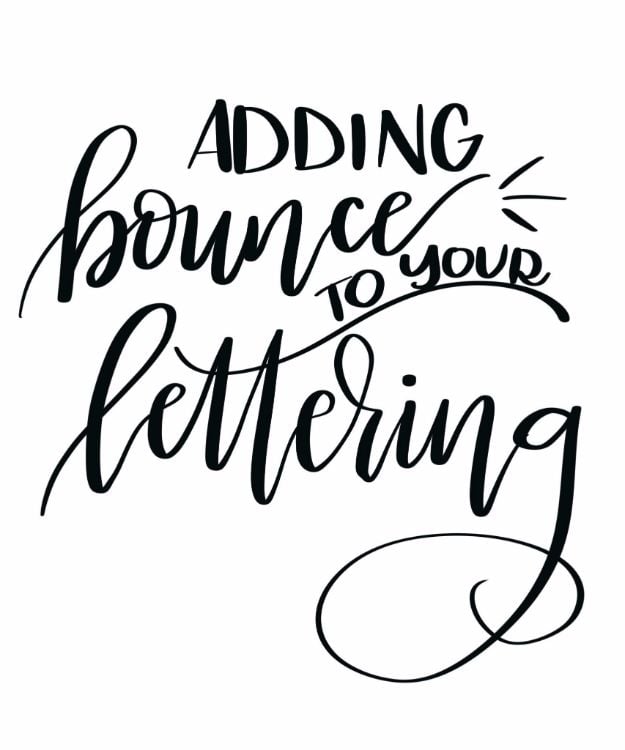
7. Basic Bounce Lettering
Bounce lettering can help you add flair to your writing and is considered a technique in modern brush lettering calligraphy. Many of the lettered images you love on Pinterest and Instagram are so aesthetically appealing because of the way the letters seem to bounce around inside a word rather than being straight and even like you’d expect.
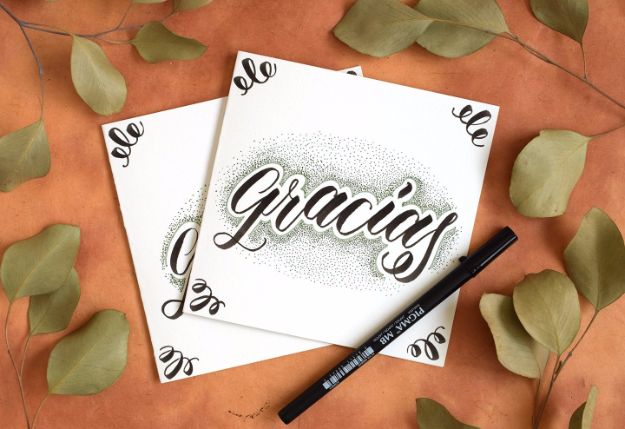
8. Magnetic Dots Brush Pen Lettering
Create compelling lettering with your brush pen! In this tutorial from The Postman’s Knock, you’ll learn how to blend, as well as how to use tiny dots to frame a message. To create it, you’ll first write your word in brush pen lettering. Make sure you bounce the letters up and down to give the word some curve!
9. Lettering Basics
The thing with pen pressure is that it varies from brush pen to brush pen. Not all pens are the same. Some are felt, synthetic or nylon and each one has its own uniqueness. These materials all have a different effect on the sensitivity and longevity of the brush tip.
10. Brush Lettering DIY
Many of you have probably wanted to know how to do this special lettering for cards, chalkboard art, and canvases, so I thought I’d take a few minutes today to share this great tutorial with you and the most basic way to achieve this kind of brush-lettered look.


