This is a brilliant and cheap DIY project that will save you an incredible amount of money! I can’t believe what the retail establishments actually charge for one of these!
When you think of a stylish ceiling light, odds are that you are thinking of pretty much anything but the universal builder-grade glass dome lights. There are lots of nice flush mount fixtures that you can purchase to replace your standard lights, but what I love about today’s tutorial is that it is a simple way to update the existing fixture rather than just replacing it.
As part of my guest bedroom makeover, I really want to install a ceiling light. There is currently an ugly light fixture in the room. I got really excited about a new fixture and started my online search, but was quickly saddened by that lack of decent looking options.
The ceiling in my guest bedroom is only 8′, so a flush mount light was my best option. I searched and searched to find a light that had style and interest but at the same time, wasn’t so showy that it overpowered the small room.
After weeks of looking, I had finally found a handful of my favorite traditional flush mount fixtures. Then I ran across this awesome DIY project that was perfect!
Believe it or not, the fixtures like the one in the tutorial run anywhere from the upper 500’s to over $2,000, as you will see displayed in the attached tutorial.
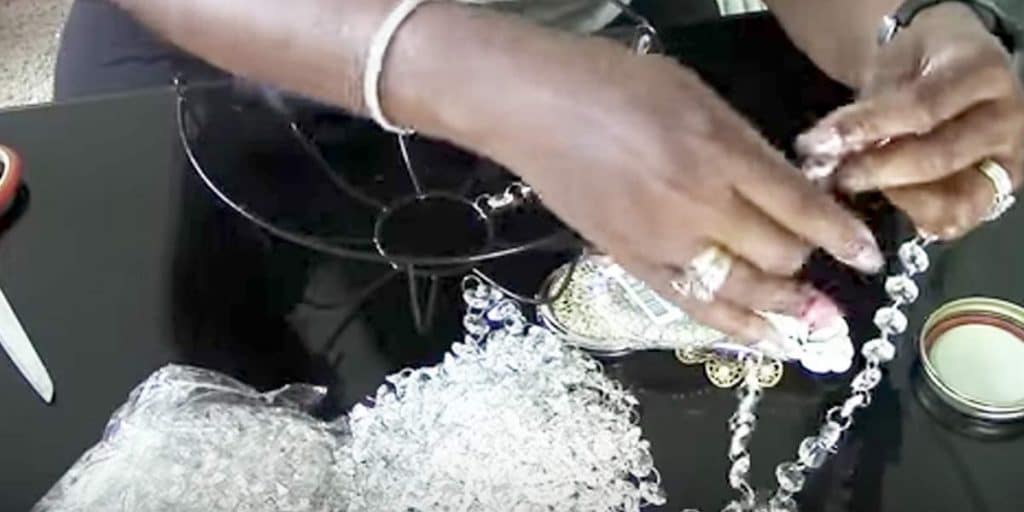
Watch how Design on a Dollar makes this fabulous beaded flush mound light fixture in her step by step tutorial.