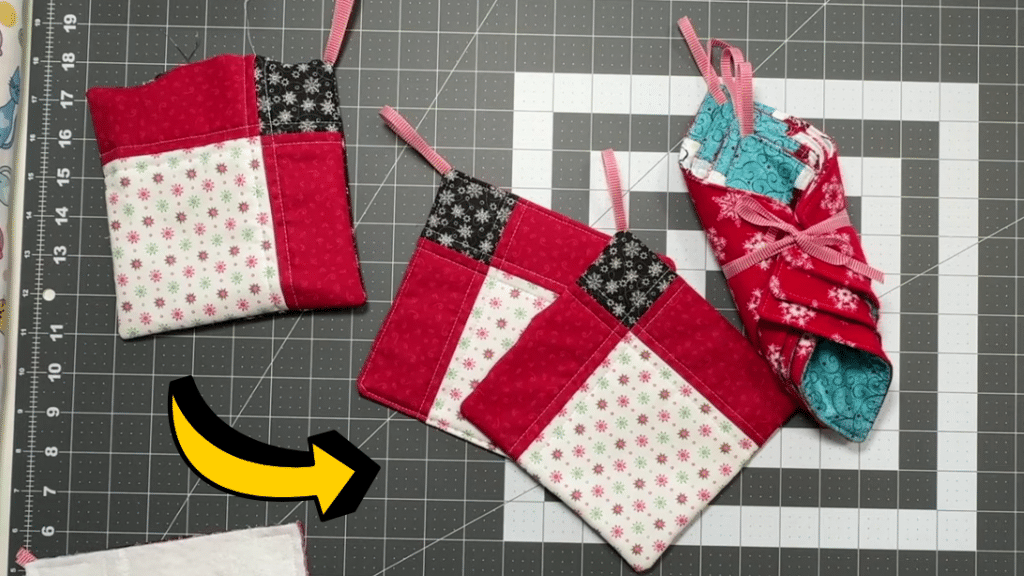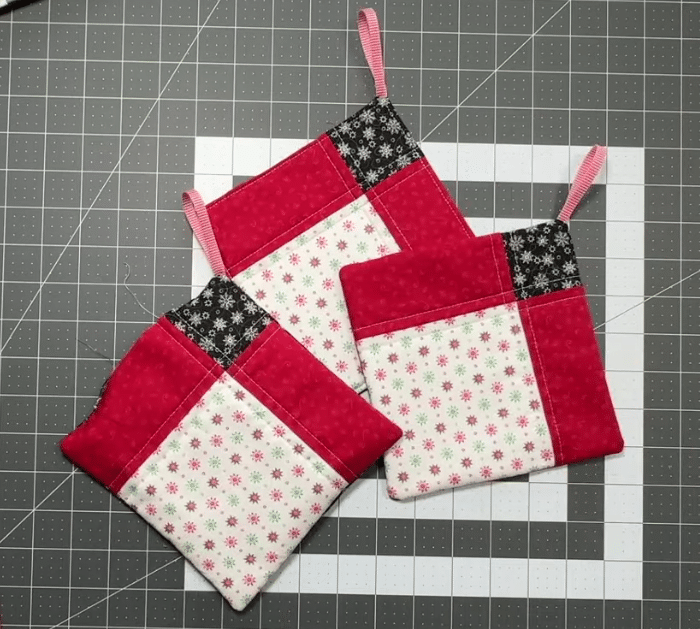
There’s no better feeling than receiving a handmade gift from a loved one and if you want to be the one to give this time but you don’t know what to make, then check out this quilted 9-patch potholder by Tanya L Jorgensen on YouTube. This quilt project is beginner friendly so don’t worry if it’s your first time quilting or sewing.
RELATED: How to Make a Quilted Daisy Potholder
You only need some 5-inch fabric squares, a batting fabric, and a backing fabric. Once you learn the steps to making these quilted potholders, you can go ahead and switch the fabric to your preference. Make sure to also watch the full video tutorial below for more details and tips. I hope you enjoy making this project as much as I did!
Materials for Quilted Potholders:
- 5-inch fabric squares
- Batting fabric
- Backing fabric
- Ribbon, for the hanging loop
- Marking pen, pencil, or chalk
- Ruler
- Scissors or rotary cutter and a cutting mat
- Fabric pins
- Needle and thread
- Iron, for pressing
- Sewing machine
- Pattern (Click here to download the pattern)
How to Make Quilted Potholders:
Step 1
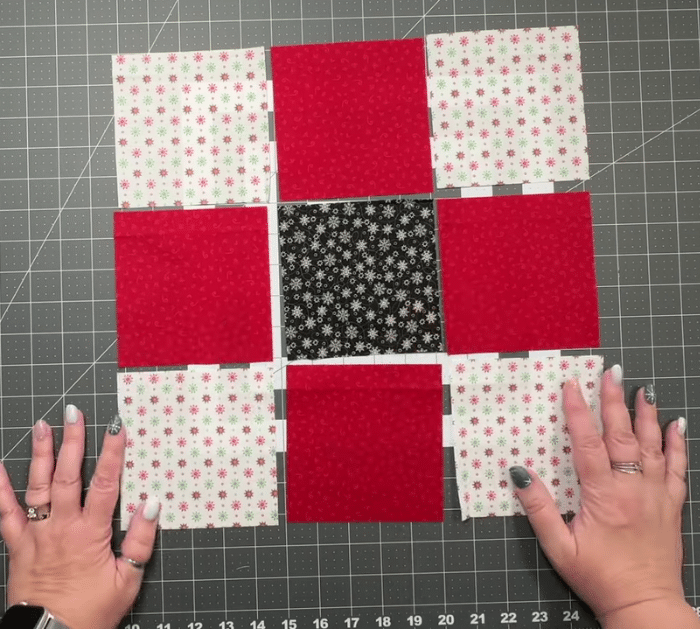
Cut the fabrics to size, then arrange the squares into a 9-patch block, and stitch them per row before stitching the rows to each other, make sure to press as you go. Cut the block in half based on the center square and make sure to cut in both directions, and you’ll end up with 4 block units.
Step 2
Cut the batting slightly larger than your quilt block, then place the quilt on top, and double the batting if you want. Quilt the layers together however you want, then cut out the excess batting around the edges, and then cut the backing to the same size as your quilt piece.
Step 3
Lay the backing and quilt piece together with their right sides facing, then make sure to put the ribbon in the top corner as shown in the video, and pin them in place. Stitch them all the way around, then leave a gap for turning, and turn the piece right side out. Poke the edges, then tuck the opening, and stitch it close.
*All image credit belongs to Tanya L. Jorgensen via YouTube. Follow and subscribe to her channel for more!


