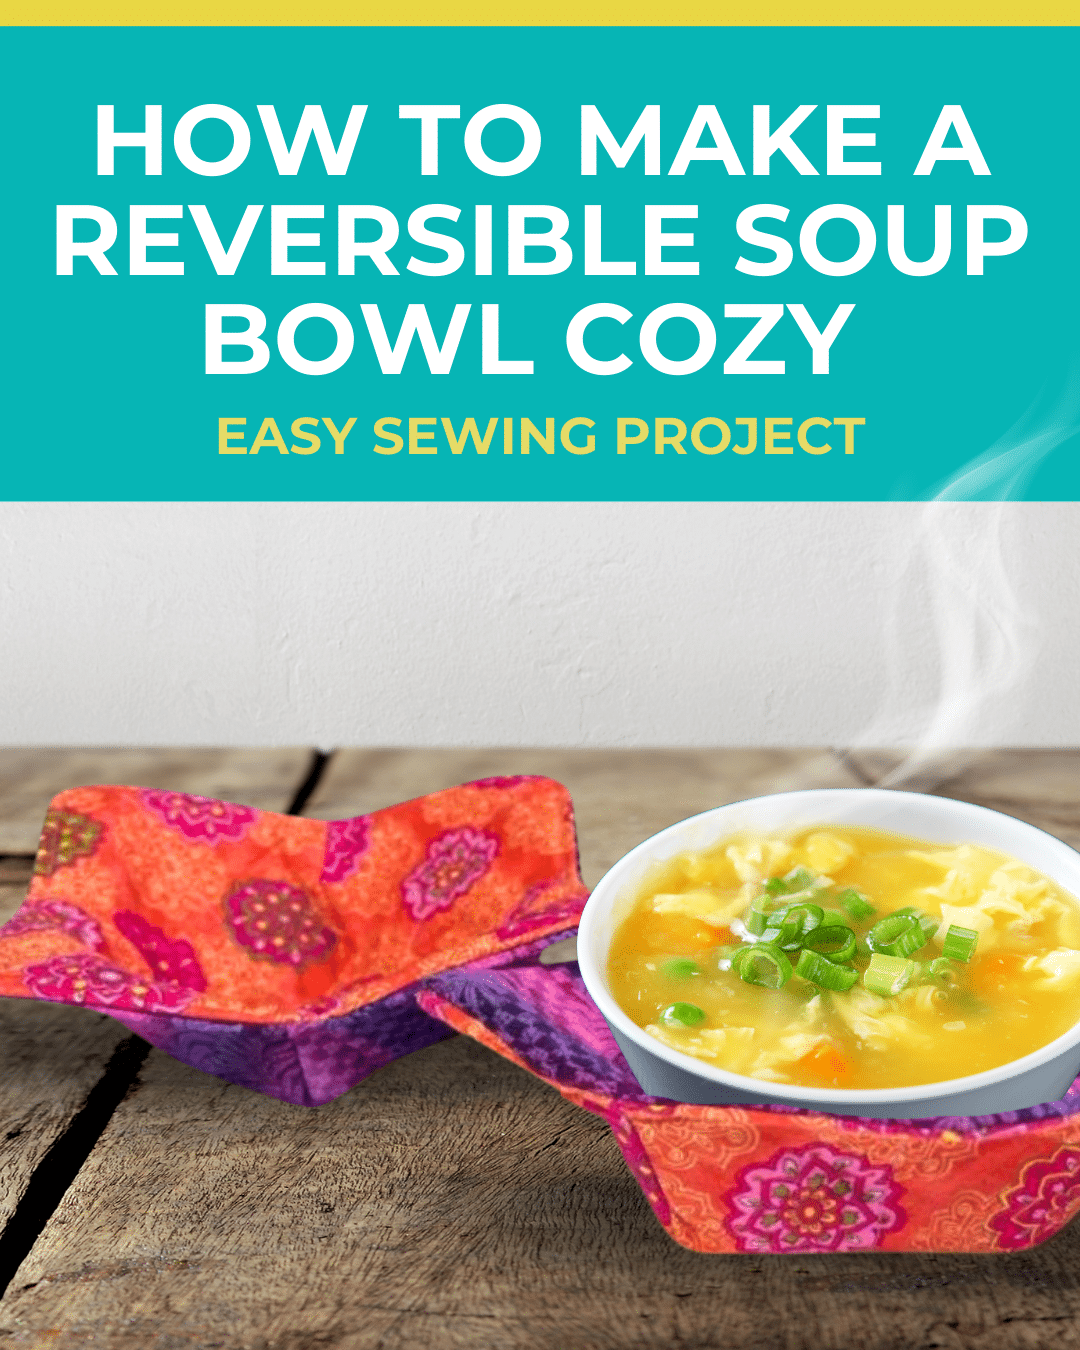
It’s soup season, which means it’s time to make your favorite soup recipes! To keep your hands and tabletop protected from the hot dishes, use a soup bowl cozy. It is the perfect project to make this Fall or upcoming winter. If you love cooking soups or stews at home, make Sew Outside The Box‘s soup bowl cozy.
RELATED: Sewing Tutorial: Reusable Snack Bags
Not only does it protect your skin, but it also keeps your soup warm. It’s definitely a game changer if you always burn your hands carrying your food to the table.
Making this soup bowl cozy is super easy and not as hard as it may seem. Anyone can follow the steps easily. Watch the video tutorial below for the detailed instructions. Here’s another project you might want to try: DIY Mug Cozy
DIY Soup Bowl Cozy Materials
- pattern
- main fabric
- lining fabric
- batting
How to Make a Soup Bowl Cozy
Step 1:
Fold the main, lining, and batting fabric. The pattern should fit in. Place the pattern on the folded fabric so that the fold line is right at the edge. Trim around. You need 1 main, 1 lining, and 2 batting in this shape.
Step 2:
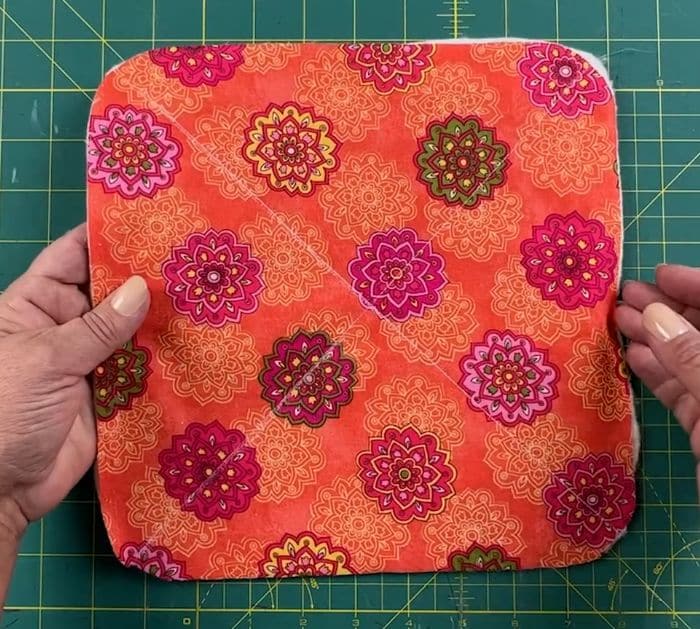
Place the lining and main fabric on top of the batting pieces. Draw diagonal lines from corner to corner in both directions on each unit. Sew directly on the X of each of the pieces.
Step 3:
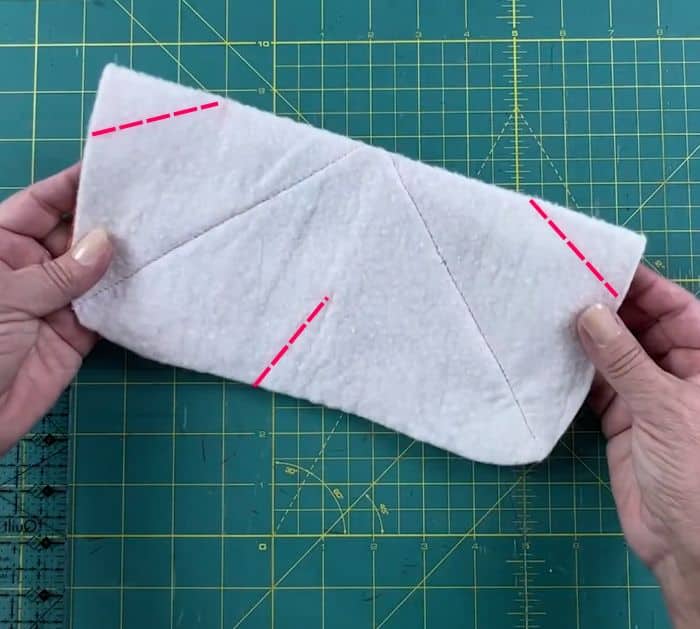
Fold the units in half. Take the pattern and make markings on the fabric, using the lines as a guide. It is just one inch inside from the bottom corners and 2 inches down from the top corners. Connect the dots using a ruler. Open and fold the units in half in the other direction and do the same thing.
Step 4:
Fold and sew on the side lines you just drew. Make sure to do a backstitch at the very end of each one. Open and fold the other way and sew on the lines. Trim about 1/4″ from the seam lines. Do this for both units.
Step 5:
Flip one of the units then place it inside the other unit, right sides together. Pin it in place. Mark an opening on one of the sides. Sew all the way around with a 1/4″ seam allowance, except for the opening. Make sure to backstitch at the beginning and end.
Step 6:
Flip it right side out from the opening. Push out all the corners. Flatten the edges, then top stitch around the edges.


