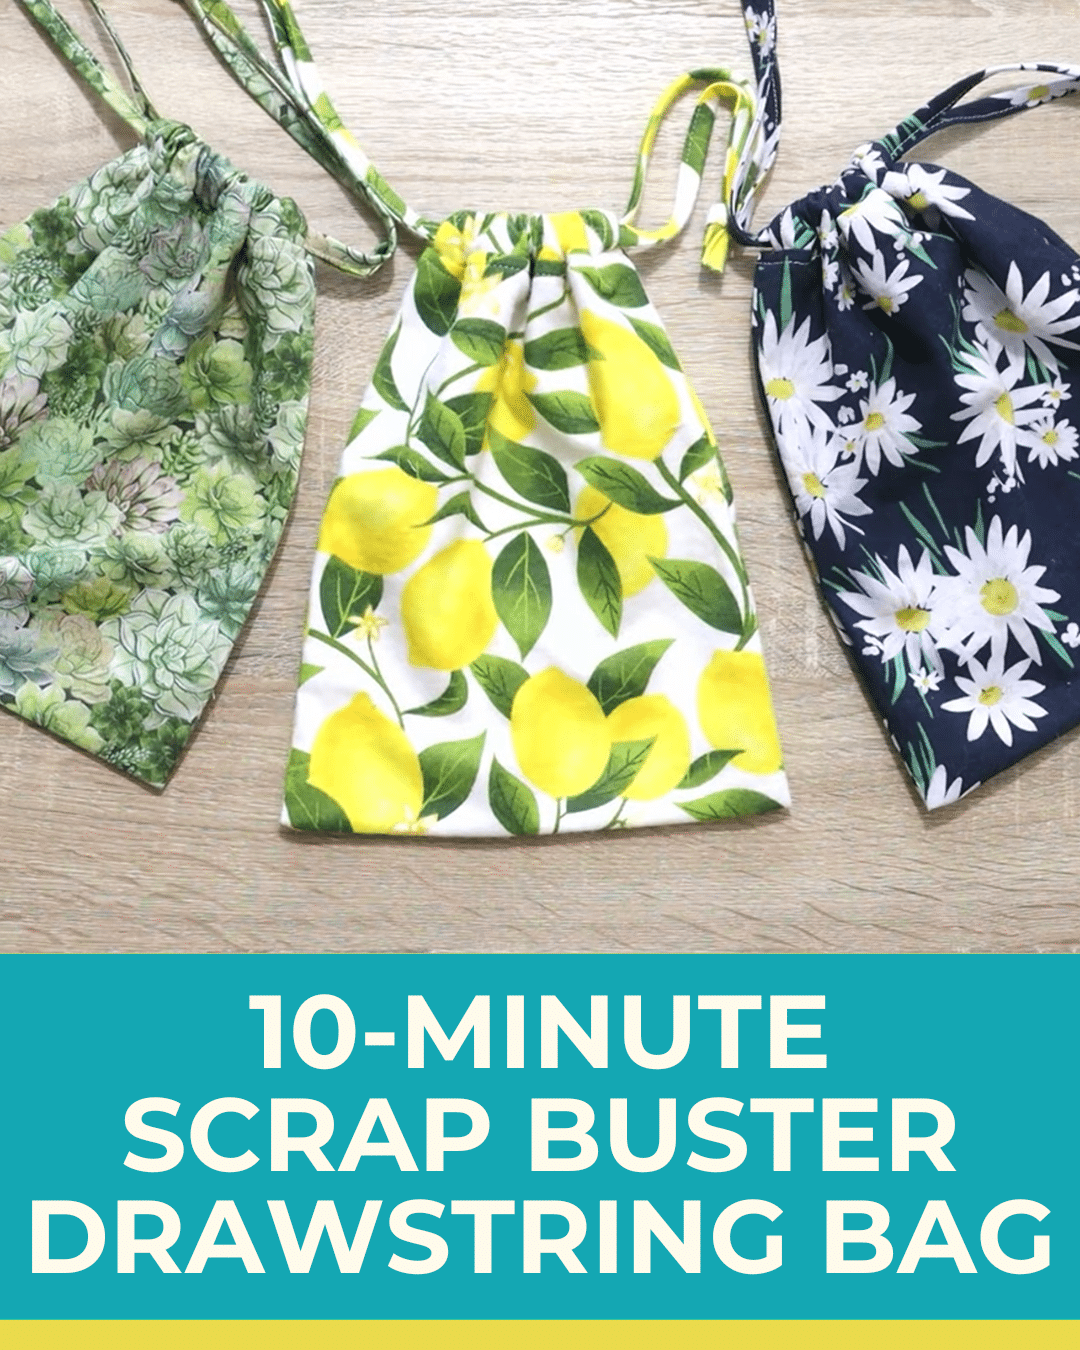
Have a ton of fabric scraps? Don’t throw them out! This 10-minute scrap buster drawstring bag is the perfect way to reuse them. It is a quick and easy sewing project that anyone can make. Let Thoughtful Creativity – CRAFT, SEW, DIY teach you how to make a 10-minute scrap buster drawstring bag.
RELATED: 49 Fabric Scrap Crafts Ideas for Leftover Material
The best thing about these drawstring bags is that you can easily make them in different sizes. You can use the small ones to store chocolates, jewelry, knickknacks and the bigger ones for shoes or clothes. It is also the perfect gift or souvenir bag, so it’s great for Holidays, birthdays, and events. If you have excess fabrics lying around your home, this is the best way to repurpose them.
Easy Drawstring Bag Materials
- fabric scraps
- 2 pieces of 22″ long ribbon
How to Make a Drawstring Bag
Step 1:
Start by cutting your fabric scraps.
- 2 pieces of 8″ x 9″ rectangle fabric (A)
- 8″ x 5″ rectangle fabric (B)
Step 2:
Take fabric B and place it right side down. Fold the short edge about 1/4″ once and 1/4″ twice. Go into the sewing machine and stitch it down. Repeat on the other short edge. Fold it in half and cut through the folded side. Let’s call these pieces C units.
Step 3:
Grab one fabric A and place it right side up. Take one unit C and fold it in half lengthwise wrong sides together. Center unit C on top of fabric A on the short side. Stitch it done with a 3/8 inch seam allowance.
Repeat the same process with the other fabric A and unit C.
Step 4:
Finish the raw edges on top. You can use a tightly spaced zigzag stitch, an overcast stitch, a flat felled seam, or do it on a serger.
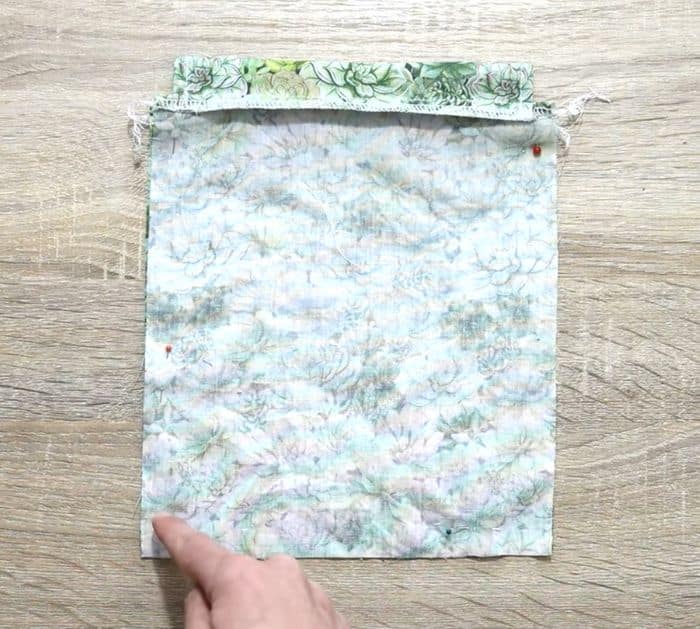
Step 5:
Flip the small parts up and place them right sides together. Pin them together. Sew on the sides and bottom. Finish the raw edges by using the serger. You can also do a French seam on the inside but you will need to leave larger seam allowances in order to complete it.
Fold the seam allowances and to the side. Turn out the corner to get a nice 90-degree corner.
Step 6:
With the seam allowances from the top facing down, give it a quick top stitch from one side all the way around.
Step 7:
Remove loose threads and press flat.
Step 8:
Take one of the ribbons and fold it in half. One end will go on the back and the other on the front. Repeat the same step with the other ribbon but on the other side. Grab the open ends and tighten it up. Tie a knot with two ends in it.
You can also use two strips of the same fabric. Each one should be 22″ long and 1 1/4″ wide. To create the tie, fold the edges toward the middle, then fold it one more time. Stitch on the edge. Thread them the exact same way as the ribbons.
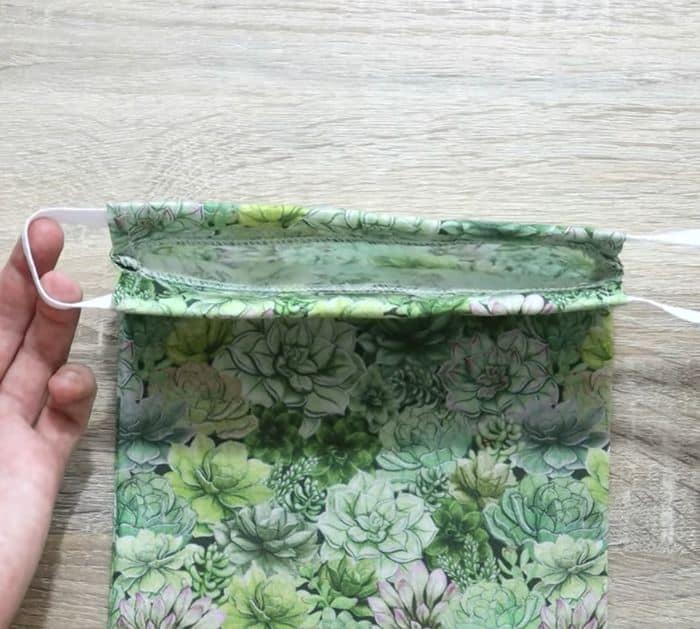
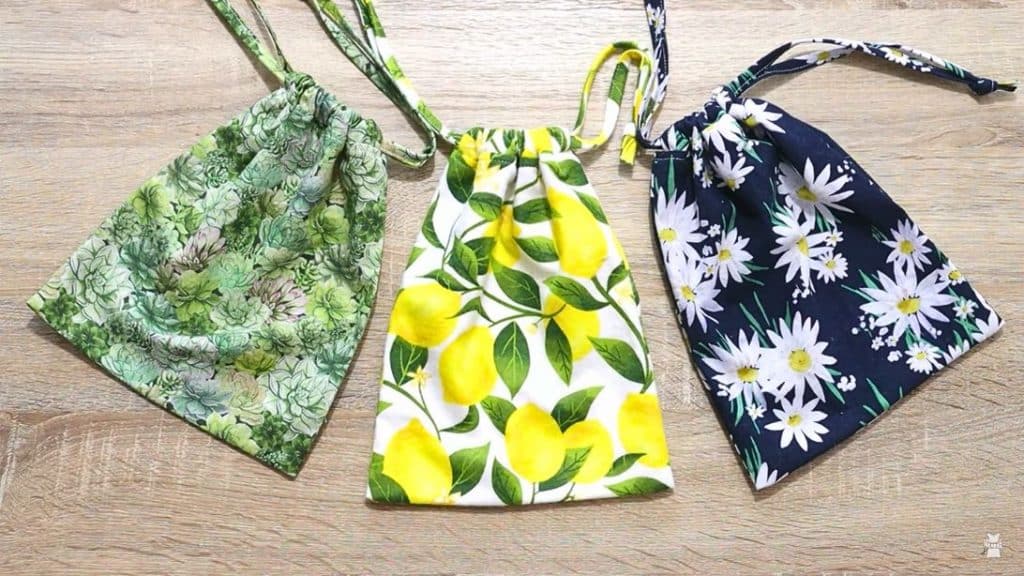
10-Minute Scrap Buster Drawstring Bag