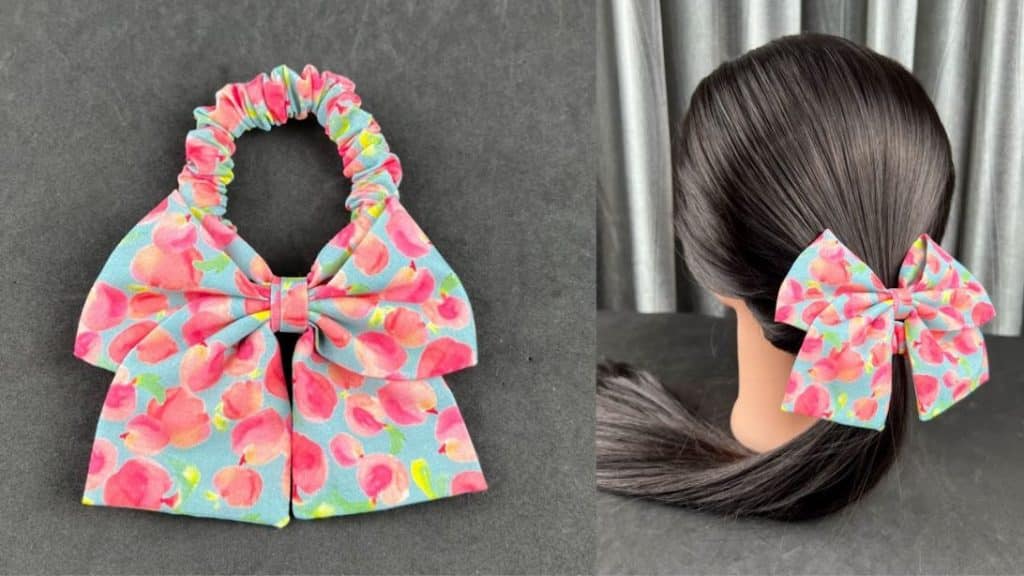
Bows have been popular ever since, but I think they have been getting more attention lately. I have seen them in clothes, hats, earrings, bags, and pretty much everything. This trend is everywhere. Many stores have been getting high sales because of their bow items, so I think this DIY bow scrunchie is a great make-and-sell idea.
RELATED: How To Tie A Perfect Bow Easily
If you have been thinking of selling DIY accessories, this is your sign to make bow scrunchies! Let Rin DIY teach you how to make one by following the step-by-step instructions below. The steps are very easy and only require basic sewing skills. You can make hair ties in different colors and make the bows bigger or smaller. Have fun with this small sewing project!
Easy DIY Bow Scrunchie Materials
- 4.5 x 54 cm strip
- safety pin
- 20 cm elastic
- 15 x 40 cm rectangle
- 4 x 12 cm rectangle
How to Make a Bow Scrunchie
Step 1:
Get the strip and fold it in half lengthwise right sides together. Sew on the edge.
Step 2:
Take a safety pin and thread it on one end of the tube. Close it, then insert it into the tube all the way through the other end to flip it right side out.
Step 3:
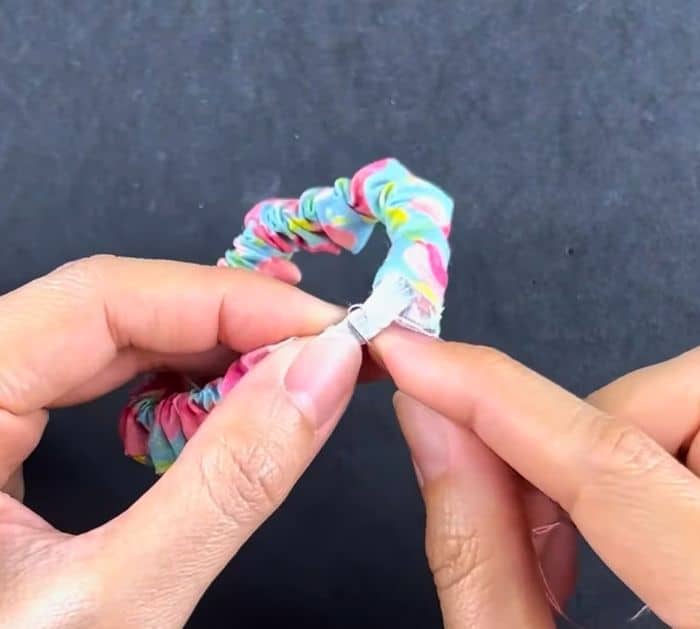
Thread the safety pin on one end of the elastic. Close it and insert the safety pin until the end is aligned to the end of the tube. Pin the end of the elastic in place, then keep pushing the safety pin towards the other end. Hold the two ends together, then remove the safety pin and pin. Hand stitch the ends together.
Step 4:
Insert one end into the other end and sew to close. Set aside.
Step 5:
Get the 15 x 40 cm rectangle and fold it in half lengthwise right sides together. Make a mark on the center for the opening. Sew on the sides and top, except for the opening. Cut the excess fabric from the seams as close as you can. Flip it right side out. Press it flat and close the opening.
Step 6:
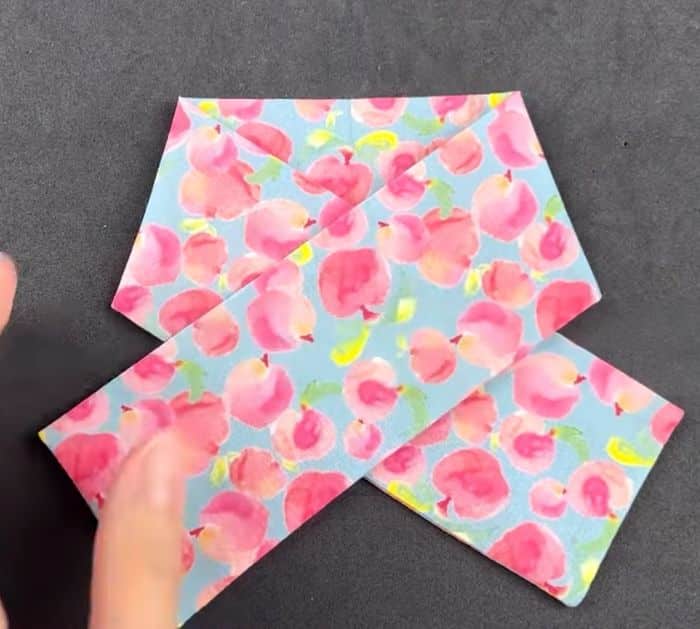
Fold it in half to make a crease. Measure 4.5 cm from the center then fold it diagonally. Measure again 4.5 cm from the center toward the other side and fold. See the photo below for reference. The top should measure 9 cm.
Step 7:
Scrunch the middle and secure it with a thread.
Step 8:
Get the 4 x 12 cm rectangle and fold the long sides toward the center. Fold it again lengthwise. Use it to attach the bow to the tie. Sew it in place. Cut the excess but leave a small allowance. Fold the allowance and sew it in place.
