Creating your own giant water blob is an engaging project that involves basic materials and tools. You’ll need heavy-duty plastic sheeting, parchment paper, and a garden hose to fill the blob. The process is straightforward: cut the plastic sheeting to your desired size, seal the edges, and fill it up with water. Adding a bit of food coloring can make your water blob even more visually striking, turning it into a vibrant centerpiece for your summer gatherings.
RELATED: DIY Pool Noodle Sprinkler Tutorial
And if you’re looking for a tutorial on how to make this, this one from On The Fly DIY on YouTube is probably the best water blob out there. This one doesn’t involve duct tape but is sturdy and resealable for use after use! Make yours today by following the instructions through the video tutorial below.
Materials:
- 6 mm plastic sheeting
- parchment paper
- scissors
- iron
- towel
- plastic bottle with a large screw-on lid
- food coloring (optional)
Directions:
Step 1
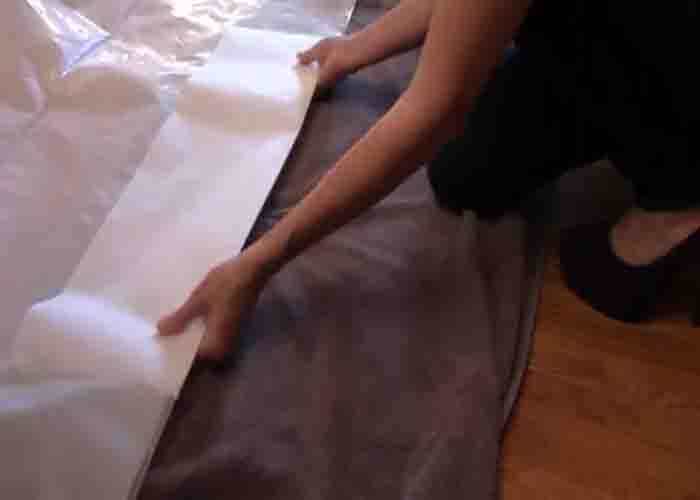
Lay out your plastic sheeting and fold it over on itself, doubling it, making it large enough to have about 4″ of seam on three sides. Next, tear off a length of parchment paper and fold it in half lengthwise. After this, place the plastic inside the fold of the parchment paper to keep your plastic from melting onto other surfaces. Then, lay the towel down flat underneath the parchment paper and plastic layers.
Step 2
Once done, heat the iron up to the second highest setting and gently iron over the parchment paper so the plastic melts together underneath. Press the iron for about 4″ up from the edge for an ample seam. After this, let the paper cool for about 30 seconds before unfolding and removing it from the plastic. Then, move the parchment paper down to the next section of plastic and iron. Continue all around all open seams except for one of the corners as this will be for filling and emptying the water blob. Iron up to the corner so that an open channel is left between the two plastic levels.
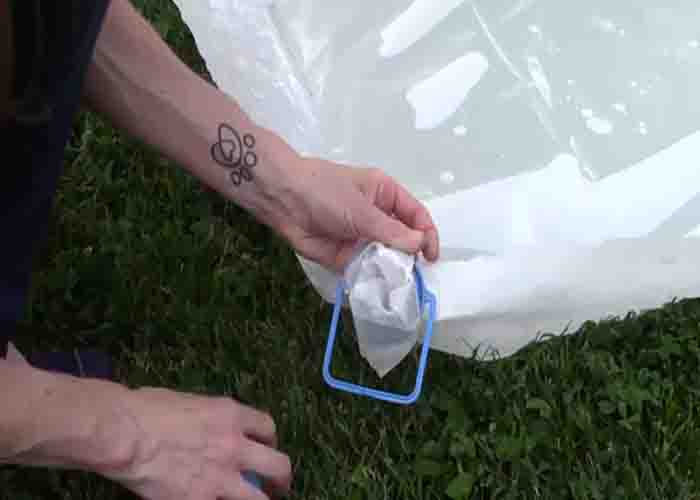
Step 3
Next, cut the top of the bottle so only the screw top and lid remain. Fill the blob with water and add drops of food coloring to make the water the color of your choice. To close the blob, pull the plastic of the open corner up through the screw top, then fold it back over the threads. Screw the cap onto the bottle threads to secure.
DIY Giant Water Blob Tutorial