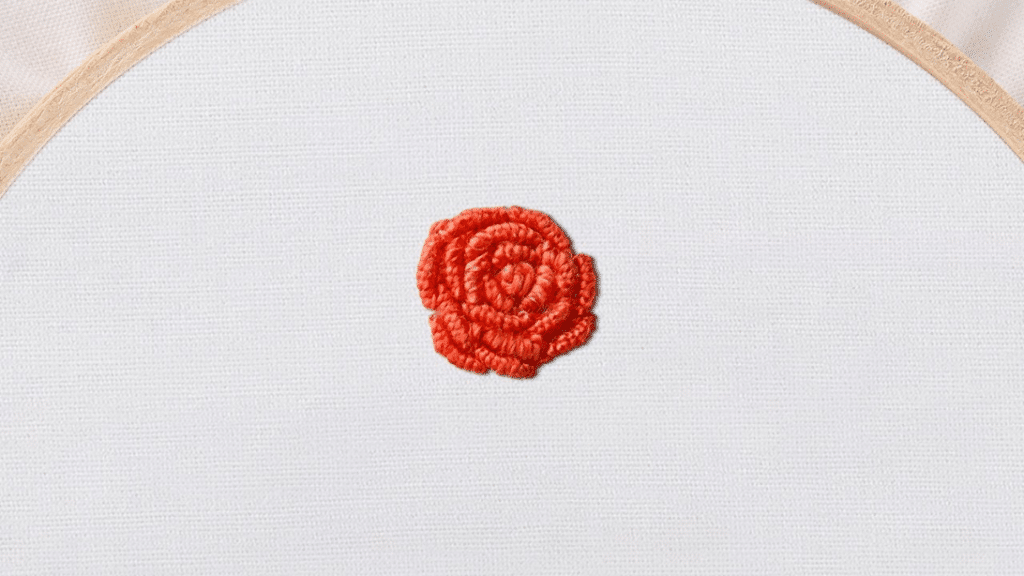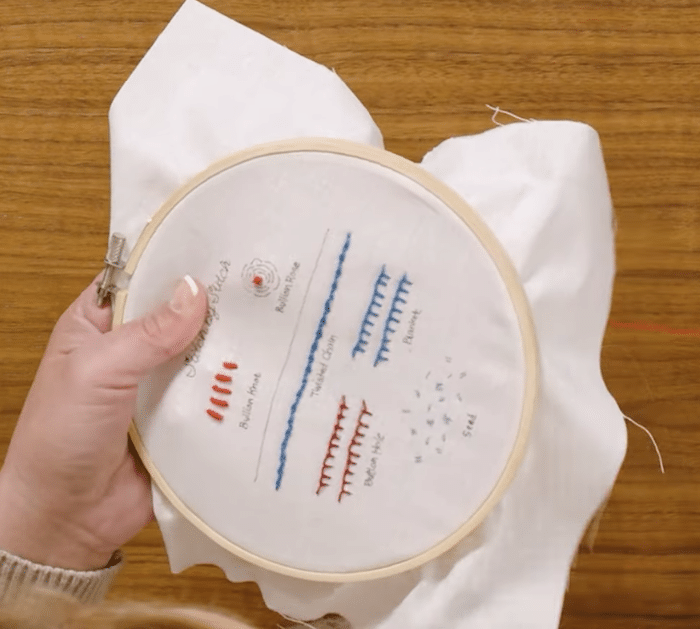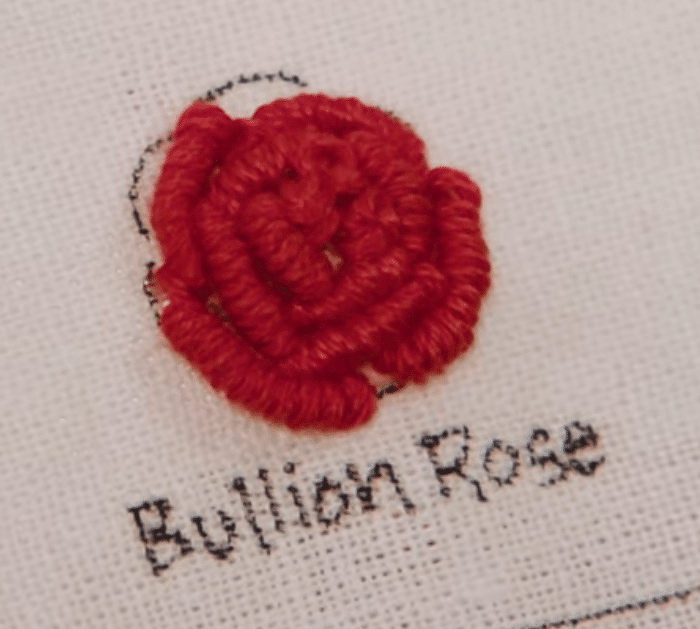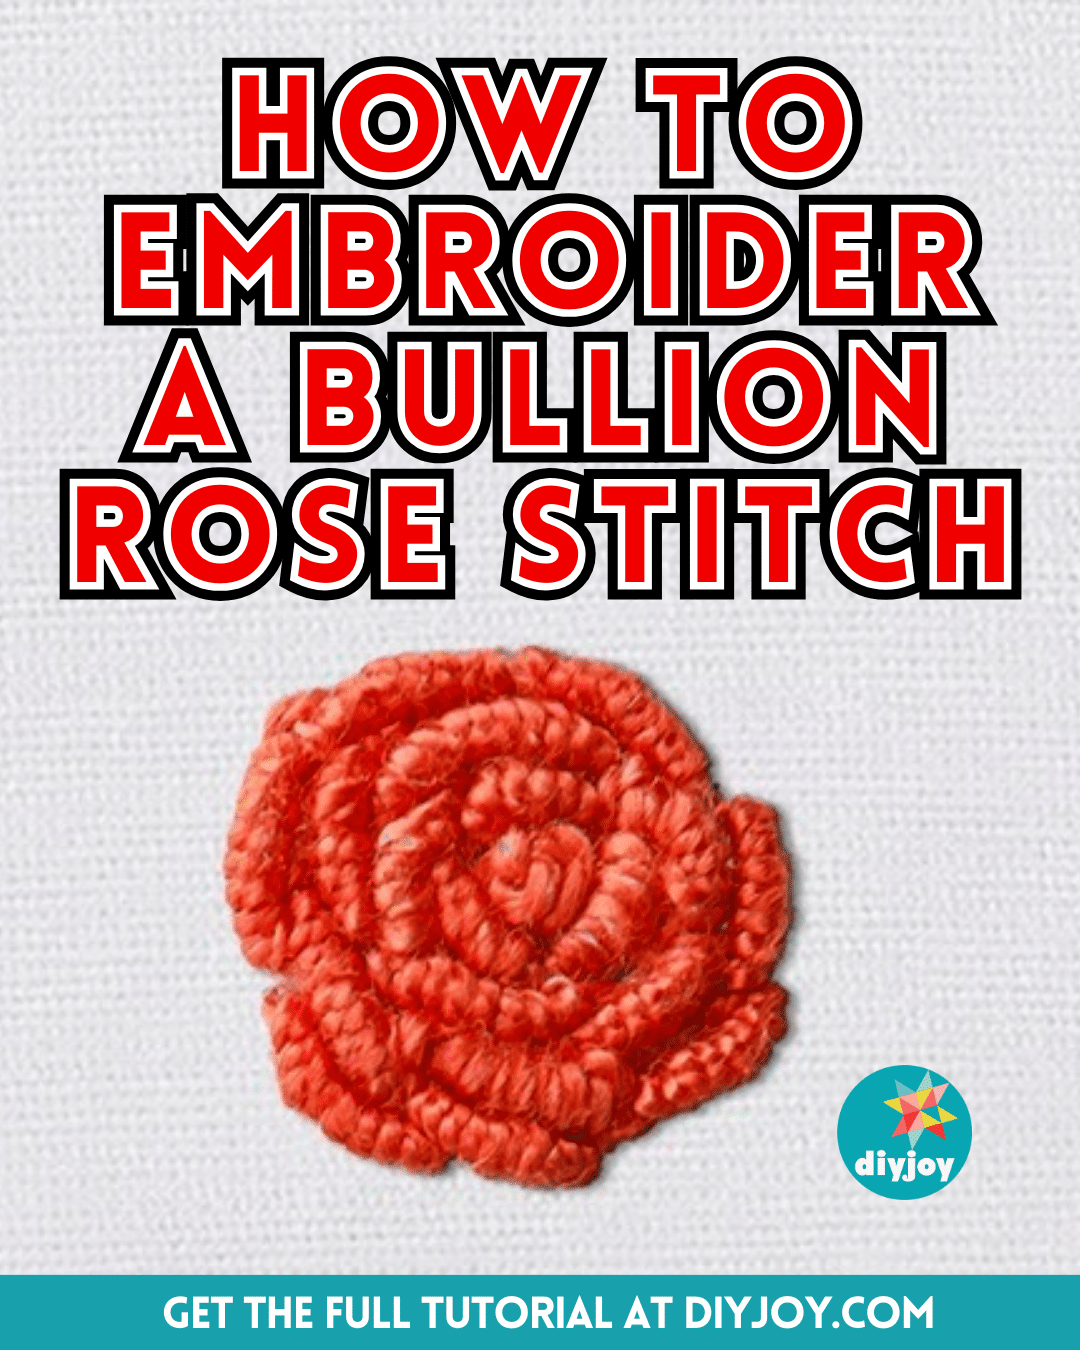
I’ve recently gone back to embroidering and it’s still one of my favorite skills to learn, and I think that a bullion rose stitch is the prettiest and most fun embroidery that you can do. They will look good and beautiful in any fabric for sure, and I bet you would love this, too.
RELATED: How to Make an Embroidered Button
Learn the steps to forming this lovely rose by reading the written instructions down below, and while you’re at it be sure to watch this video tutorial by Missouri Star on YouTube as well for more details.
Materials for Bullion Rose Stitch:
- Embroidery needle and thread
- Scissors
- Fabric
- Pattern (Click here to download the pattern)
How to Make a Bullion Rose Stitch:
Step 1
Start with some French knots in the middle, if you’re making a small one you can do just one French knot, and if you’re doing a larger row, you can do three. Just wrap the thread around your needle two or three times, and then go back in next to where your needle came out, and pull that through, if it’s a little tight, you can untwist it a bit.
Step 2
For the bullion knot, start by pulling the needle through the back, then make a short little stitch, put your needle in, and pull it back up where your first thread is. Wrap that around until it is the length of the knot you want to create, then pull the thread all the way through, and make sure to create a curve as you go as demonstrated in the video. When you get the curve the way you want to, put your needle back through to finish that knot, and decide where your next one goes.
Step 3
Your needle should come back up next to the first thread, then wrap it around a few times until it is the right length, hold those threads with your finger, and then pull the needle through until the thread is all the way done. Use your needle to tighten it up, then finish it off by putting your needle back through right near the end, and continue to add these alternating and going all the way around your pattern.
*All image credit belongs to Missouri Star via YouTube. Follow and subscribe to her channel for more!


