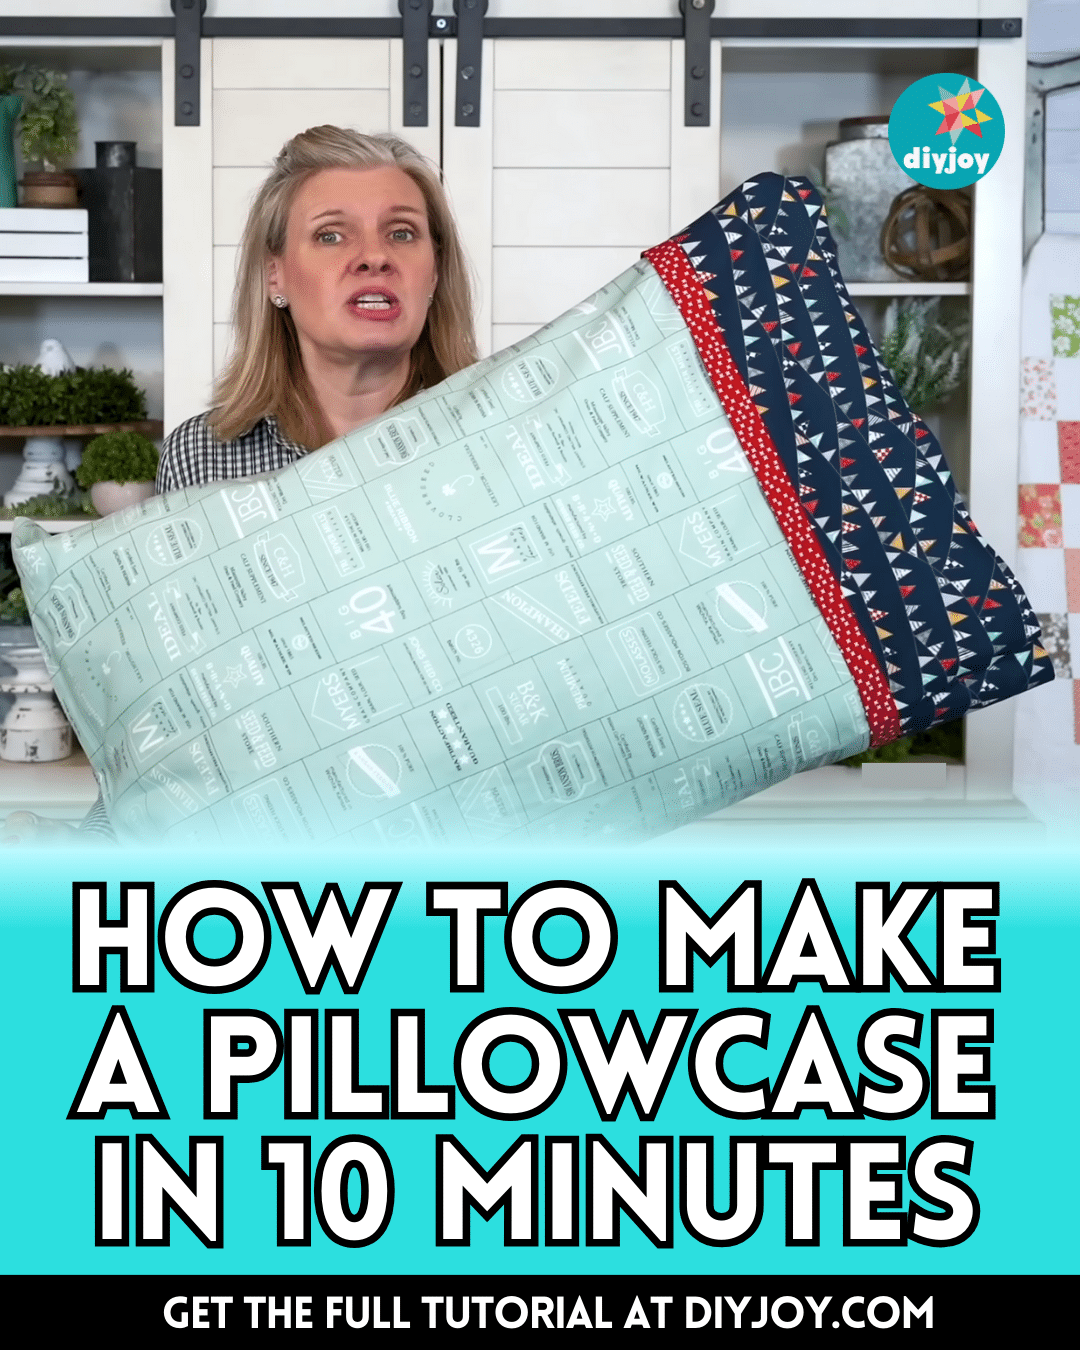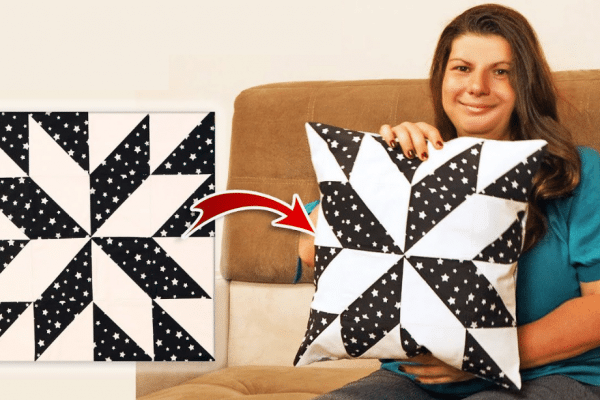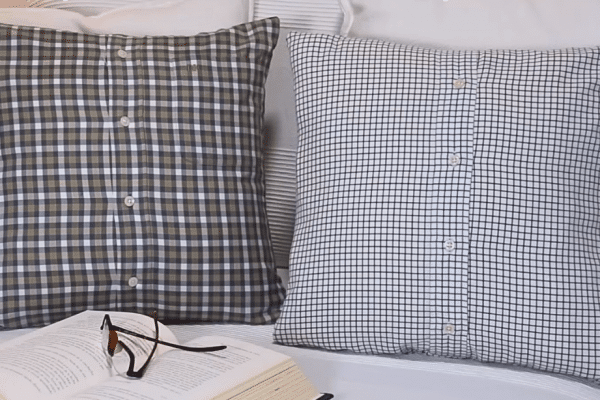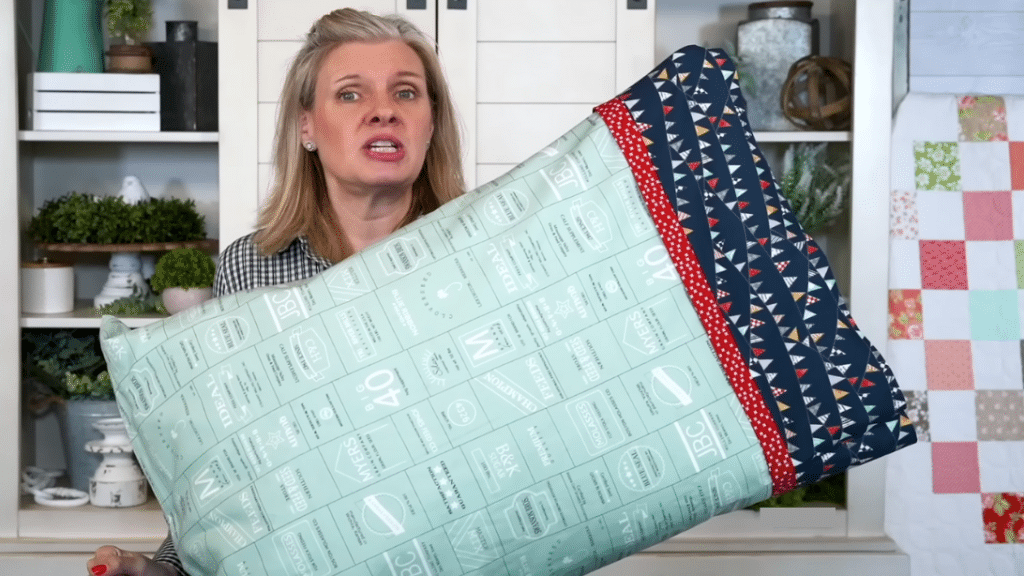
These lovely pillowcases would make a lovely match for your quilt, and you can use the same fabrics that you used, too! This is a basic pillowcase form that requires no zipper and is done in as fast as 10 minutes, and beginners can even try making this, too.
RELATED: Simple No-Sew DIY Braided Pillowcase Tutorial
Learn how to easily sew this pillowcase in just a few simple steps with the help of this video tutorial by Fat Quarter Shop on YouTube. I’m sure you will enjoy making this lovely DIY project idea, go ahead and try it today.
Materials for Simple Pillowcase:
- Main fabric, for the body
- Contrasting fabric, for the cuff
- Accent fabric
How to Sew a Simple Pillowcase in 10 Minutes:
Step 1
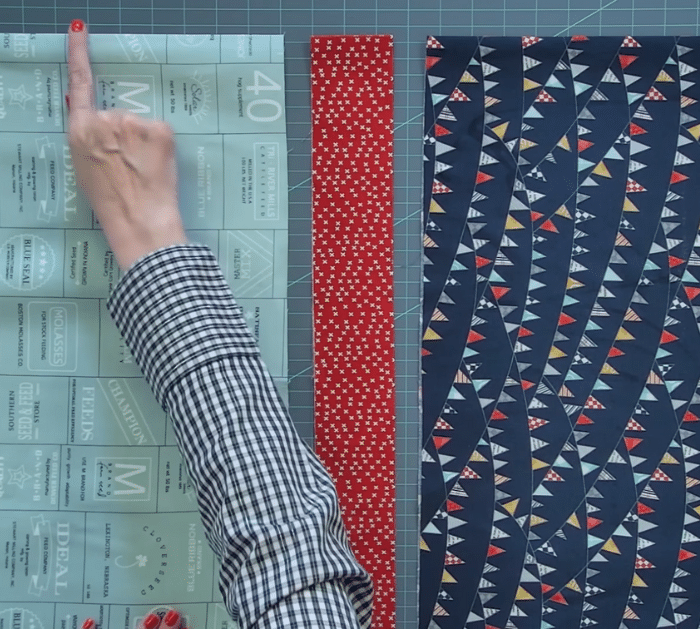
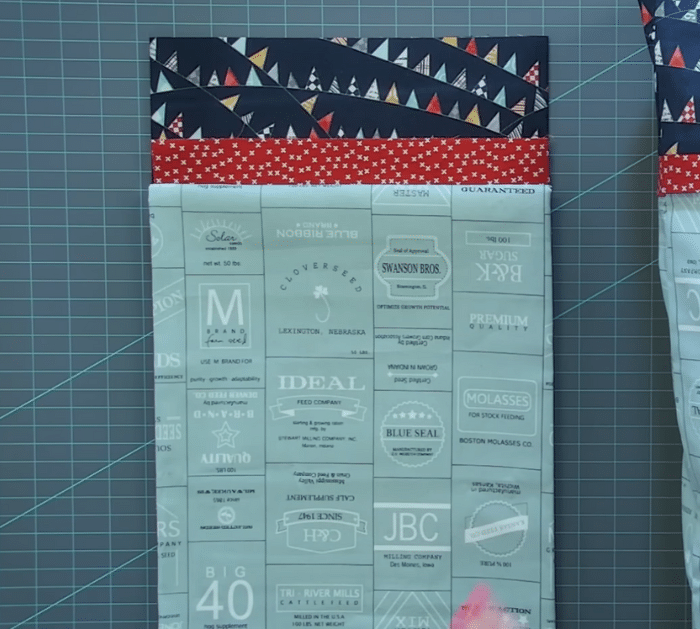
Cut the fabrics to size as instructed in the video tutorial, then fold the accent strip in half lengthwise, and press it down flatly. Place it on top of the raw edges of the cuff, then put the main fabric over them with their right sides facing, and make sure the layers are lined up nicely.
Step 2
Pin or clip them in place, then take the body and roll it up without wrinkling and as skinny as you can. Once the cuff is exposed, take it over so their right sides are facing, then line up the edges, and pin them in place. Stitch the edges with ¼ inch seam allowance, then pull the inside out, and press the fabric nice and flat.
Step 3
Now, fold it in half with its right side facing, then cut the raw edges on the side and bottom straight, and clip the edges together. Start stitching from the cuff, then pivot, continue to stitch the bottom, and make sure to backstitch on every corner from start to finish.
Step 4
Cut the corner at an angle to reduce the bulk, then turn the pillowcase right side out, and press it nicely. Sew the French seam with a 3/8 inch allowance to enclose the seam as demonstrated in the video and you’re done!
*All these images are credited to Fat Quarter Shop via YouTube. Give her channel a visit and subscribe for more!
