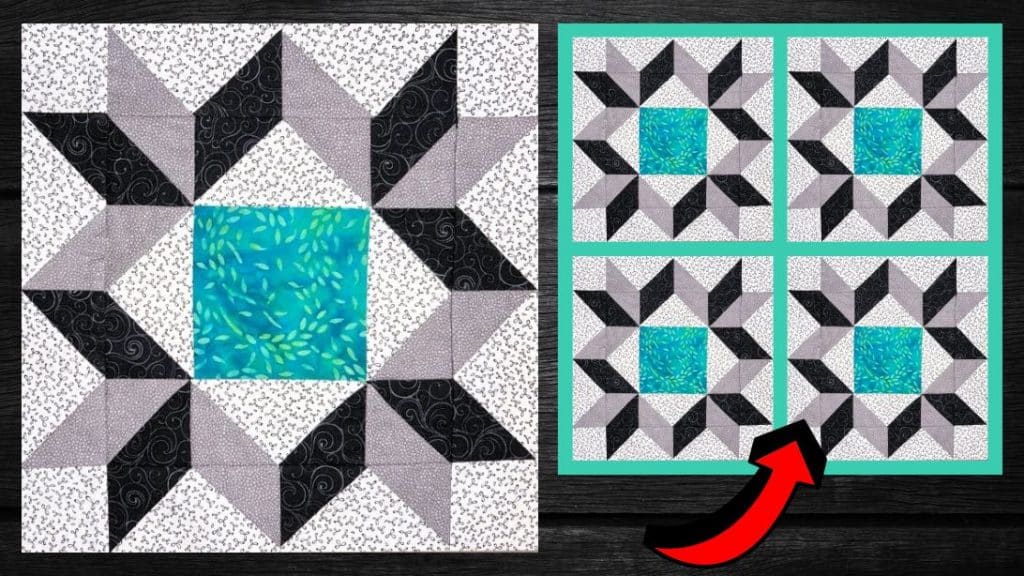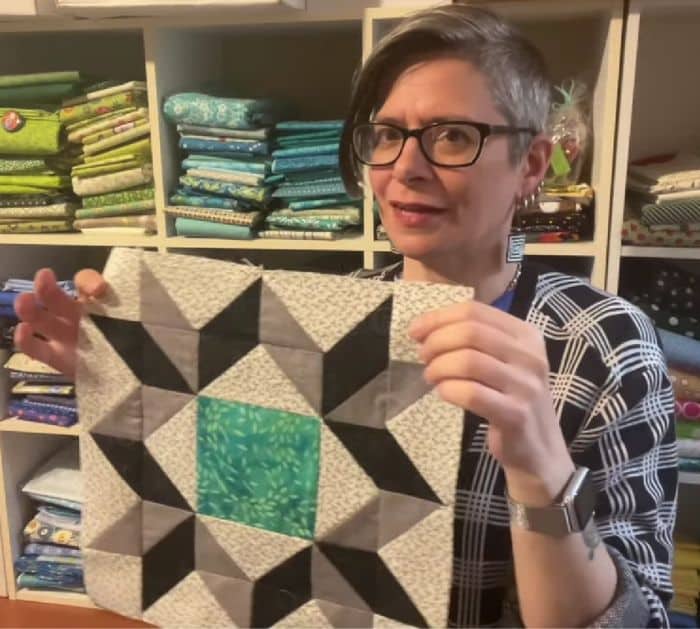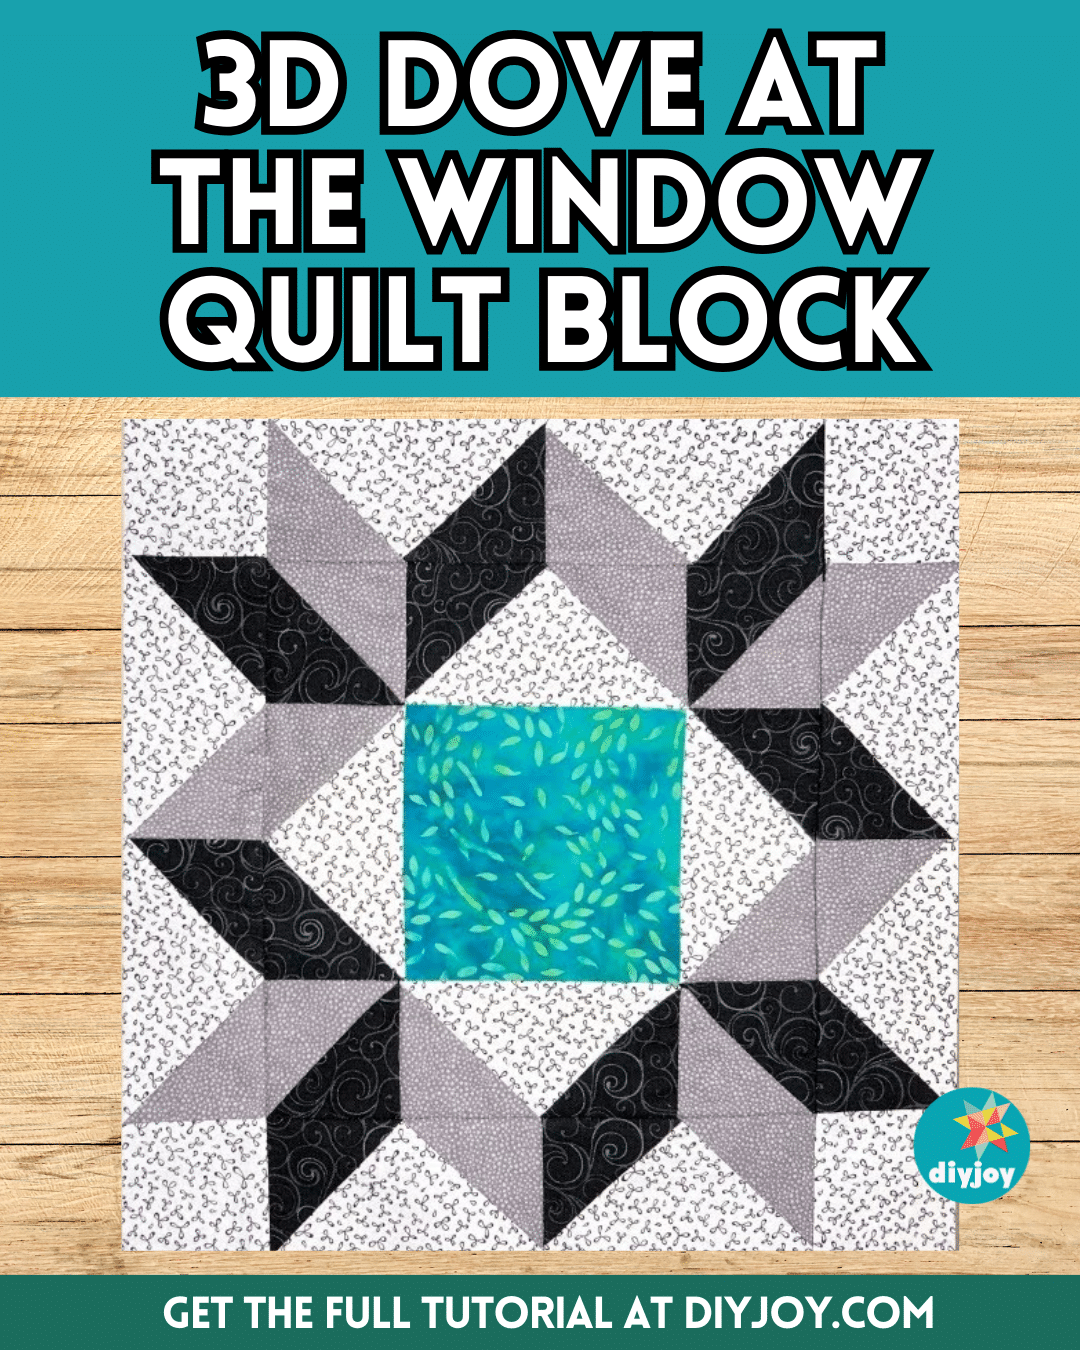
The first time I heard about the dove at the window quilt block, I was immediately intrigued by how to make it, and if I could pull it off perfectly on the first try. So when I saw this video tutorial by Tulip Square on YouTube, I got excited to give it a try, and I hurried to my favorite fabric store.
RELATED: Easy 3D Blocks Quilt Block Tutorial
It was one of the best projects I ever did and I will do this again in the future, that’s for sure! Whether you’re a beginner or an expert quilter, you will enjoy making this project because it’s super simple and easy and you can finish a block in just a few minutes.
Materials for 3D Dove at the Window Quilt Block:
- Light print fabric
- Medium print fabric
- Dark print fabric
- Marking pen, pencil, or chalk
- Ruler
- Scissors or rotary cutter and a cutting mat
- Needle and thread
- Iron, for pressing
- Sewing machine
- Pattern (Click here to download the pattern)
How to Make a 3D Dove at the Window Quilt Block:
Step 1
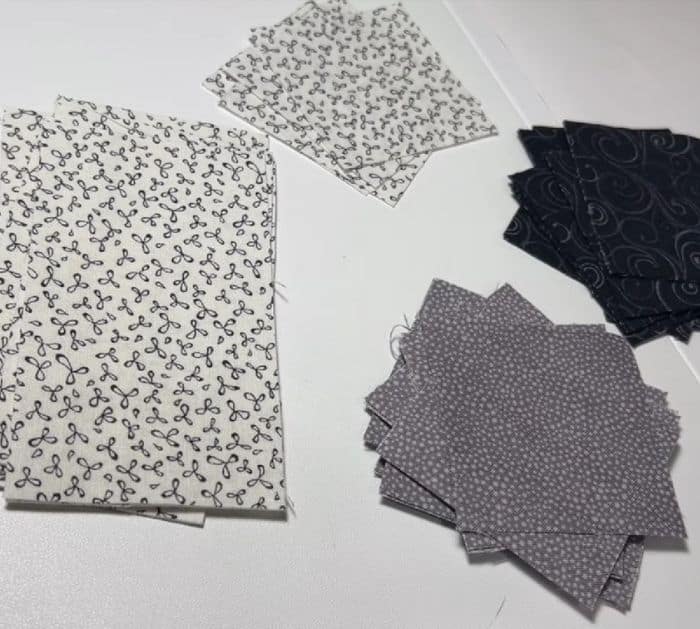
Download the pattern, then cut the fabrics into sizes as instructed in the pattern, and start piecing the two-colored flying geese units. Get a light print fabric rectangle, then place a dark print square on one side with their right sides facing, and stitch them diagonally twice as shown in the video.
Step 2
Cut them apart in between the stitching lines, then push the fabric open, and cut off the nubs. Do the same to the other side using a medium print square, then press the flying geese unit, and make more of these units.
Step 3
For the leftover medium and dark print squares, turn them into half-square triangles, then press them nicely, and cut off the nubs. Lay the center square on your work surface, then place a two-colored flying geese unit on both sides of the center square, and stitch them together.
Step 4
Give them a good press, then piece the remaining flying geese and half-square triangles into a strip unit, and stitch them to the top and bottom to complete the block. Continue to piece together the remaining flying geese and half-square triangles, then place them on all 4 sides of the block, and press it nicely.
*All image credit belongs to Tulip Square via YouTube. Follow and subscribe to her channel for more!


