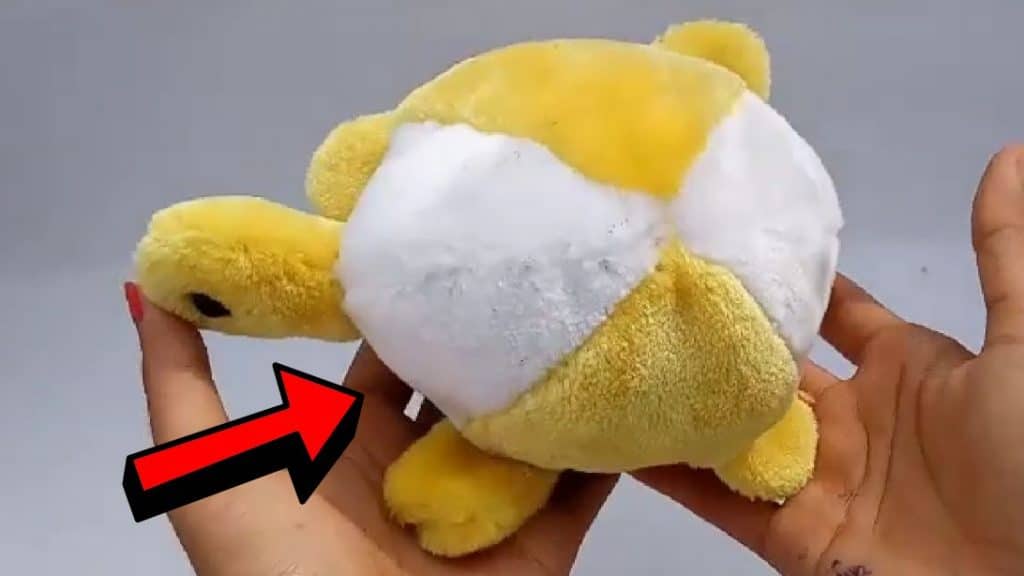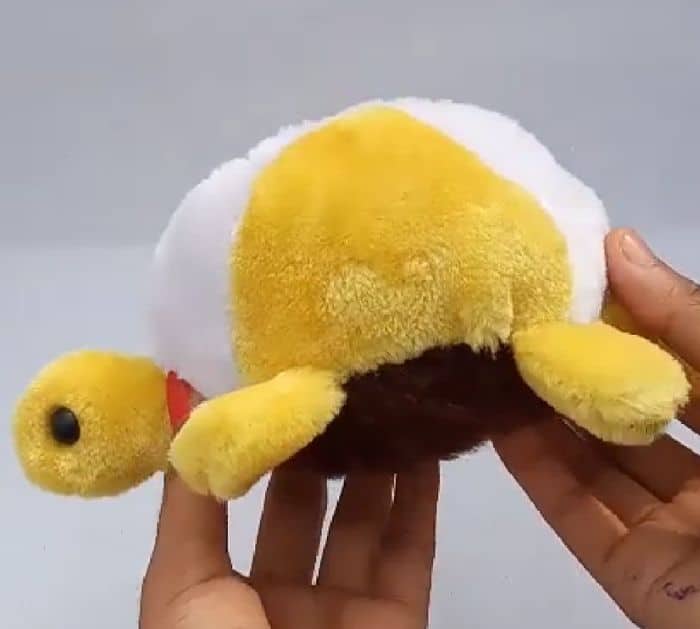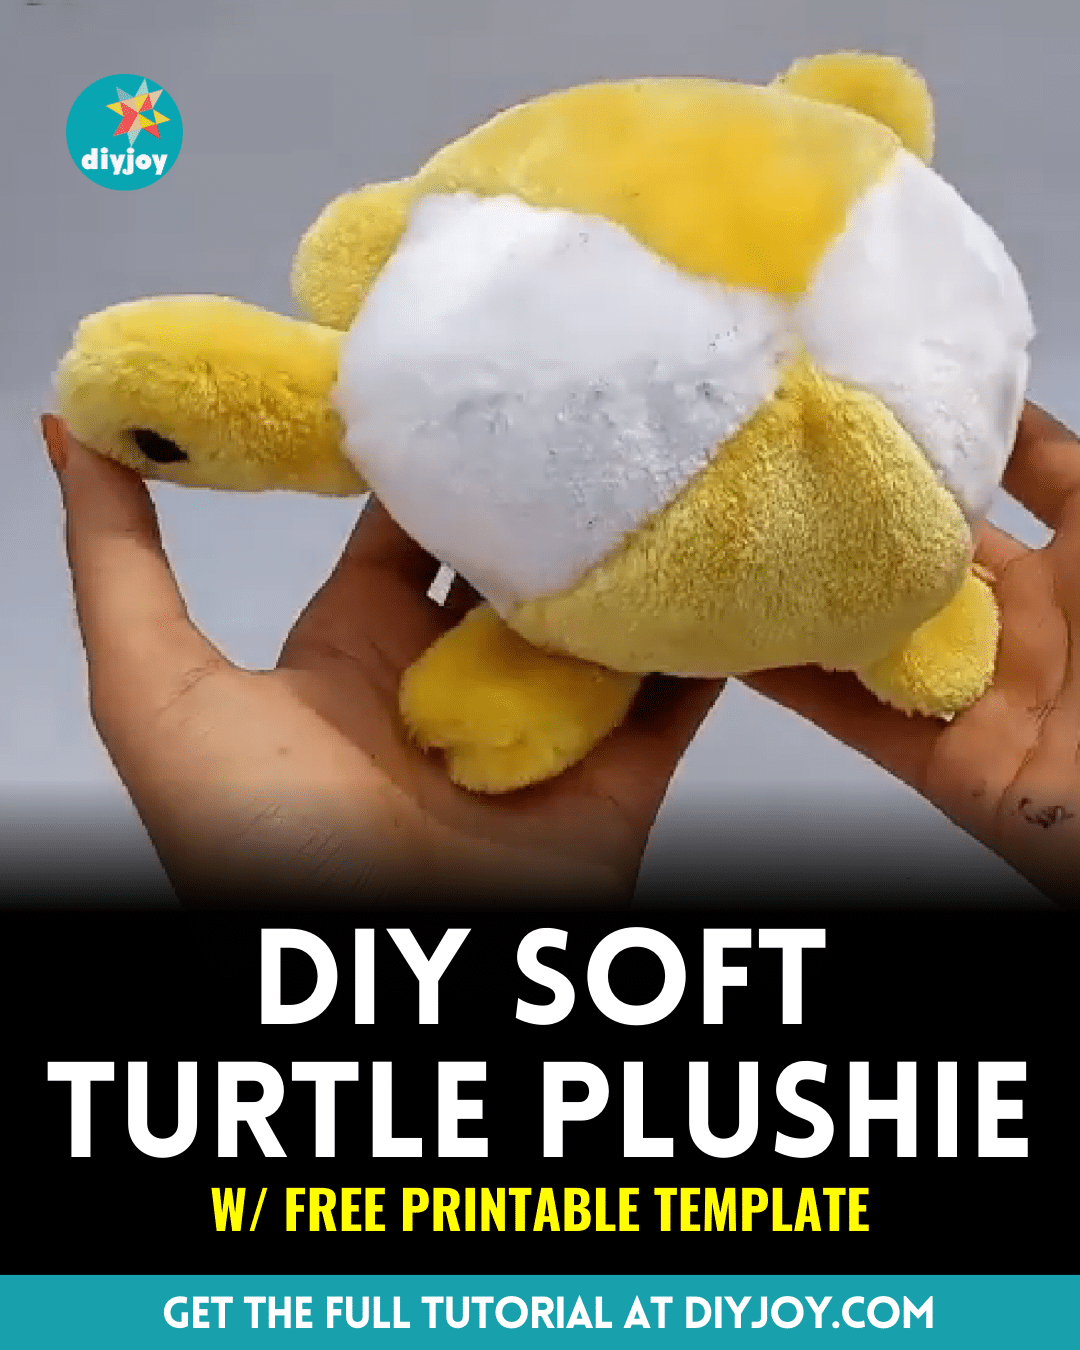
When I first got into sewing, I was into simple and easy projects that I could make within just a few minutes. I remember one of the first sewing projects that I made was a soft turtle plushie similar to this one by dipasoftoyschool on YouTube.
RELATED: How To Make A DIY Dog Plushie Using Old Socks
This adorable DIY project idea is perfect for beginners and I bet even experts will enjoy making this. The steps are very easy to follow and I’m sure that you won’t fail this project, learn how now by watching the video tutorial below.
Materials for Soft Turtle Plushie:
- Faux fur fabric, yellow, white, and brown
- Marking pen or pencil
- Scissors
- Needle and thread
- Poly-fil fiberfill or any stuffing that you want
- Beads or buttons, for the eyes
- Template (Click here to download the template)
How to Sew a Soft Turtle Plushie:
Step 1
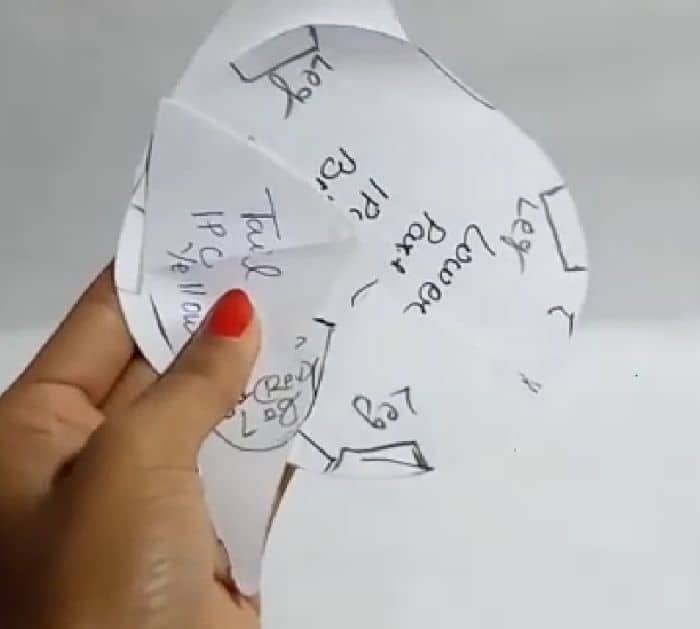
Download and print the template, then cut the pieces out, and trace them accordingly to the back of each fur fabric.
Step 2
Cut the fur pieces out leaving some seam allowance, then start with the 2 identical pieces for the turtle’s head, and stitch them together along the lines with their right sides facing, making sure to leave the end open.
Step 3
Turn the piece right side out, then poke the edges nicely, fill it with the stuffing, and set it aside. Repeat the same steps for the legs and tail, then prepare the upper and lower body, and start stitching the legs to the lower body.
Step 4
Lay the lower and upper body pieces together with their right sides facing, then stitch them around the sides leaving one end open, and then turn it right side out poking the edges nicely.
Step 5
Stuff the body with poly-fil fiberfill or any stuffing that you want, then sew it close and stitch the tail and head of the turtle to the body. Sew the beads or buttons for the eyes of the turtle and you’re done!
*All these images are credited to dipasoftoyschool via YouTube. Give her channel a visit and subscribe for more!


