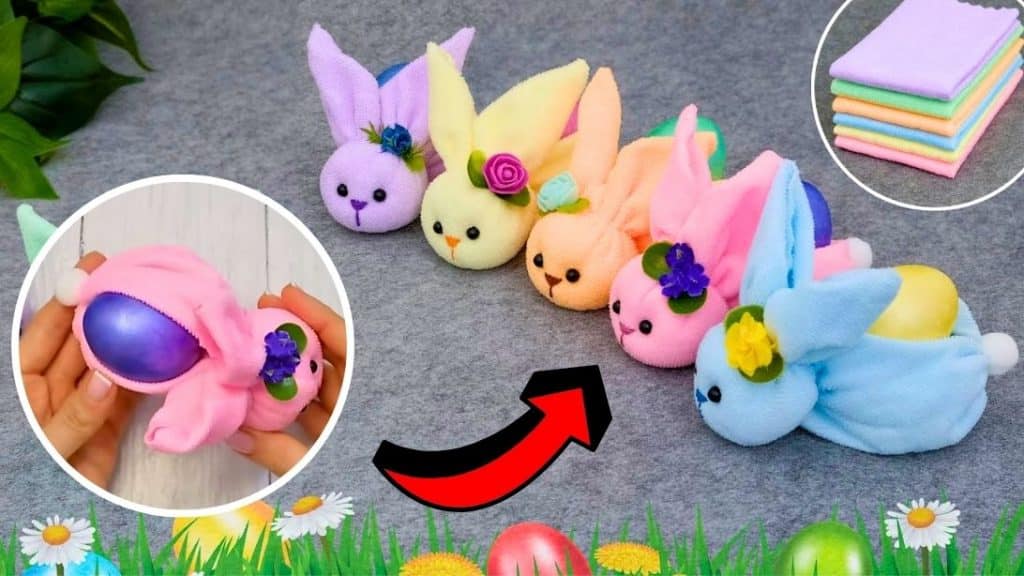
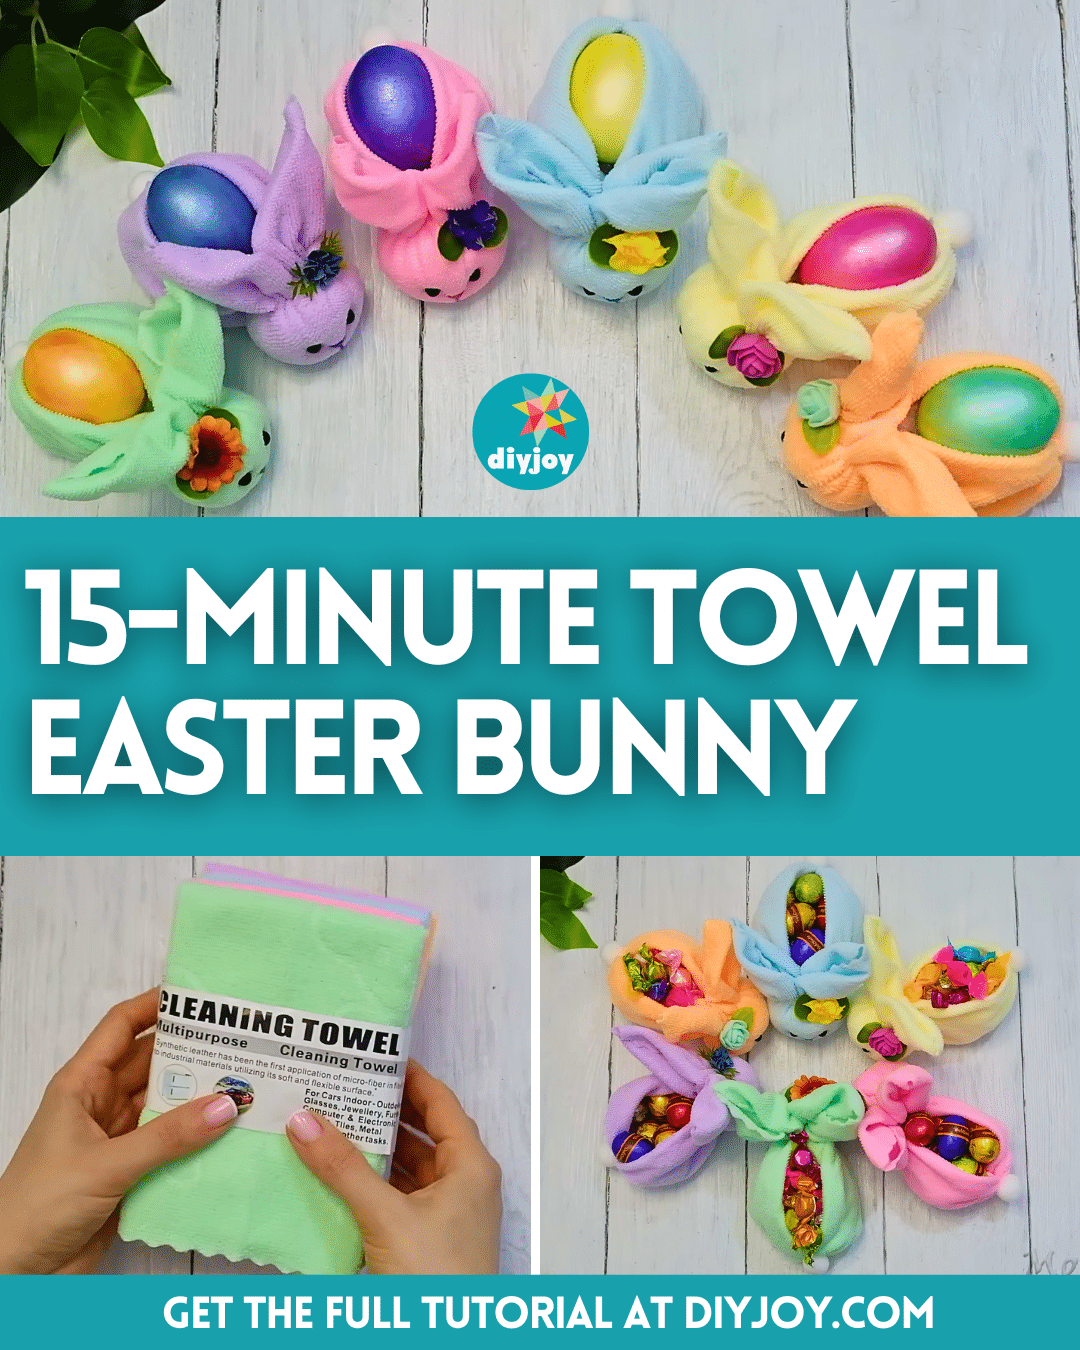
With Easter nearing, most households are probably starting to decorate their homes and prepare gifts and activities for the family. I prefer making decor and gifts myself or DIY projects that are super easy and quick to make. For this year’s Easter, I decided to create this adorable bunny made out of small towel.
RELATED: DIY Easter Bunny Gnome Treat Container Tutorial
This cute DIY project idea is perfect for decor, an activity you may be planning, or to give as a gift. The steps are very easy to follow so it’s guaranteed that you can make this even on your first try without failing. Watch this video tutorial by Moth Art on YouTube now to learn how.
Materials for Easter Towel Bunny:
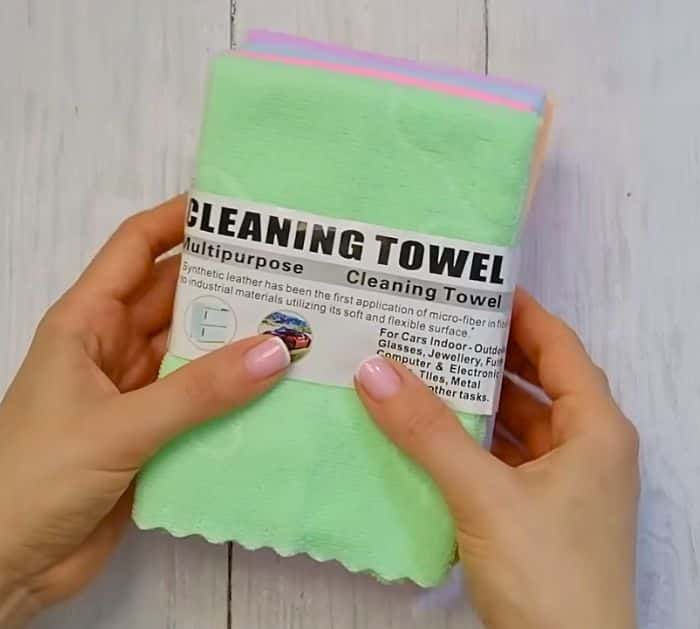
- Microfiber towel or cloth, 30x30cm or 11×11 inches
- Black beads, for the eyes
- Embroidery thread
- Small pompom
- Poly-fil fiberfill
- Small artificial flower
- Small elastic
- Hot glue gun and glue stick
- Fabric pins
- Needle and thread
- Ruler
- Marking pen or pencil
How to Make a DIY Easter Towel Bunny:
Step 1
Lay the towel on a flat surface, then rotate it so it’s shaped like a diamond, and fold all corners over with their points meeting at the center. Pin the outer and folded corners securely in place, then line it across in half, and mark the midpoint at the top.
Step 2
Next, connect the midpoint to each end of the horizontal line, then sew along the marked lines without cutting the thread, and pull it tightly. Fill the hole of the head with some poly-fil fiberfill, then pull the thread again, and sew it close.
Step 3
Cut the thread and adjust the fluff of the bunny head with your needle, then start sewing the bottom edges, and stitch the pompom once you reached the butt area.
Step 4
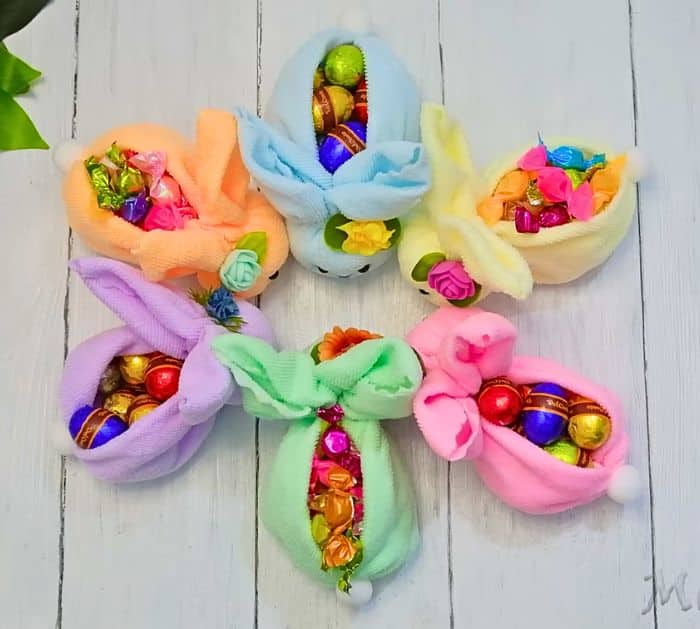
Now, sew the eyes, nose, and mouth of the bunny as shown in the video, then hot glue a small elastic at the back of a small artificial flower, and wear it around the base of the bunny’s ears. Place the egg or treats in the pocket at the back of the bunny and you’re done!
*All these images are credited to Moth Art via YouTube. Give her channel a visit and subscribe for more!
