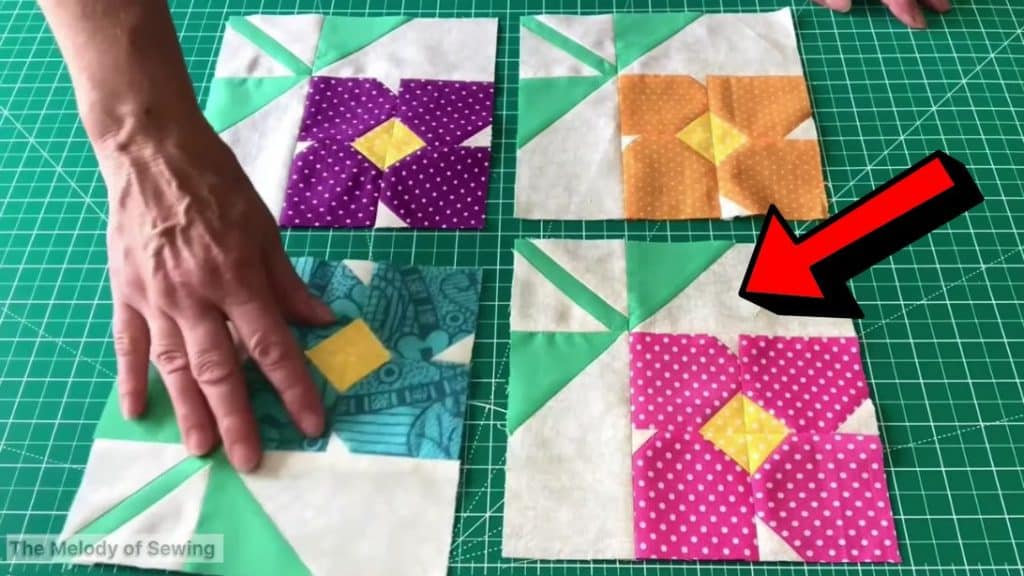
This quilt project idea by The Melody of Sewing on YouTube is the perfect introduction to flower quilt blocks for beginners. It is so simple to piece together and the instructions are pretty easy to follow, so it is guaranteed that you can make this quilt block perfectly even on your first try.
RELATED: How to Make Granny’s Pretty Sunflower Quilt
You can personalize this quilt block and use any print or color of fabric that you prefer, then after you’ve made a couple of blocks, you can assemble them and finish your quilt however you want. Watch the video tutorial below and learn how now.
Materials for Patchwork Flower Quilt Block:
- Pink print fabric, for the flower
- Yellow print fabric, for the center of the flower
- Green fabric, for the stem and leaves
- White fabric, for the background
- Marking pen, pencil, or chalk
- Ruler
- Scissors or rotary cutter and a cutting mat
- Needle and thread
- Fabric pins
- Iron, for pressing
- Sewing machine
*you can change the colors of the fabric to your preference
How to Make a Patchwork Flower Quilt Block:
Step 1
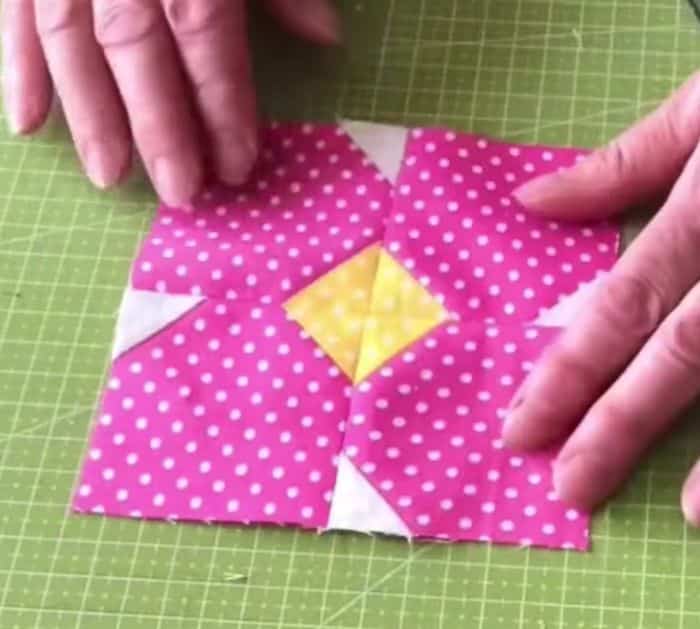
Cut the pink fabric into 4 squares at 3 inches, then the white fabric into 4 squares at 1¼ inches, and then cut the yellow fabric into squares at 1½ inches. Line the yellow and white squares on the wrong side diagonally, then lay the pink squares on your work surface right side facing up, and place one white square on each pink square placing them on different corners and making sure they’re right sides are facing.
Step 2
Place one yellow square on top of each pink square right next to the white squares as shown in the video, then stitch them along the line, and cut the excess ¼ inch away from the stitching line. Press their seams open, then stitch them by pair and the pairs to each other, press as you go, and square the block unit.
Step 3
Cut 2 white fabrics into rectangles at 3×5½ inches, then place them on the side and top of the block, cut 2 green fabrics into squares at 3 inches, and place them on the ends of each rectangle making sure they are near each other and their right sides are facing.
Step 4
Line them diagonally from corner to corner, then stitch them in place, trim off the excess, and press them open. Cut a green square at 3 inches, then place it in the empty corner between the rectangle units, and cut 2 white squares at 2½ inches.
Step 5
Line the back of the white squares diagonally, then place them on top of the green corner square right sides facing, and make sure to position them properly as demonstrated in the video, then stitch them one at a time. Now, stitch the side pieces to the center block and press the seams as you go.
*All image credit belongs to The Melody of Sewing via YouTube. Follow and subscribe to her channel for more!


