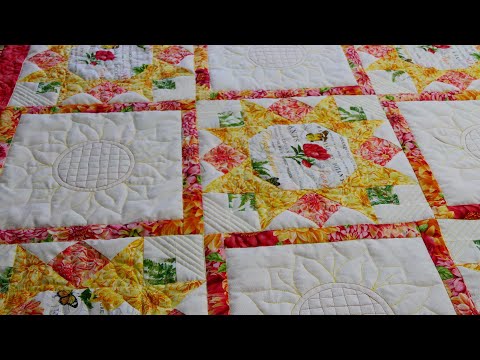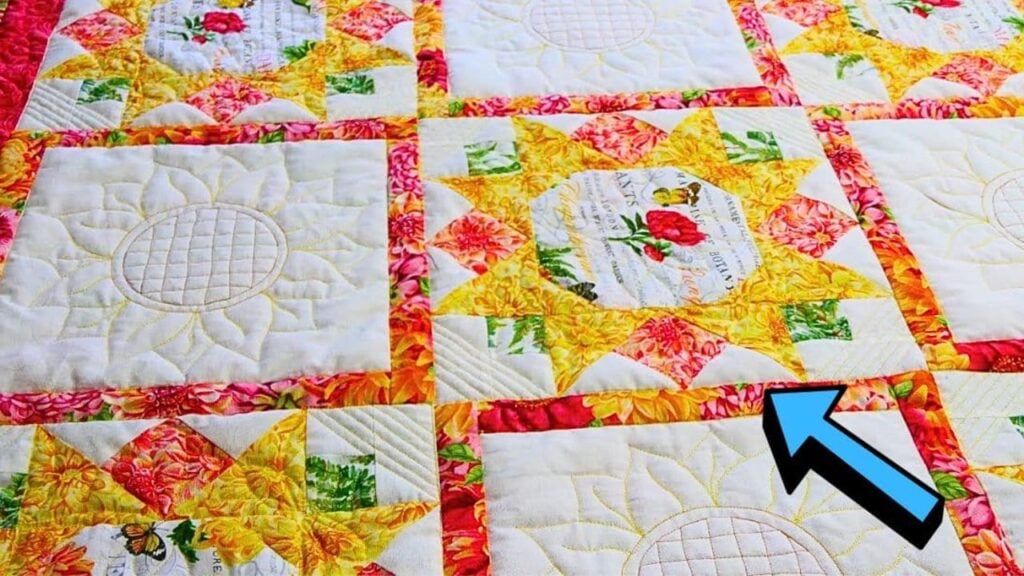
This video tutorial by Nana’s Journey on YouTube teaches you how to easily make a beautiful sunflower quilt using lovely fabric prints and colors. This quilt will surely make as great gifts to a loved one or simply display and hang it on your wall, anything you can think of will work for sure. Watch the video tutorial now and give it a try this weekend.
Materials:
- 15 white squares @ 10½”
- 30 peach strips @1½”
- 30 peach strips @½”
- 15 white squares @6½”
- 30 yellow squares @2¾”, cut diagonally in half
- 60 white squares @2″
- 60 green squares @2″
- 60 white rectangles @3½”
- 15 peach squares @7½”
- 60 white squares @4″, marked diagonally in half
- 60 yellow squares @4½”, cut diagonally in half
Other Supplies Needed
- Marking pen, pencil, or chalk
- Ruler
- Fabric pins or clips
- Scissors or rotary cutter and a cutting mat
- Iron, for pressing
- Sewing machine
Directions:
Step 1
Cut off the corner of the white square diagonally, then lay the yellow triangle on those cut corners with their right sides together, and sew them in place. Press the seams open, then cut off the nubs, and this will be the center block. Get the corner units or the white and green squares, then lay one of each together with their right sides facing, and stitch them together on one side.
Step 2
Press them open, then piece togehter 2 white squares, and stitch them together with the green and white strip unit to complete the corner unit, make sure to give them a nice press. Take the peach square and rotate it so that it looks like a diamond shape, then lay white square on top of the upper and bottom corner with their right sides facing, and stitch them together ¼” on each side of the center.

[social_warfare]
Step 3
Cut it apart, then press the seams open, lay another white square on teh remaining empty corner, sew on each side of the center, cut in half, adn press open. Trim off the excess fabric, then cut the one corner the flying geese unit as shown in the video, then sew a yellow triangle on that corner, pess it open, and trim down the excess.
Step 4
Now, cut the other corner of the unit, then sew another yellow triangle, press open, and cut off the excess. Sew these rectangle units on the sides of the center block, then press as you go, and then stitch the corner units on the empty spot on the corners to complete the sunflower block. To learn how to finish the whole quilt, watch the video tutorial below.


*All image credit belongs to Nana’s Journey via YouTube. Follow and subscribe to her channel for more!
How to Make Granny’s Pretty Sunflower Quilt