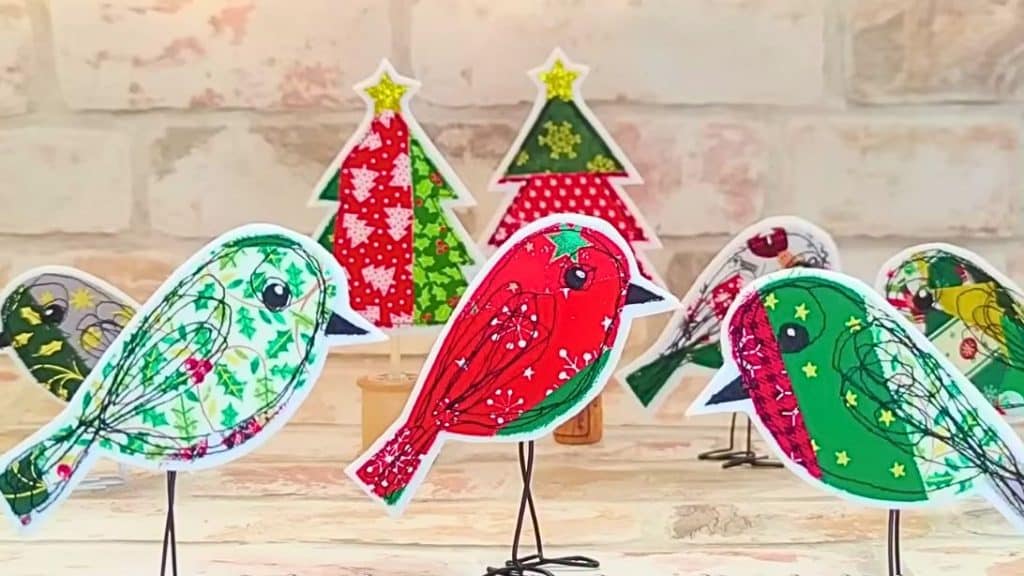
This adorable handmade bird project idea by Bo-tique on YouTube is so fun and easy to do, and you can probably make a couple of these in just a few minutes! You can use your pile of fabric scraps to piece together this wonderful decor.
RELATED: How To Sew A Fabric Bird
What’s even better about this project is that you can make this using any pattern that you want not just birds, you can also make this in the shape of a Christmas tree, a bunny, or whatever you want. Learn how now.
Materials for DIY Scrappy Fabric Bird:
- Fabric scraps
- Paper clips
- Pen or pencil
- White thick felt
- Heat N Bond
- Scissors
- Iron
- Needle
- Black and white thread
- Sewing machine
- A printed bird template
How to Make a DIY Scrappy Fabric Bird:
Step 1
Print any bird pattern that you want, then cut it out, and trace the body of the bird without the beak on the Heat N Bond paper ensuring an equal mirrored counterpart. Iron and fuse the fabric scrap to the plastic side, then turn the piece over and iron the other side.
Step 2
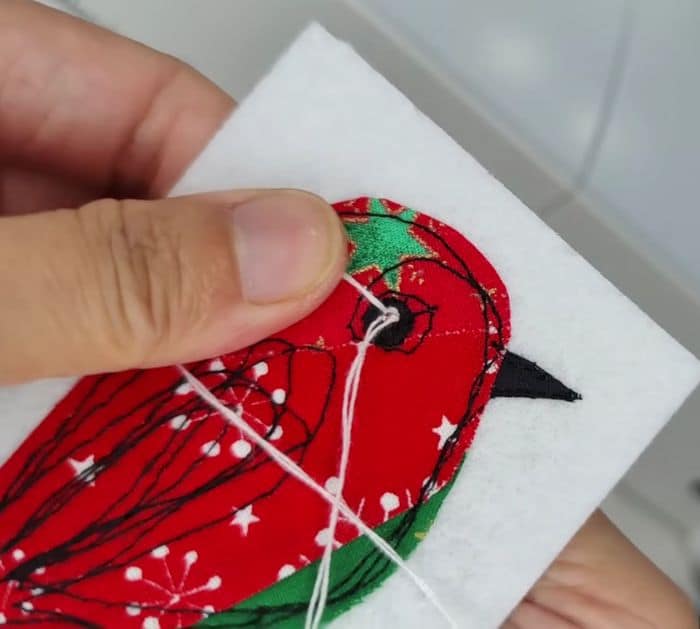
Cut the bird shape out carefully, then cut out a bonded black fabric for the bird’s beak and eye. Tear off the paper at the back of the bird, then iron it to the felt, and fuse the beak and eye to the bird accordingly. Repeat the same steps for the rest of the birds, then free-motion stitch the birds and add details to the eye by French stitching white thread.
[social_warfare]
Step 3
Carefully cut them out of the felt leaving a seam allowance, then lay the 2 bird pieces together with their wrong sides facing and nicely lined up, and free-motion embroid the edges of the bird’s shape with white thread making sure to leave a 2cm opening at the belly for the legs later.
Step 4
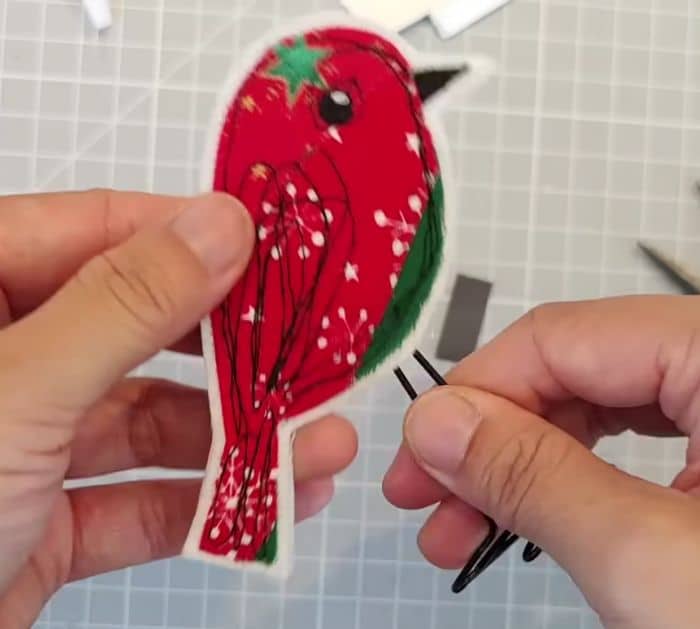
Trim the excess felt around the edges once more, then prepare the paper clips for the legs as shown in the video, and insert the legs between the opening on the belly of the bird. Stitch the opening close and you’re done!
*All these images are credited to Bo-tique via YouTube. Give her channel a visit and subscribe for more!
