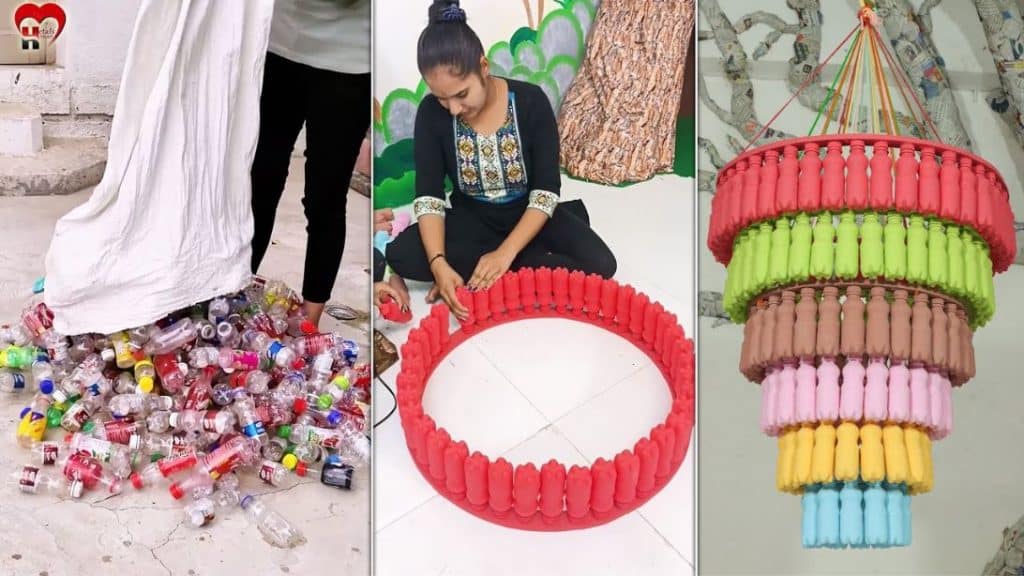
Don’t throw plastic bottles straight into the trash! Recycle them instead and turn them into this beautiful DIY chandelier. Isn’t this idea by Hetal’s Heart awesome? It surely turned out beautiful. Watch the video below for full instructions.
Materials
- small plastic soda bottles
- water
- soap
- paint in 6 different colors
- cardboard
- bucket
- newspaper
- sponge
- paper
- yarn in the same color as your paints
- s hook
[social_warfare buttons=”facebook,pinterest,twitter,whatsapp”]
Instructions
Step 1:
Remove all the labels from the plastic bottle. Get the bucket, fill it with water, and add soap. Wash all the bottles and remove all dirt and liquids inside. Once done, let them dry.
Step 2:
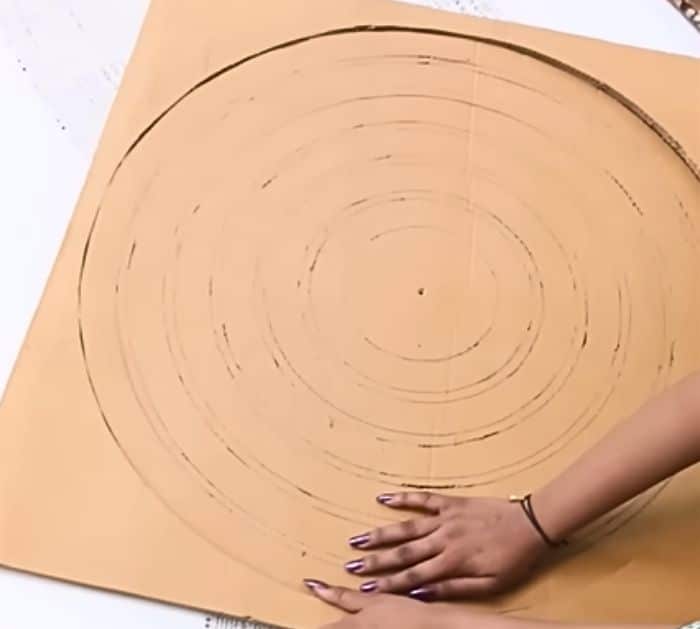
In a big piece of cardboard, draw six rings of different diameters of the same width. Make sure that there is a small space between each ring just like in the photo below, then cut each of them.
Step 3:
Cut thin strips of paper the same size as the thickness of the cardboard. Glue the strips to the sides of the ring. Once done, paint each of them in different colors and let them dry.
Step 4:
Paint each of the bottles including the caps in different colors. The number of bottles you need depends on the size of your rings.
Step 5:
Start gluing the bottles on the rings, right side down. Make sure they match the colors of the rings.
Step 6:
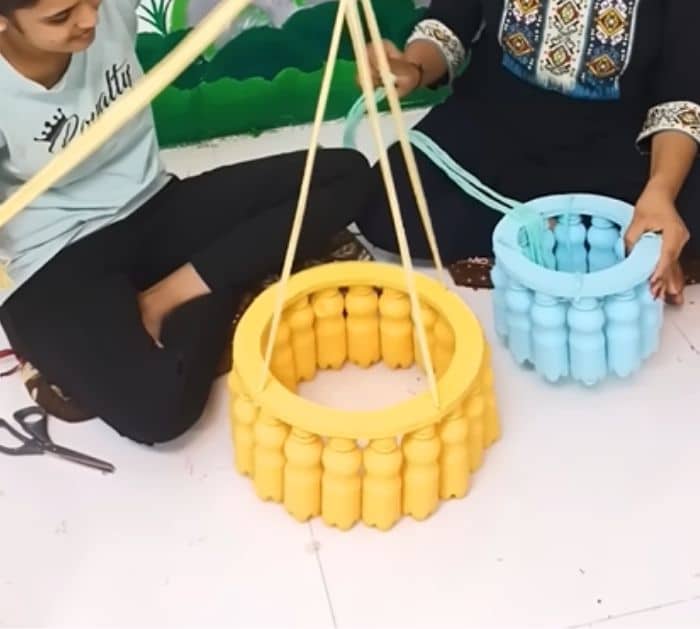
Insert yarn into the ring on four different points of the circle just like in the photo below. Repeat with the other rings.
Step 7:
Once you are done adding yarn to each layer, it’s time to assemble them. Start from the smallest to the largest. It’s better to have someone who will hold the yarn while you put each layer on top of each other. After that, tie all the yarns together and attach an s hook.
