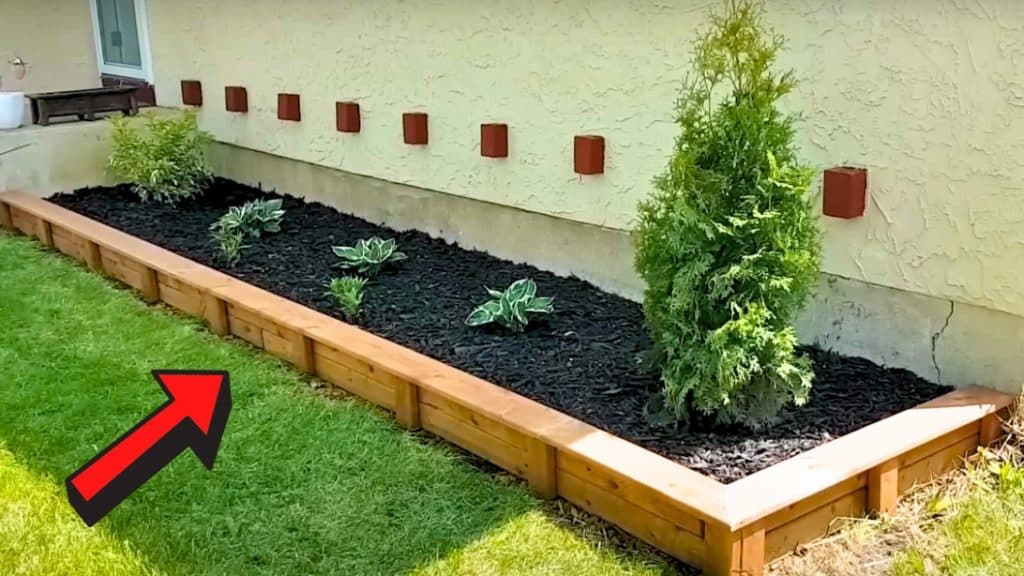
This garden bed by Jesse does DIY is easier to make than you think! Anyone can do this simple project. This will definitely upgrade the look of your garden. Watch the video below for full instructions.
Materials:
- rock (for base)
- 4×4’s
- 2×4’s
- level ruler
- miter saw (if you don’t have one you can use a framing square and circular saw)
- construction adhesive
- screws
- 5 1/4 x 6′ (get the long ones)
[social_warfare buttons=”facebook,pinterest,whatsapp,twitter”]
Instructions:
Step 1:
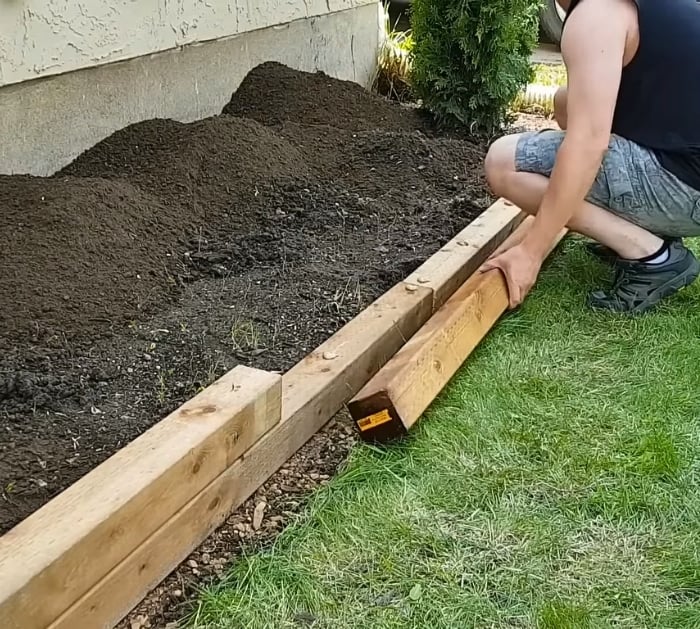
Pull out all your old stones and edging. Add some topsoil, then dug a small trench around. Next, add some rock to the trench as a base . Tamp it down to make sure it’s leveled.
Step 2:
Add the four-by-fours on the top of the rocks. These will be the baseboards. Make sure that one is longer than the others so that later on you can stagger the joints. Double-check if they are leveled by using a level ruler. Cut the last board to the final length.
Step 3:
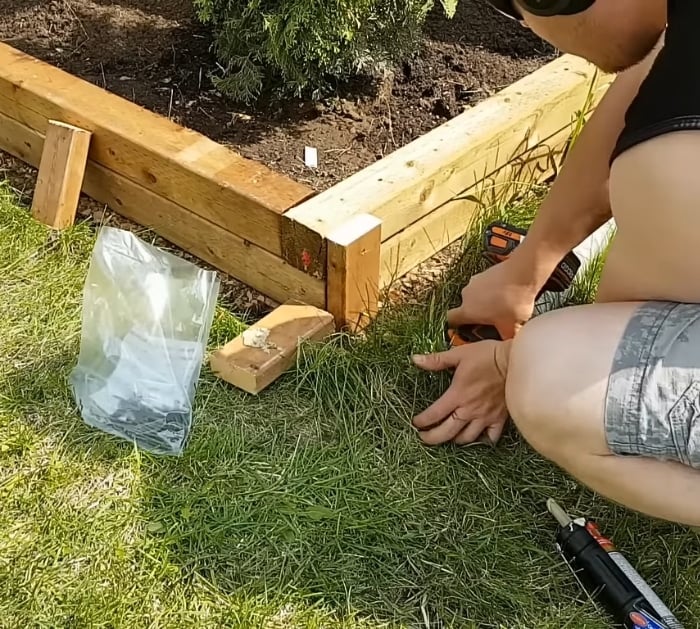
Add construction adhesive to the four-by-fours. You just need to add it in a bunch of little blobs all over the place as it will flatten and expand into the pores of the wood. Also, pull the two four-by-fours apart and add a little bit of glue into the end joints. When you put the four-by-sours on top, work it back and forth. Screw five or six-inch screws onto the wood. These will act as mechanical anchors until the glue dries. Do the same for the short side. Make sure to score on the cross-sectional area on the corner too.
Step 4:
Cut several pieces of 2x4s the same height as your border, then place them on the corner and along the border. Make sure they are equally spaced. Screw them in place.
Step 5:
Measure your border, then cut the ends of the 5 1/4 x 6′ at a 45-degree angle. Place them on top of your order to make sure it has the correct measurements. Add construction adhesive and glue it in place. Be sure to also add glue to the joints. Screw them on top.
