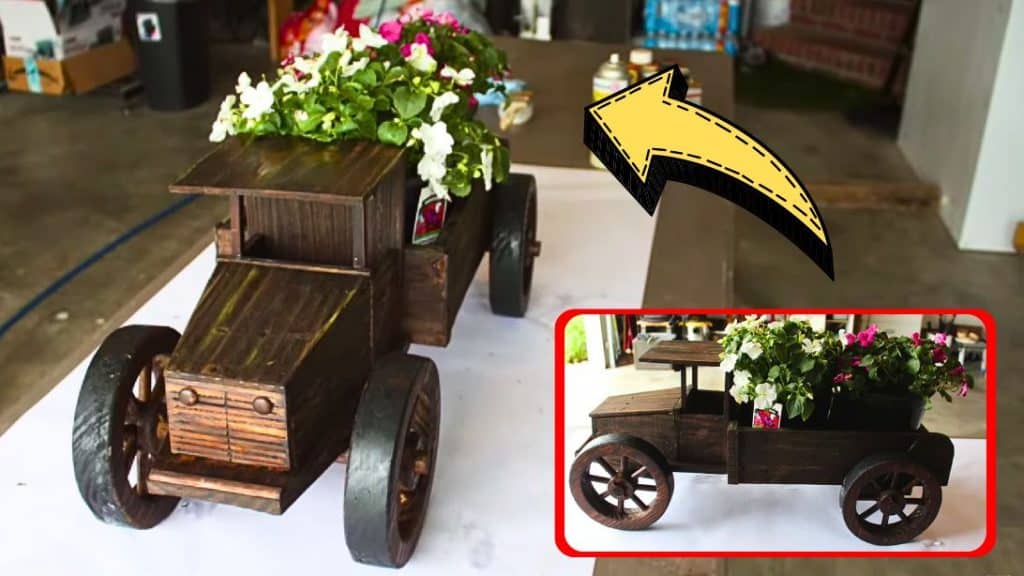
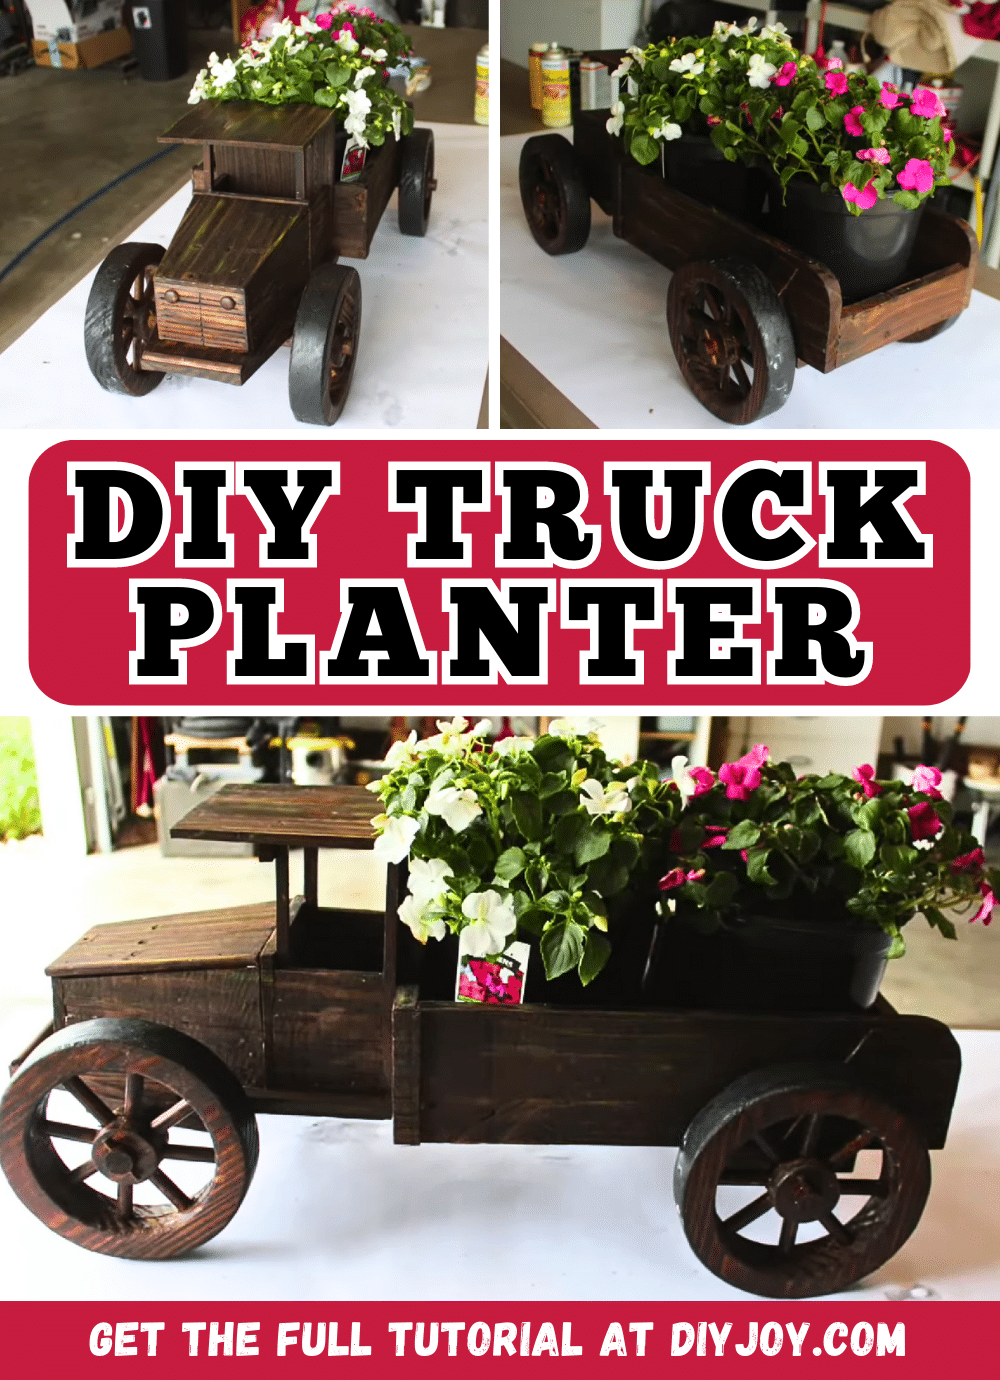
Spring is the best time to show off your plants and/or flowers and if you are planning to replace your old planters with new ones, then consider making this DIY truck planter that is so lovely and is more inexpensive than store-bought ones. They would look incredibly beautiful both indoors and outdoors, you can also make this in any size that you want, and you can even use leftover or scrap wood that you may have lying around in your house. Watch this video tutorial by Herman garcia on YouTube to learn how.
Materials:
- Scrap wood pieces
- Wooden rod
- Small pieces of wood (instead of nails or screws)
- Hammer
- Saw
- Drill
- Pre-stain wood conditioner
- Wood finish
- Wood water sealer
- Paintbrushes
Directions:
Step 1
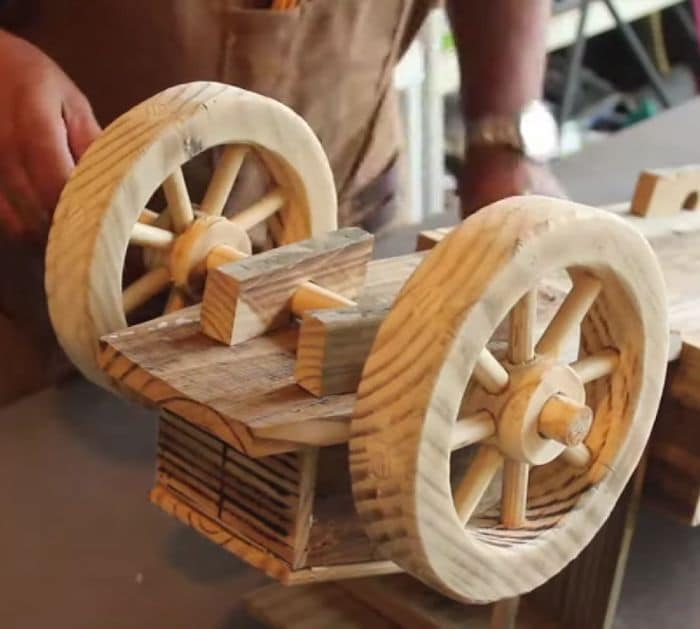
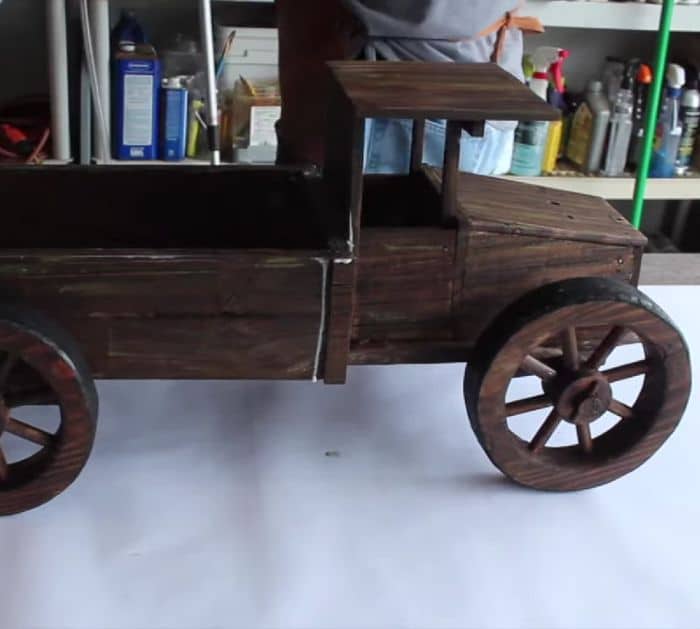
Collect good scrap wood, then remove any screws or nails attached to each wood piece, and cut the wood to size. Sand the edges smoothly, then assemble the base using wood glue, and hold them in place as the glue dries completely. Start working on the front truck pieces and assemble them, then complete the cart of the truck, and make the wheels of the truck. Make sure to sand them nicely, then attach the cart and front part of the truck together, and attach wooden rods to hold the wheels in place.
[social_warfare]
Step 2
Drill pocket holes, then insert small pieces of wood to secure the wheels in place as shown in the video, and finish the truck by adding in the rest of the details. Sand the areas that still aren’t smooth, then apply the pre-stain wood conditioner all over the truck, and let it dry completely. Once the stain has dried, apply the wood finish, then allow it to dry completely before applying the water sealer, and let it dry. Place the plants inside the cart of the truck, then place them wherever you want, and you’re done!
*All image credit belongs to Herman garcia via YouTube. Follow and subscribe to his channel for more!
