Are you looking for a way to remove candle wax from their glass jars? Craftcore DIY & Sewing on Youtube has not just one but five easy tips for you! These methods are all hassle-free and super effective; I’m sure you’ll pick one that best suits you. Watch the video below to learn these today.
#1 Stove Top Melting
Bring a pot of water to a simmer. The water should be deep enough than the wax area of your jar. Carefully place the jar into the simmering water. Pull out the wax once it’s melted just enough to remove it as well as the wick clips, then use tongs to remove the jar from the water.
#2 Hot Water Removal
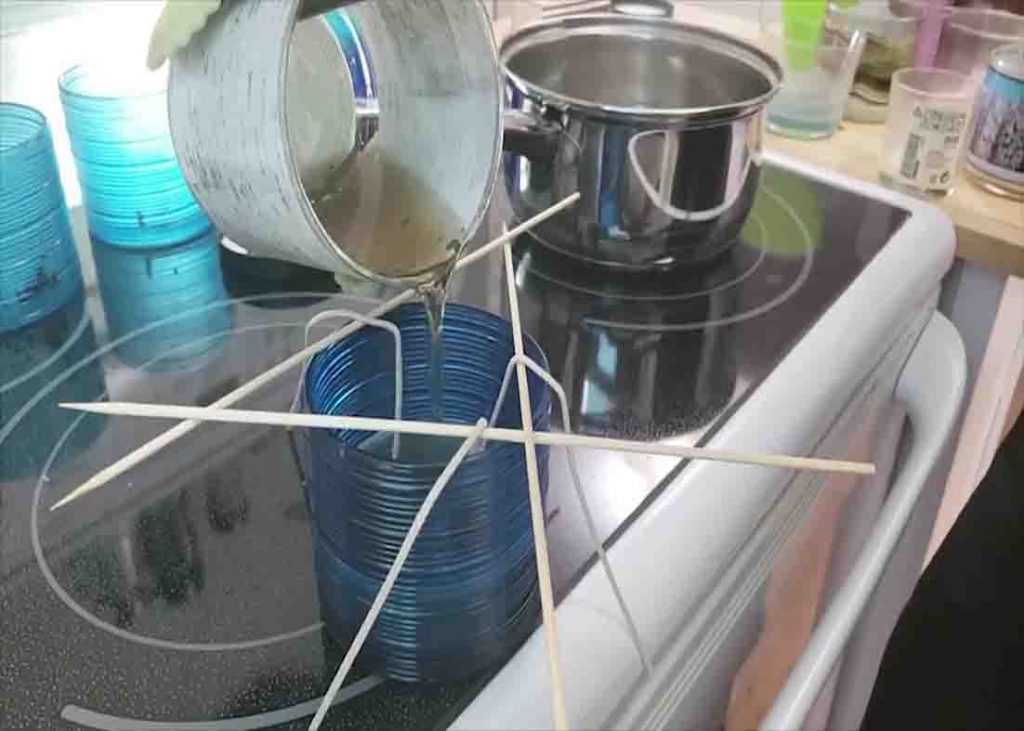
Heat up water and once it’s heated, pour it directly into the candle jar. The wax from the bottom of the jar will slowly rise up to the top of the water. If the wax layer at the bottom is too thick, repeat the process the second time.
[social_warfare]
#3 Freezer
Froze your candle for a few days or so, then cut the wax into chunks to remove it completely from the jar.
#4 Double Boiler
Bring water to a boil, then reduce the heat to medium-low. Put a metal bowl on top and place the candle in it. Wait for the candle wax to melt.
#5 Oven Bake
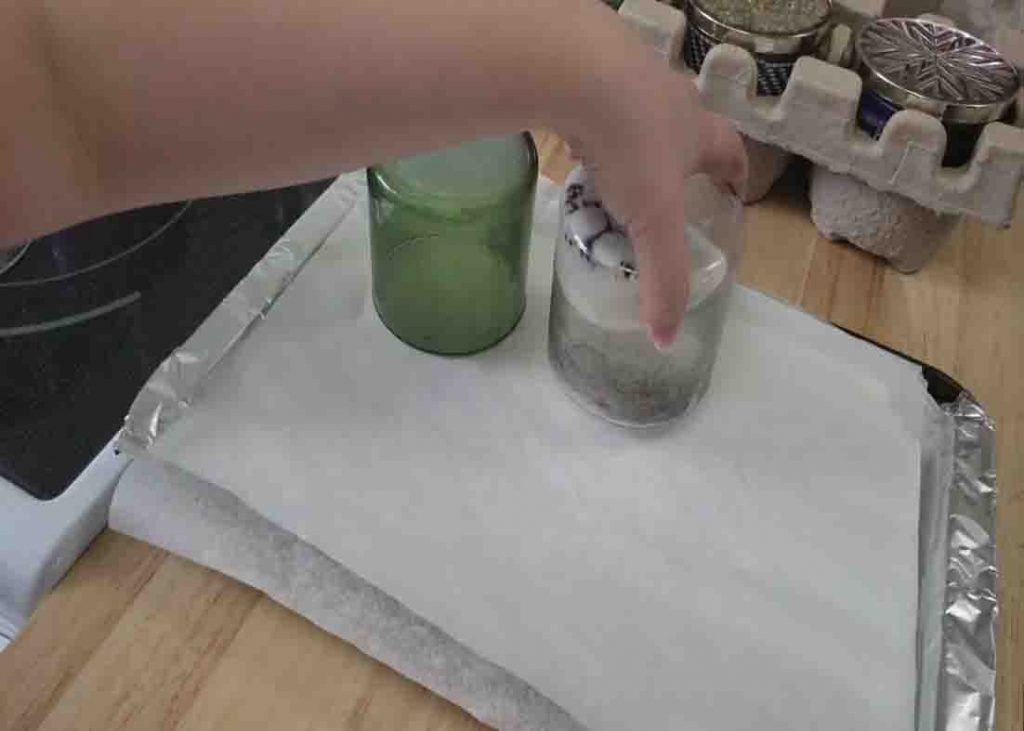
This method is great when you’re removing wax from many candle jars at once. Preheat your oven to a low temperature of 200 degrees F. Line a baking tray with foil then a layer of parchment paper. Place the candle jars upside down on the tray to allow the wax to drip down onto the parchment paper. Put it in the oven for about 15 minutes.
