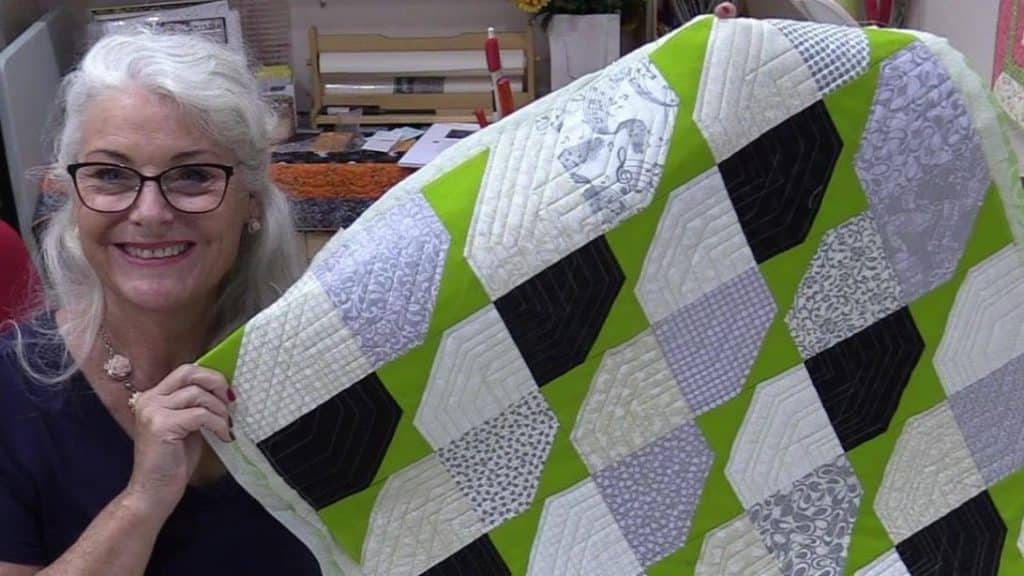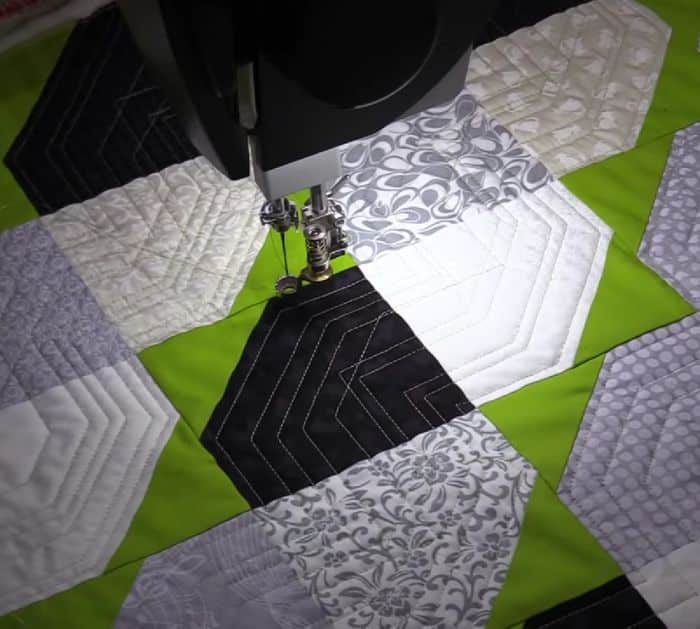
This technique by SewVeryEasy on YouTube is surprisingly easy and clever! Instead of the usual free motion and curve quilt pattern on your patchwork, these straight lines will make your quilt look neater and in order. This may be a bit challenging at first glance, but in truth, this makes the work easier than ever. You will also free yourself of having to move the fabric around too much and let it stay in place letting the ruler do all the work. If you want to give this fun tutorial a try, then proceed to read the instructions down below.
Materials:
- Acrylic ruler
- Quilt basting adhesive spray
- Needle and thread
- Sewing machine
Directions:
[social_warfare]
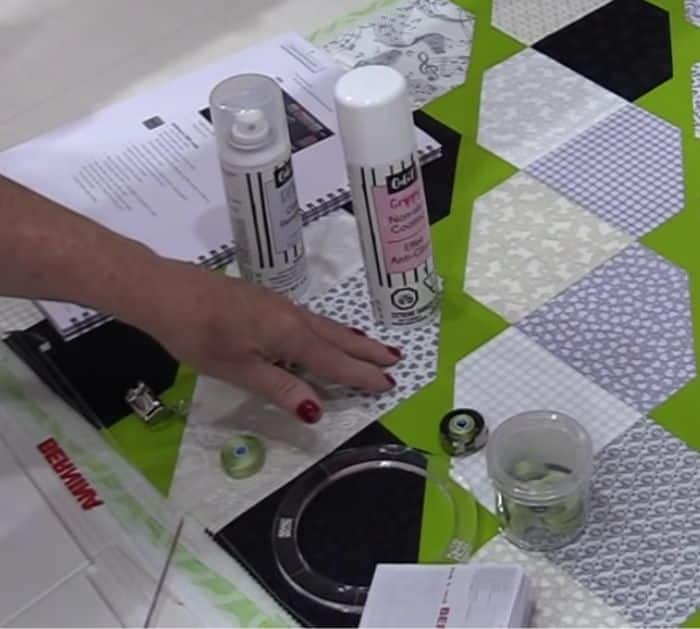
The first thing that you have to do is to test the feel of the ruler on your quilt whether it moves around too easily or it needs to have some grip. Spray some adhesive or basting on the wrong side of the ruler, then lay it on the quilt, and you’ll notice that it has now a better grip. Stitch the quilt with a ¼-inch seam allowance, then use the ruler as a guide as shown in the video, this will help you stitch your quilt without having to move it around too much and instead use the ruler pivoting it around to change the direction of your stitch. You can fill in the whole quilt with those lines by adding another stitch right beside the previous one making sure they are ¼ inch apart from each other, do this until the quilt is full of lines or it has reached the desired look.
*Thanks to SewVeryEasy via YouTube for all images used here. If you loved this video tutorial, then you’ll surely love her other projects too, so give her channel a visit and subscribe!


