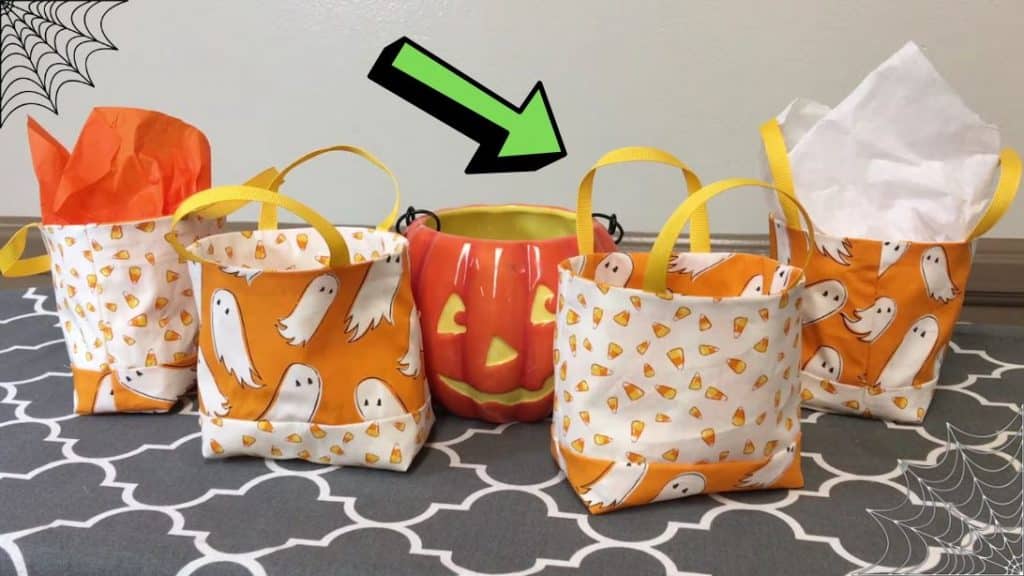
Before you go trick or treating make sure to create one of these beautiful mini bags to store the treats you collected in! This sewing project by Pasadena Public Library on YouTube is simple and easy to follow even for beginners. See the instructions down below and give this sewing tutorial a try.
Materials:
- ¼ yard of Halloween print quilting cotton
- ¼ yard of a different Halloween print quilting cotton
- Needle and coordinating thread
- 3/8″ ribbon, for the handle
- Scissors or rotary cutter and a cutting mat
- Fabric pins
- Ruler
- Marking pen, pencil, or chalk
- Sewing machine
- Pattern (Click here to download and print the pattern out)
Directions:
Step 1
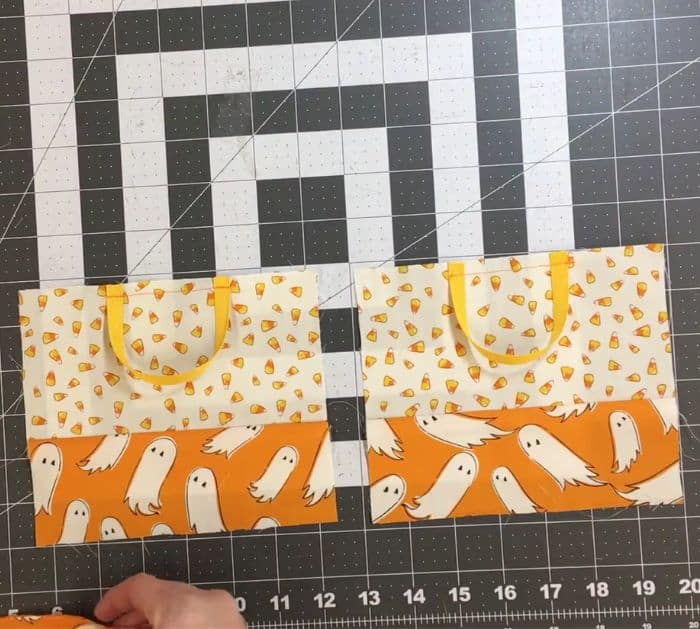
First off, cut the pattern pieces, then trace them onto the fabric, and cut them out accordingly. Next, match 2 large light pieces, 2 dark medium-sized pieces, and 2 small light pieces of fabric, then repeat until you have 4 matches or a total of 4 bags. Place the medium piece on top of the smaller piece with their right sides facing together and edges matching, then pin them together in place, and stitch with a 3/8-inch seam allowance. Open the fabric, then press it nicely, place the handle or ribbon on the medium fabric, pin it, and then sew it in place.
[social_warfare]
Step 2
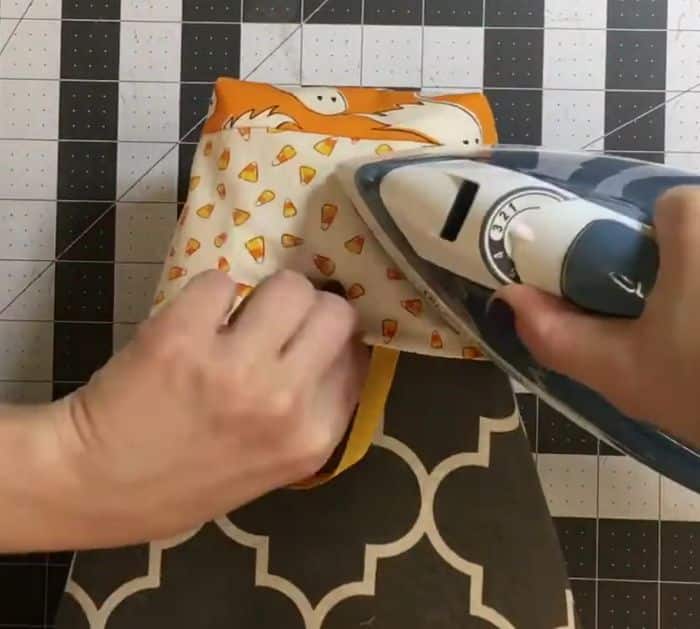
Place the large piece of fabric on top of the bag right sides facing and edges matching, then pin them together, and sew them on the long side right where the handle is. Flip the fabric over the right side out, then give it a good press, lay the pieces together right sides facing and edges matching, and mark at least 3-inch space at one short side. Pin the pieces together in place, then stitch along the sides starting from one mark and ending on the other, and press the seams open on the sides. Box the corners and sew them, then pull the bag right side out, and sew the gap close. Tuck the lining piece inside the bag and give a good press.
*These amazing images are all credited to Pasadena Public Library via YouTube. Check her other content and follow for more!


