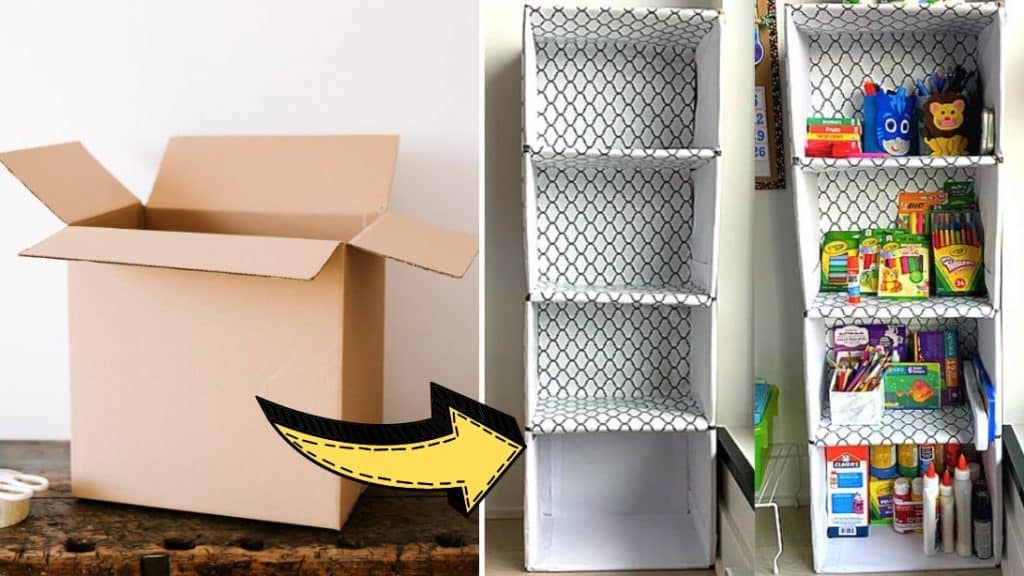
This crafty and creattive diy project idea by Tripta on YouTube is perfect if you have a room full of craft supplies or you simply want to declutter and organize your stuff. This is way cheaper than actual shelves but it serves its purpose just right. You only need some cardboard boxes and a few crafting tools to build your own diy shelf! If you want to learn how, proceed to read the instructions down below and watch the video tutorial as well. Go ahead and give it a try, then show us the results.
Materials:
- Cardboard boxes
- Cutter or X-acto knife
- Scissors
- Duct tape
- Wrapping paper
Directions:
Step 1
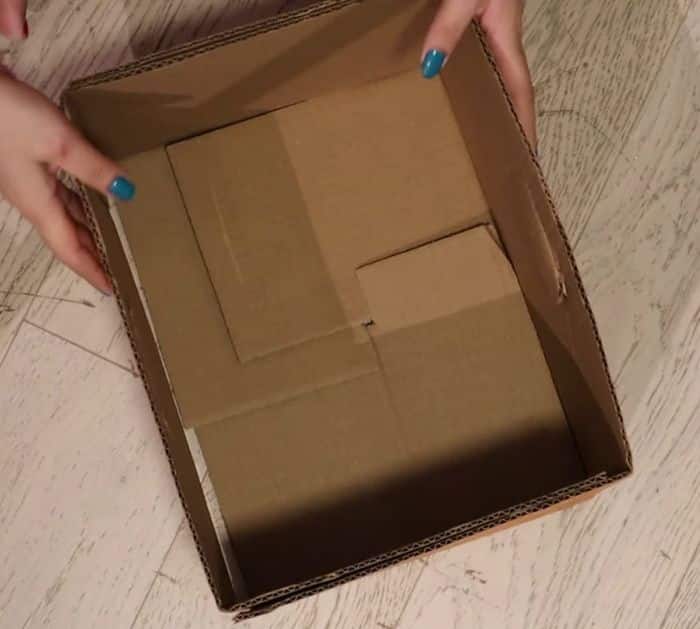
Remove the flaps or the cover of the cardboard box, then cut it in half crosswise, and open or dissasemble one piece leaving the other intact. Remove the lower or bottom flaps of one half of the box to straighten the piece. Insert this trimmed piece into the other half that was intact until it fits nicely, then tape the sides together securely, and make another set of small box.
[social_warfare]
Step 2
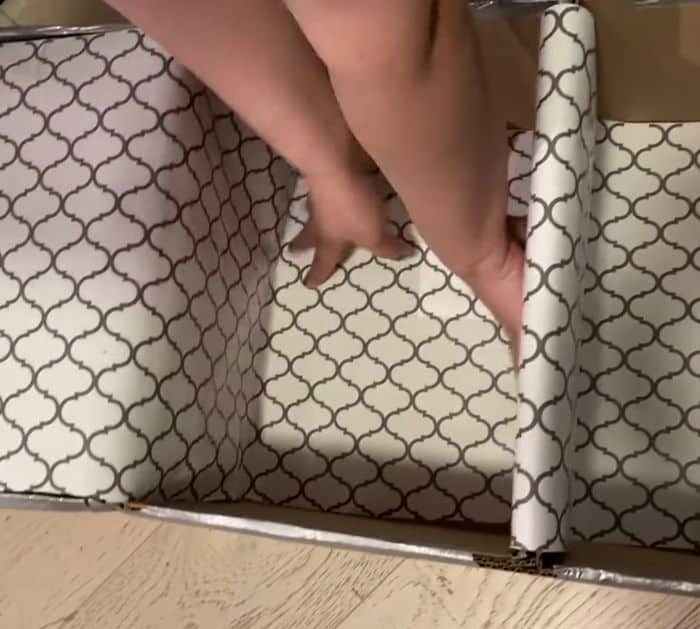
Insert the two small boxes inside a whole cardbaord box with top or cover flaps trimmed as well, then add a piece of cardboard in between the two small boxes to make it more sturdy and stable, and then tape all of the sides together securely. Make 3 more sets of this before combining them together to complete the shelf, then wrap everything with wrapping paper, and start stacking the shelf with books and craft supplies.
*Thanks to Tripta via YouTube for all images used here. If you loved this diy project, then you’ll surely love her other videos too, so give her channel a visit and subscribe!
