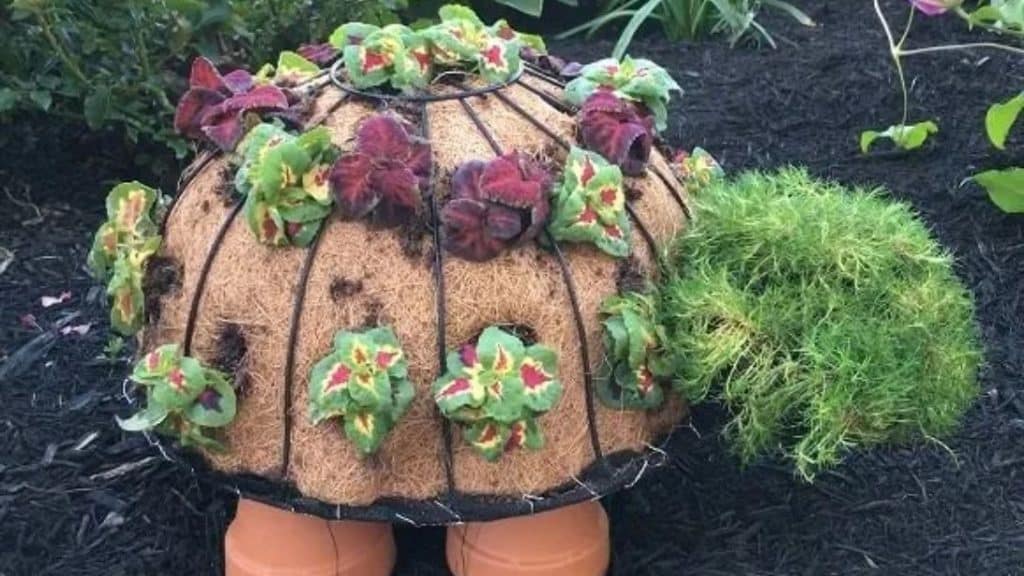
Turtles are awesome but turtles made out of plants are even better! They make a great addition to your garden, produce beautiful and vibrant plants, and are super easy to make. All you have to do is to assemble the turtle, insert plants of choice, and wait for it to thrive in just a few weeks. Learn how to do it in this video tutorial by DIY Hometalk on YouTube.
Materials:
- Wire hanging basket
- Landscape fabric
- Chicken wire
- Four small pots
- Paddle wire
- Potting soil
- Plants
Directions:
Step 1
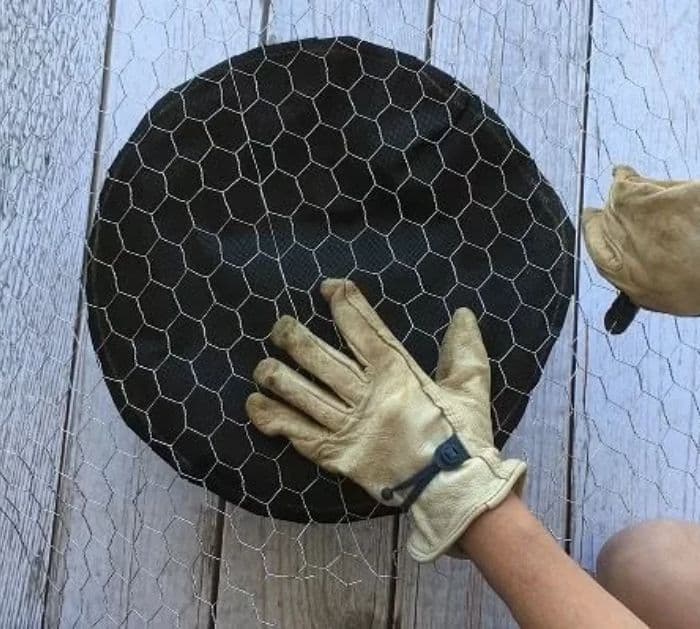
Get the wire hanging basket, then remove the chain and the liner, and lay the basket upside down onto 2 pieces of landscape fabric. Trace around the outer edge of the basket and cut the fabric into a circle. Place the basket upside down onto a piece of chicken wire, then cut the wire the same width as the basket, and then place the liner into the basket before filling it with potting soil. Place the circle landscape fabric that you cut over the potting soil, and lay the chicken wire over the landscape fabric. Cut the excess chicken wire around the edge leaving only about 1 inch around it, then bend the edges of the wire around the edge and secure it. Place all four pots onto the chicken wire and determine where you want them to be attached.
[social_warfare]
Step 2
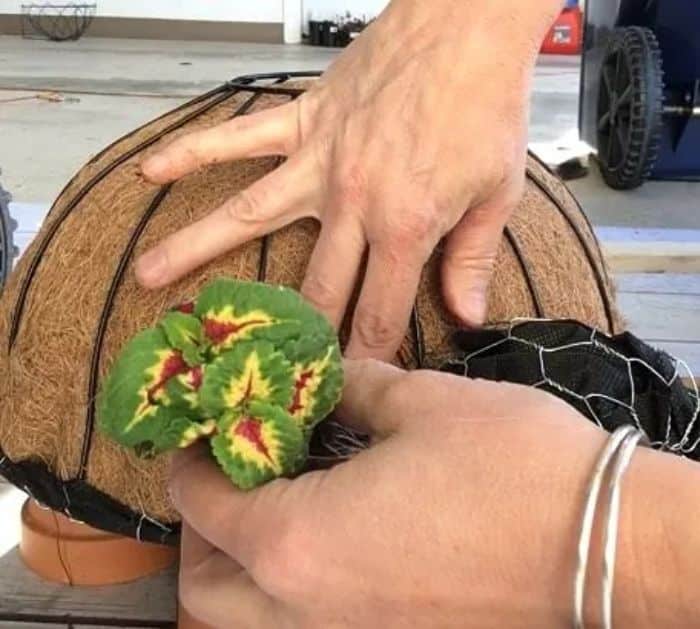
Twist 2 long paddle wires onto a section of chicken wire, then thread the end through the hole in the pot, take each of the four pieces around the pot, and twist them into the chicken wire to secure. Now, turn the basket and let it stand right up with its pot feet at the bottom. For the head, simply fold a piece of chicken wire into a tube, then close one end by bending the wire onto itself, and place the landscape fabric into the tube. Fill it with potting soil, then bend the wire onto itself to close it, and attach the head onto the shell using paddle wire. Cut several holes into the liner using scissors, then carefully insert the plants into each hole, and water thoroughly. After a few weeks, your turtle’s shell will be covered in color.
*All image credit belongs to DIY Hometalk via YouTube. Follow and subscribe to their channel for more!
