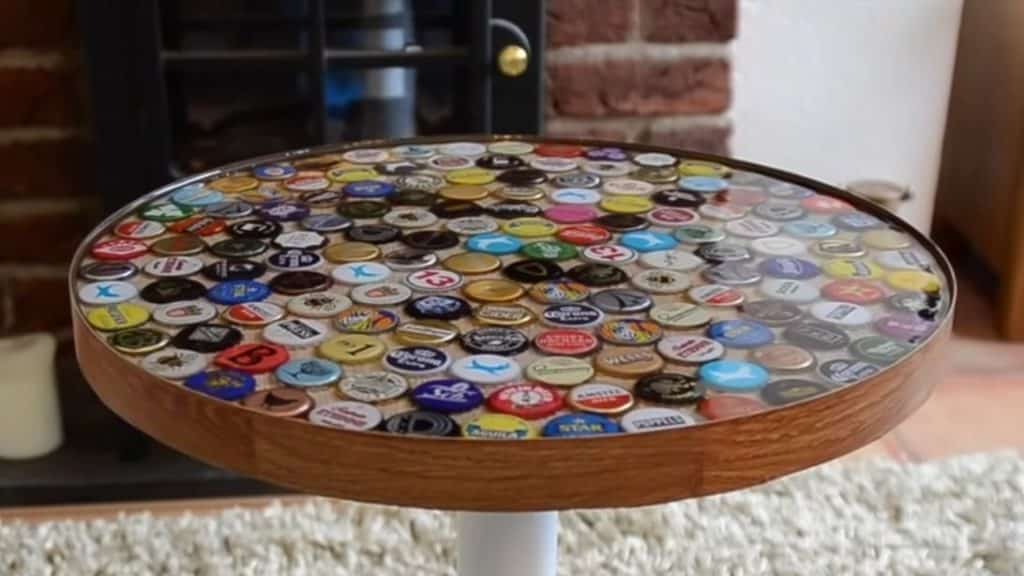
Do you love collecting beer caps but don’t know which project to use them with yet? Try this creative and pretty table project idea by Matt Giles on YouTube! This is super easy to make and the finished product looks so cool. Let this DIY project keep you busy this weekend, you won’t regret it. Enjoy!
Materials:
- A simple lamp table
- Kitchen edging
- Impact adhesive for edging and sealing
- Glass cast epoxy Resin from Easy Composites
- 200 beer caps
- Float tool
Directions:
Step 1
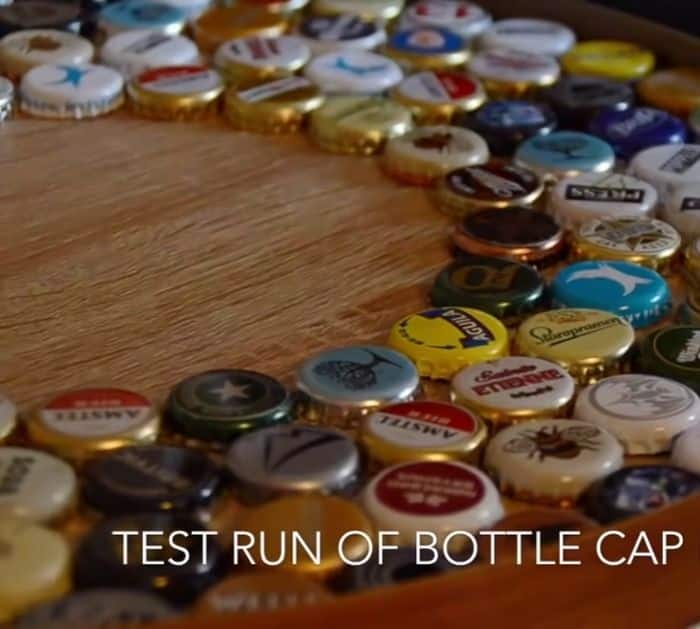
Assemble the lamp table if it’s store-bought but if you already have one or using an old table, then that would work just fine too. Make sure the top is clear and clean for the beer caps. Measure the edging, then trim and cut it accordingly to the total size of the table’s edges as well as the depth it needed. Apply the adhesive around the table, then attach the edging in place nicely. Leave it and let dry completely or for about 1 hour. You can do a test run of laying the beer caps around the top of the table so that you can see how to arrange them and make some changes you might like, but you can skip this step and proceed to the next if you find this too much work.
[social_warfare]
Step 2
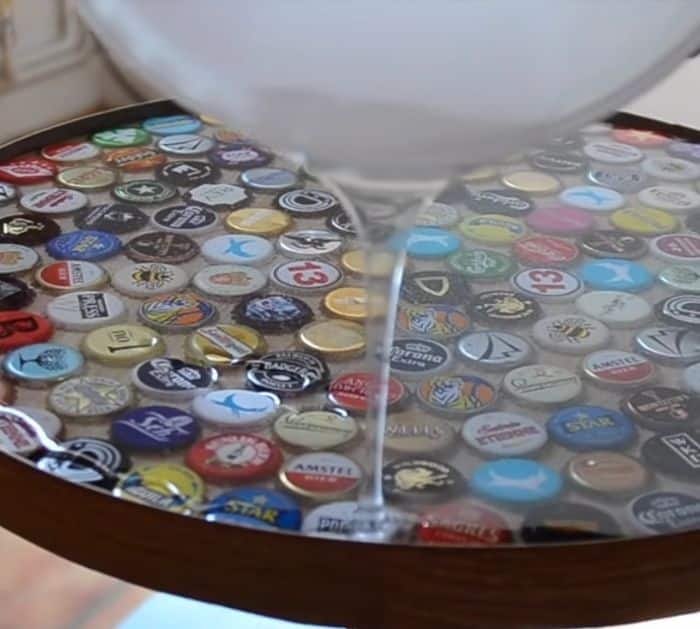
Grab your impact adhesive and dab an ample amount on the table and right on the spot where you want the beer cap to be placed, then take the beer cap and place it right on top of the glue, let the glue fill the inside of the cap. Repeat the process until you’ve used up all of the beer caps or you’ve filled the top of the table completely. Leave the beer caps to dry for about 24 hours, then go ahead and mix the resin. The resin needs to be mixed and stirred correctly, refer to your package for a more accurate instructions. Pour the resin on top of the table filling all the gaps and edges nicely. Use a float to make sure that the resin is even. The resin’s curing time is about 24 to 48 hours, leave it to dry before using.
*All these images are credited to Matt Giles via YouTube. Give his channel a visit and subscribe for more!
