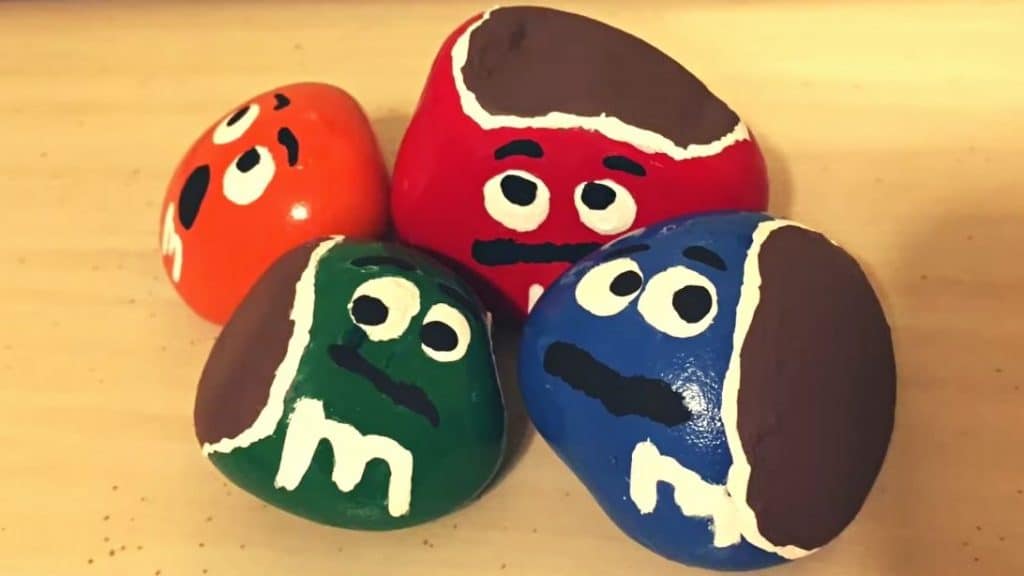
If you’re looking for a fun project that you could try at home, then check this rock painting tutorial out by Arts and Crafty Central on YouTube! These adorable M&M rocks are so easy to make and looks incredibly realistic that you’d want to take a bite. You can use this as decoration for any areas you please or give it as a gift to your loved one.
Materials:
- Spray paint
- Acrylic paint, white, black, and brown
- Washed rocks
- Cardboard
- Masking tape
- Paintbrush
- Q-tips
- Toothpick
- Tissue paper
- Scissors
Directions:
Step 1
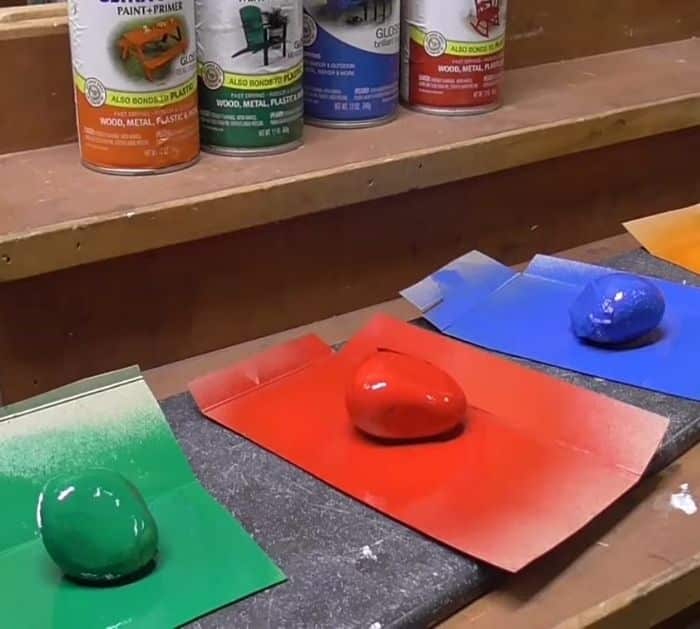
Wash the rocks well and rid of any dirt, then wipe them dry, and set them aside. Cut some scraps from cardboard, make sure they’re bigger than the rocks you have. Cut some masking tape and use it to cover the spots on the rocks where you want the bite marks to be. Place each rocks on top of individual scrap cardboards, then work on them one by one. Transfer each rock on scrap cardboard on your work surface or on top of a larger piece of cardboard. Spray paint the rocks completely, make sure to shake the cans well. Leave them to dry, then spray paint the other sides, and if you need to, add a second coat. Let them dry overnight.
[social_warfare]
Step 2
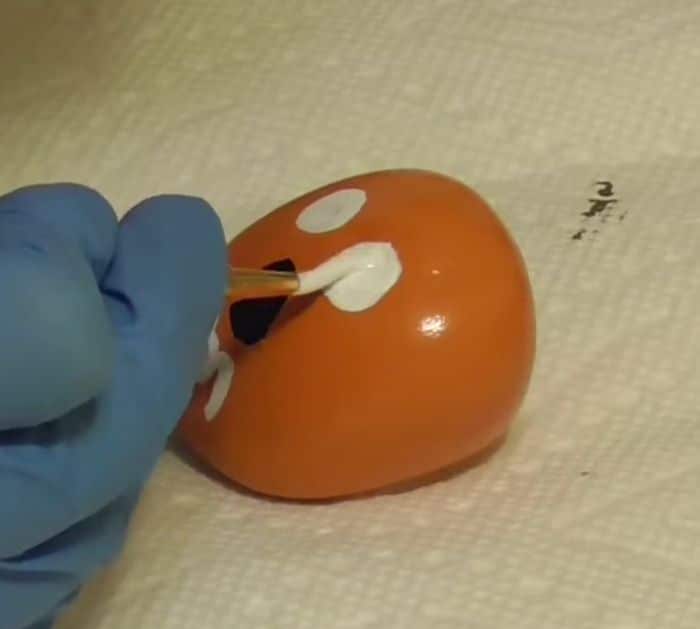
Cover your work area with tissue paper to catch paint drips, then peel off the tapes from each rock. Then, mix black and brown acrylic paint for the chocolate bite, and paint it on the peeled side. Use white paint to write the letter “m” on the lower area of each rock. Paint white for the base of the eyes as well and use q-tips to wipe off any mistakes. Paint black squiggles or circles for their mouths and do a second coat if needed. Next, paint on the pupils (make a variation by painting pupils looking at the bite) and worried eyebrows with a toothpick. Lastly, paint a thin white line around the bite, use a toothpick for a thinner liner.
*These amazing images are all credited to Arts and Crafty Central via YouTube. Check her other content and follow for more!
