If you want a different kind of pillow case that has a flap to hide the pillow, here’s a really useful tutorial from SewVeryEasy on Youtube. This pillowcase can be customized to fit the size of your pillow once it’s done.
Materials:
- 3 different fabrics (nice light color for the body, a little floral accent piece, and one for the main cuff)
- Pins
- Thread
- Sewing machine
- scissors
- Tape measure
Directions:
The pillowcase is going to consist of your inside cover, the big cuff, the band, and 2 pieces (one for the front and one for the back). The width should be the same for all. You can go from 19 inches over. The difference is going to be how long you cut them. The inside cover and big cuff should be cut at 12 1/2 inches. You can cut the decorative band between 2 and 2 1/2 inches. The top of the pillow should be 30 inches plus whatever the width you chose for your pillow should be. For the back, the same width plus 36 inches.
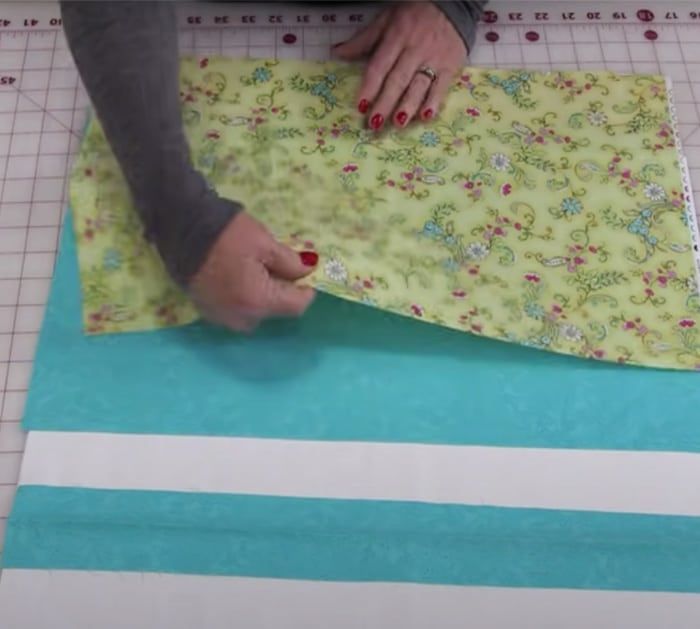
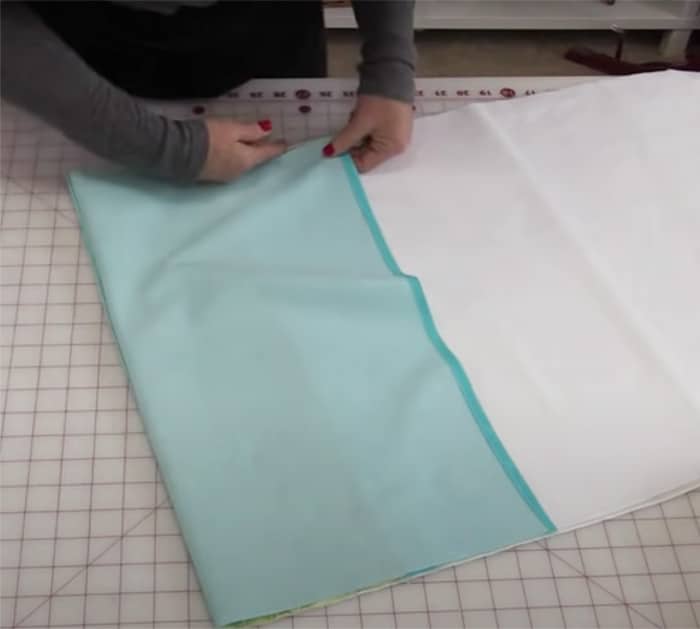
You start with your front cuff, big trim, and front piece. Start by making the front of the pillow. So the pillow is right-side up. Take the band and fold it in half so that the wrong sides are touching. And the raw seam is going to match along the edge of the pillow fabric. Take the cuff fabric and have the right side facing down. Match your seams and put in about 4 or 5 pins. After temporarily pinning it, you flip it over. Take the edge of the fabric and fold it right in the center of the big cuff. Fold it again and again. Take the floral design cloth right over to the edge. Match up the edges and re-pin.
Straight stitch a quarter inch all the way down the edge. Then take out the pins and pull the insides right side out. The pillow front is going to come loose. You will have no exposed seams on the front or back. Press.
It’s time to work on the back of the pillowcase. You have 2 pieces of fabric left over. The back, which is 36 inches, and the inside cuff, which is 12 1/2 inches. Take one edge and do a rolled seam. Doing a rolled seam is simple. You just roll the fabric once and press it. Then turn it a second time and press it. Stitch right along that fold.
Lay the larger back piece with the good side facing up. Then take the inside cuff fabric and place it on the back piece facing down. Then stitch a quarter inch on the edge. Fold the fabric and use the seam allowance as a guide. So your pillow case is now done.
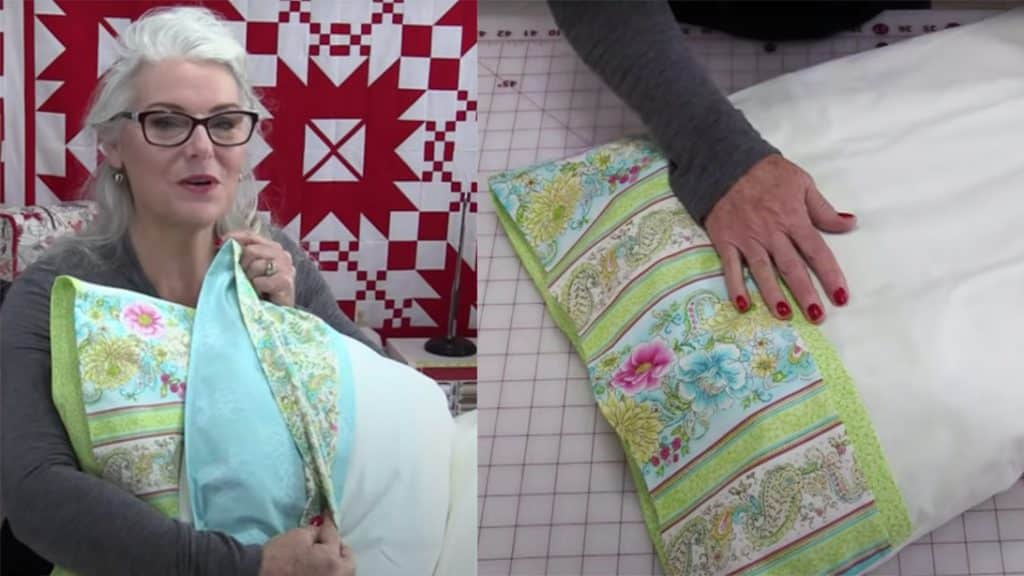
So if your pillow back and front are done, all you need to do is sew them together. Lay the pillow back out with the right sides facing up. Match up the front so both good sides are facing together. Use the folded line to be the guide for your fold. Stitch the sides with a zigzag stitch. Do this on all three edges. Don’t stitch the top part. Then take the blue flap and pull it towards the back. When you pull it, you see a trim. You just have to stitch right along it. And your pillow is done with a flap.
How to Sew a Pillow Case with a Flap