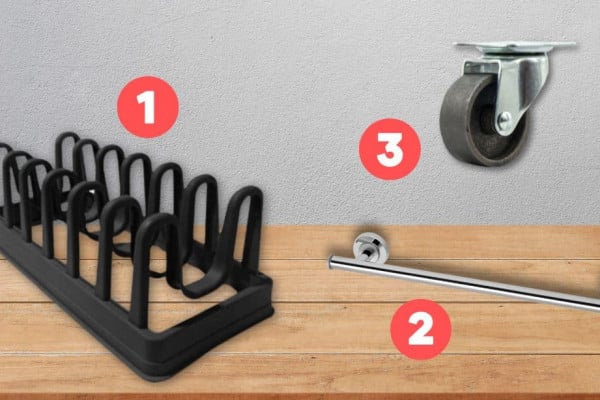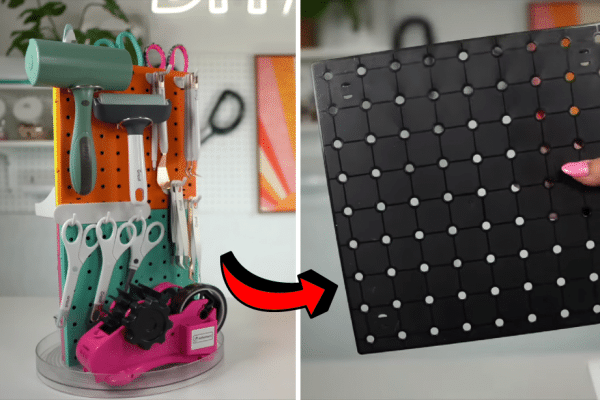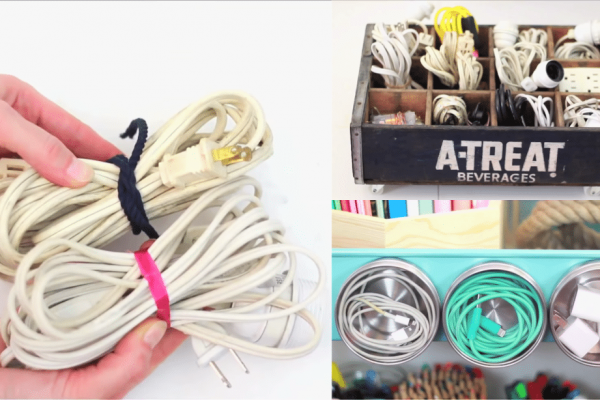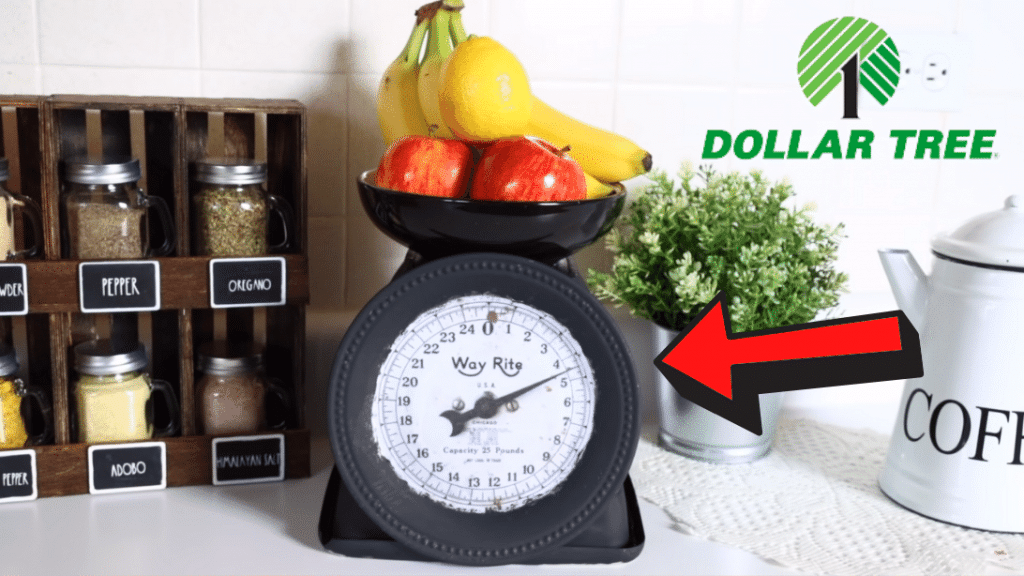
On a budget but want to upgrade your kitchen with some new pieces? Here are 10 dollar tree kitchen organization DIYs by Bargain Bethany. All of these projects are not only creative and beautiful but also functional. It makes your space organize and high-end looking. Watch the video below to see the final look of each project.
1. Under sink bag holder
Materials:
- dollar tree over the cabinet towel bars
- trash can
- utility knife
- dollar tree zip ties
- font stickers (optional)
Instructions:
Take the bar and place it at the back of the trash can and using a utility knife, cut three lines underneath the bar. Place the zip ties inside the cut lines and tie the bar in place. Cut excess zip ties. You can use font stickers to add labels to the can.
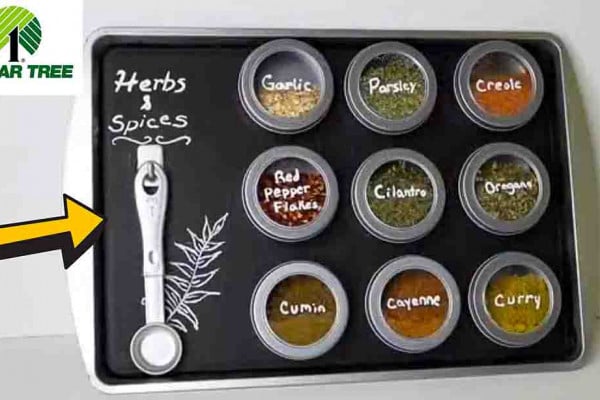
2. Spice organizer
Materials:
- dollar tree 10 small crates
- dollar tree wood glue
- hot glue
- stain
- 2 paint stir sticks
- handsaw
- big scissors
- 2 packs of dollar tree chalkboard signs
- chalk marker or stickers
- dollar tree spice jars
Instructions:
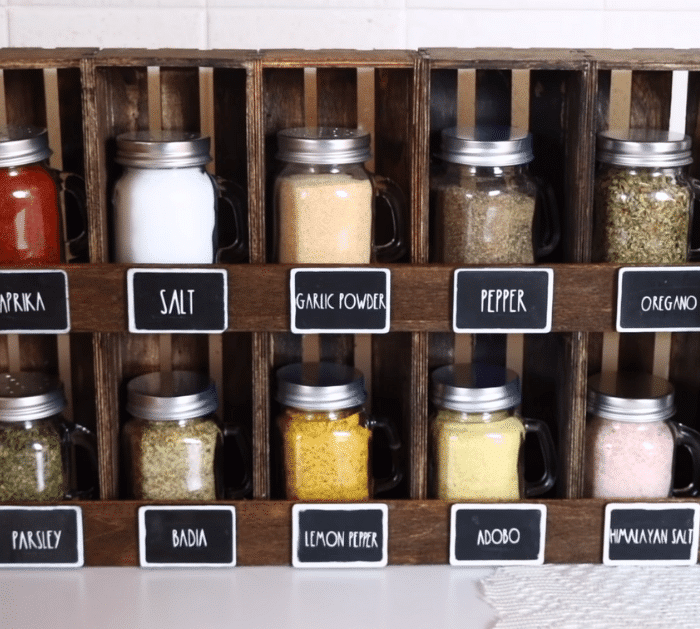
Take 10 crates and glue them together using wood glue and hot glue, 2 rows with 5 crates each. Once done, stain the crates with your desired color. Cut two pieces of the paint stir sticks to the same length of the stacked crates using a handsaw. Then stain the sticks. Once dry, glue them to the shelves. Once dry, glue them to your shelves (middle and bottom). Remove the steak out of the chalkboard signs and glue it to the sticks. Then label each sign with your spices. Fill the jars with your spices and place them on the shelf.
Bargain Bethany
3. Coffee mug organization
Materials:
- dollar tree wall mount hooks
- decor piece
Instructions:
Install the wall mount hooks on your kitchen wall and add a decor piece on top.
4. Kcup storage
Materials:
- dollar tree wire wastebasket
- dollar tree plastic garden fence
- matte paint
- hot glue
- zip tie
- dollar tree metal tag
- chalkboard tag
Instructions:
Push in the bottom of the wastebasket and push out just right above where you push in making a shape of a coffee mug. Cut the design that is like an arch on the garden fence, make 2 of this. Then paint with matte black. Use hot glue to attach the handle. Use the zip ties to secure the handles. Paint the metal tag with matte paint and attach it to the basket. Then add the chalkboard tag.
[social_warfare buttons=”Facebook,Twitter,WhatsApp,Pinterest”]
5. Stair towel holder
Materials:
- 4 dollar tree plunger
- wood glue
- hot glue
- wire basket
- stain
- zip ties
- decorative nautical rope
Instructions:
Cut just the end of the plunger for the two pieces, then for the remaining cut around 8 inches. Place them just how you want them and use hot glue and wood glue to attach them. Make sure that the wire basket can fit on the steps. Paint the stair. Once dry, attach the basket using zip ties. Make a criss-cross design on the edge of each step using the rope. Use hot glue to stick it in place.

Bargain Bethany
6. Baking supplies organization
Materials:
- decorative cutting boards
- 2 dollar tree rulers
- scissors
- removable hooks
- hot glue
- white paint
- brown paint
- command strips
Instructions:
Remove the stickers from the rulers and cut the rulers to fit the width of the cutting board. Remove the backing from the hooks. Paint the wood brown and the center decoration white. Glue the ruler over the top and bottom image of the cutting board. Attach the hooks on the ruler at the bottom using hot glue. Stick the command strips on the back.
7. Fruit basket scale
Materials:
- planter
- black paint
- glass bowl
- hot glue
- plate from dollar tree
- antique food scale sticker
Instructions:
Paint the planter with black paint. Then put the upside down then glue the glass bowl on top. Paint the plate black and glue the sticker to the center. Attach it to the planter using hot glue.
8. Oven mitt holder
Materials:
- over the door hooks
- clear self-adhesive hooks
- wood plank
- black paint
- sticker
Instructions:
Remove the hook by bending the metal back and forth. Use the adhesive hooks to attach the over-the-door hooks to the wall. Paint the plank black and add the sticker. Place on the hooks using hot glue.
9. Stacking jars
Materials:
- dollar tree glass jars
- sticker labels
Instructions:
Add the labels to the glass jars and place food or things inside.
10. Lazy susan
Materials:
- dollar tree lazy susan
- cake pan
- ribbon
- rope
- hot glue
Instructions:
Paint the cake pan white and decorate with ribbon using hot glue. Attach the cake pan to the top of lazy Susan. Use the rope to cover up the uncovered area.

