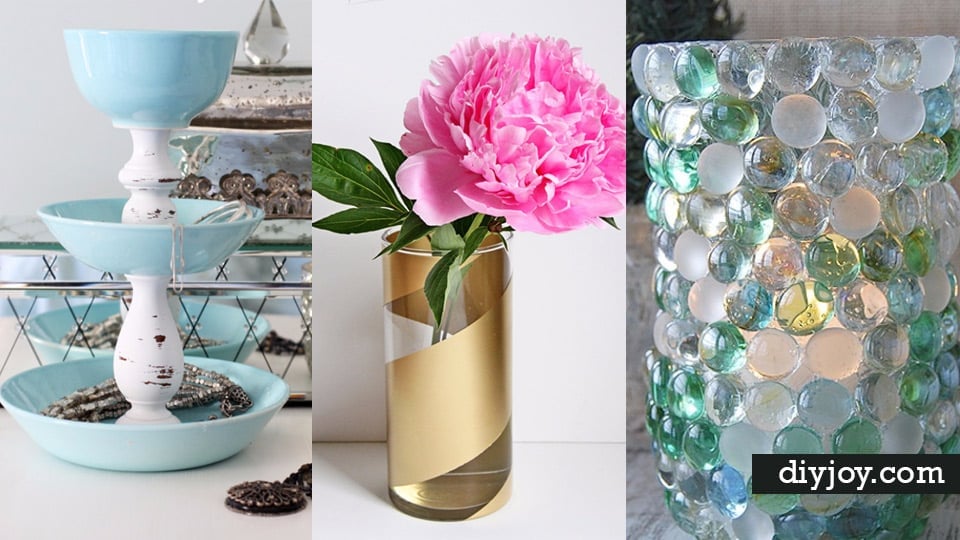
Looking for some cheap but cool crafts to make this weekend? As you may know, dollar store crafts are some of the best around these days, as for a buck you can buy some pretty fabulous crafting items and make some pretty impressive stuff. I am amazed by what some of my favorite DIY bloggers have come up with, honestly. I only wish to be so creative. However, I have learned this year that all dollar store DIYs are not created equally. Some look impressive and are, but can you say “Pinterest fail?” Unless you are super artistic or have a month of time on your hands, you simply can not pull them off. Please… I will take the easy ones, thank you. Fortunately, I culled some of my favorite ideas for Pinterest and I wanted to share them with you. Whether you are looking for a crafty DIY gift idea or some new home decor on the cheap, these step by step tutorials for dollar store crafts will have you busy making tons of super cool things. Check out the best of the dollar store DIYs…
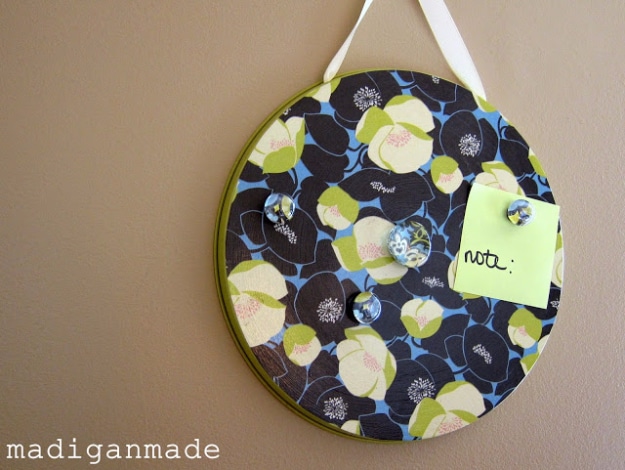
I’ve got a DIY craft to share, and it may even help you get organized. Crafting and organizing all at once? Sign me up! I have to admit that my paper clutter has gotten out of control lately… to-do lists, post-its, receipts, mail. I just can’t keep up. I decided a clipboard would help keep my to-do list in check, and if the clipboard was cute and colorful I might be more inclined to work on that list.
Let’s talk about thumbtacks for a minute. I originally wanted to use silver thumbtacks for this project. And I tried so hard, but it wasn’t meant to be. I drove all over town looking for them. I tried Walgreens, Joann’s, Hobby Lobby, Office Depot, and The Dollar Tree, and all I could find were colorful thumbtacks or those jumbo acrylic pushpins. Target actually sells silver thumbtacks but they were sold out of them. It felt like a bad thumbtack dream. So, I temporarily gave up and was going to just come home and try to order some online. Then I stopped by Kroger on the way home to grab dinner and boom…. Gold thumbtacks! And so that’s the story of how I ended up using gold thumbtacks. In the end, I’m kinda glad it worked out that way.
I have a new found love for the awesome plastic animals available at Michael’s craft store. I have been combing Pinterest to find any DIY projects where I could use them. I found this tutorial for DIY Party Animal Magnets and I knew so many people in my life needed these. You can cut the animals in half with scissors and just glue magnets in their backs and spray paint them gold. It is by far the easiest, most fun DIY craft project I’ve made. These DIY Party animal magnets bring your refrigerator to a whole new level.
These DIY enamel painted vases are so awesome! When I saw them on Pinterest my heart just melted. If you like to paint, this is a perfect DIY craft and super fun project to try today. The inspiration for these easy DIY enamel painted vases came from a hotel in San Diego, it has a fresh, modern design of the lobby and the eye-catching green and white enamel painted vases that are displayed on white shelves. This is a cost-friendly version of that design, which included a quick Martha Stewart tutorial and a trip to the Dollar Store, where you can pick up these some vases so cheaply. You just paint the inside and they look so classy!
This is one of the easiest and most inexpensive projects in the history of DIY. I used leftover vases, purchased from Dollar Tree, that we used for our wedding. Hello, $1 vases and a $4 can of spray paint. For the first vase, I used painters tape and washi tape, then I painted the vase with Krylon 24k gold spray paint. Two light coats is all it took– don’t go bananas or you’ll get drips. I waited about 5 minutes and carefully peeled off the tape. Don’t wait too long, it looks amazing.
I feel like I can n have enough bins and baskets to keep ything organized – from my son’s blocks to our collection of phone chargers, there is always something that needs to be corralled. My absolute favorite containers are vintage crates, boxes, and buckets but those aren’t always easy to find and they can get expensive. And if you need a matching pair, you can pretty much forget it. So I set out on a mission to turn some cheap plastic bins from the Dollar Tree into vintage knock-offs I found these cheap bins at Dollar Tree and customized with paint, the most rewarding DIY makeover Ive created..
This DIY bottle garland is easy to make. For less than $10 you can hang this from any window and place cuttings from your favorites flowers to display. I love walking in the garden, but also enjoy fresh flowers in the home. Especially if we are entertaining, I always have a few vases and arrangements on the tables. I sometimes even place a small vase in the powder room. Recently, I saw this bottle garland for sale online, made up of the cutest little vases and thought, “How pretty would this be in a kitchen? How about my office window?” So when Dollar Tree was having their glass items at 50%, off I picked up 5 cute bottles, and some silver wire to make my own bottle vase garland, it couldn’t be easier to do.
Dollar Store craft ideas abound on the internet and I’m always amazed at people’s creativity. Why can’t I think of these amazing cheap crafts while shopping at Dollar Tree? Well, thisDIY home crafts piece that I found is made entirely from items found at the Dollar Tree. If you want to be even more thrifty, you can make this craft with an old book instead of buying one new for your dollar store home decor project. Book folding art? Book flowers? I wasn’t really sure what to call this project. Its called “Book Topiary.” How awesome and original!
I saw these adorable Labrador Bookends at Pottery Barn, which means definitely not in my price range though I loved them so much! So, one day while shopping I spotted some little plastic elephants in the dollar bin at Michael’s and just knew they had to come home with me! since my youngest Son was born, I find myself drawn to elephants for some reason. There’s some connection between the two. My aunt says it has something to do with the strong maternal instincts Mommy elephants have when their babies are born. What it is, I just love them! So I picked up two elephants from the store and came home to see what else I needed to DIY some bookends. I had a couple of spare pieces of 1 x 4’s at home, so I decided to use those to create the base of my bookends. I cut the 1 x 4’s into four 5″ pieces and sanded down the edges, glued the elephants on and spray painted them turquoise like the ones at Pottery Barn and they looked amazing!