The thing about a ruined shirt is that it is almost never actually ruined. It is snagged, or split at a zipper, or wearing a grease spot that went through the dryer twice and set like enamel. Every one of those has a fix, and most of them use something already in the house: hairspray takes dried latex paint off jeans even years later, liquid dish soap talks a separated zipper back into line, a bucket of hot water and OxiClean lifts a stain the dryer already baked in. There is a sweater snag you pull through to the inside with tweezers instead of cutting, a shirt collar you unpick and flip over, and a loose shoe sole that goes back on with one tube of glue and a clamp. Here are 12 repairs for stained and ruined clothes, each linked to the tutorial that shows you how.
1. An Easy Way to Fix Holes in Your Jeans and Other Garments
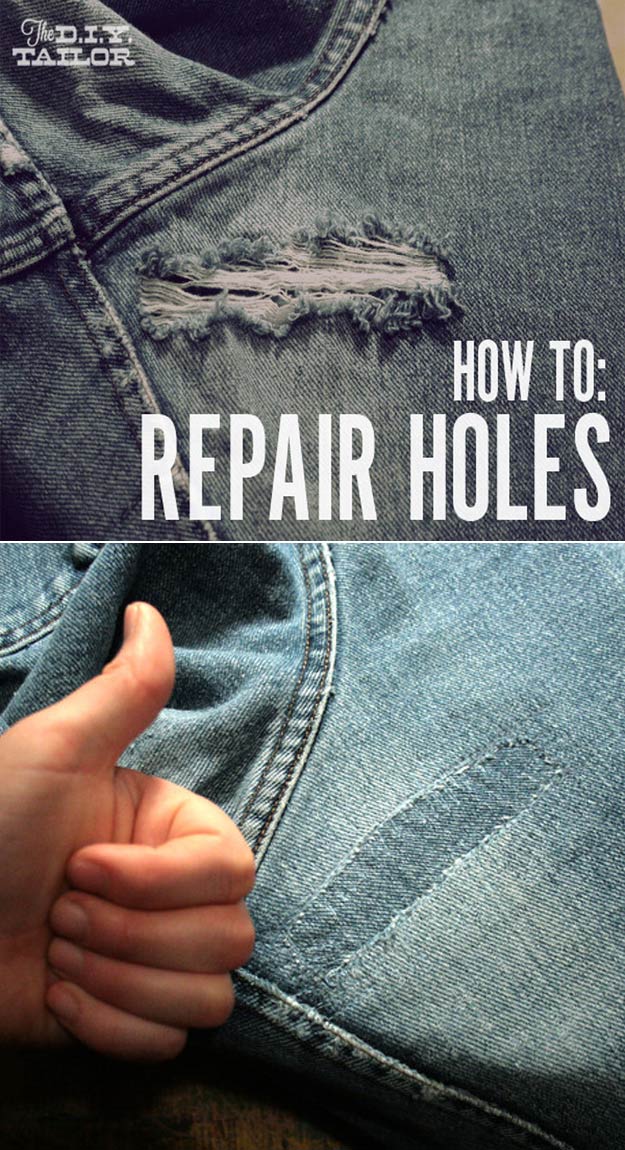
A worn-through hole in denim, patched from behind so the repair holds instead of tearing wider on the next wash. Trim the frayed edges back, then fuse a scrap of fabric to the inside of the leg with lightweight fusible webbing so it stays put while you sew. Stitch with a straight stitch, running the machine forward and back in overlapping passes rather than switching to an actual zigzag setting, and work around the perimeter to catch the loose fibers. Thread color is the real skill: lighter thread on the worn, faded areas and darker on the parts that still hold their dye.
Get the full tutorial at ManMade DIY.
Love DIY Crafts? Follow me on Pinterest for more cool ideas!
2. How to Get Stains out of Clothes
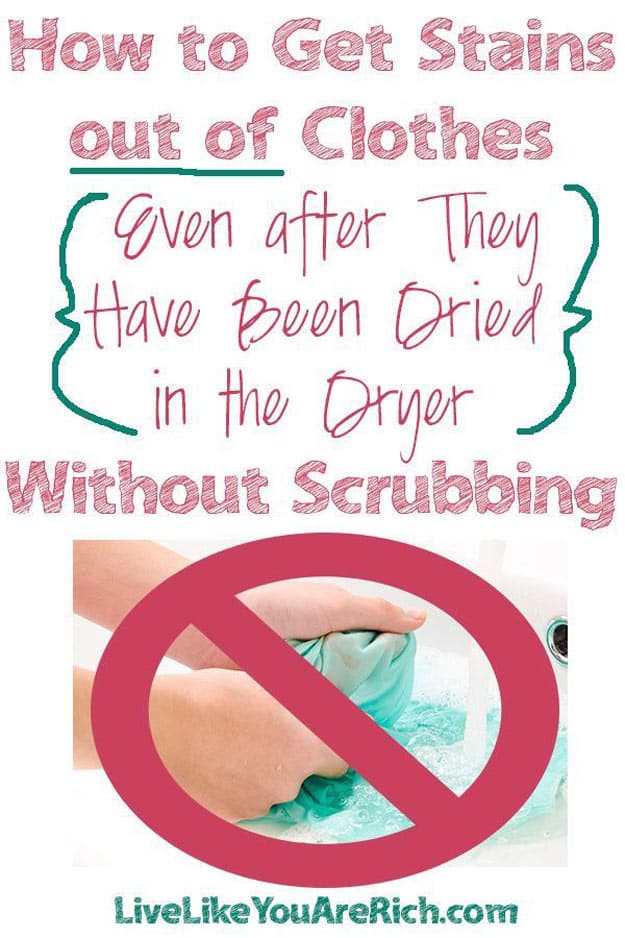
Stains that survived the wash and then got baked in by the dryer, lifted without scrubbing, because scrubbing wears a hole where the stain was and leaves you worse off. This is a chemistry-and-patience method instead. Spray the spot with Spot Shot and give it five to ten minutes, hit it with Shout for a few more minutes and do not rinse either one out. Then fill a bucket with hot water and about a quarter cup of OxiClean and let the garment sit in it for three full days before washing it on a double rinse cycle.
Get the full tutorial at Live Like You Are Rich.
3. 5 Cool DIY Ways To Refashion Your Old T-Shirts

Five ways to cut up a t-shirt that is too stained or stretched to wear as it is, and not one of them needs a sewing machine. There is a clean crop top, a tank with braided straps cut straight out of the shoulders, a fringed hem, a contrast pocket added to a plain tee, and the braided open back that is the best of the bunch. Because the damage usually sits on the front or the hem, cutting is often the honest fix: you are removing the ruined part rather than trying to hide it. The video walks all five.
Get the full tutorial at DIY Joy.
4. How to Easily Fix Snagged Clothing
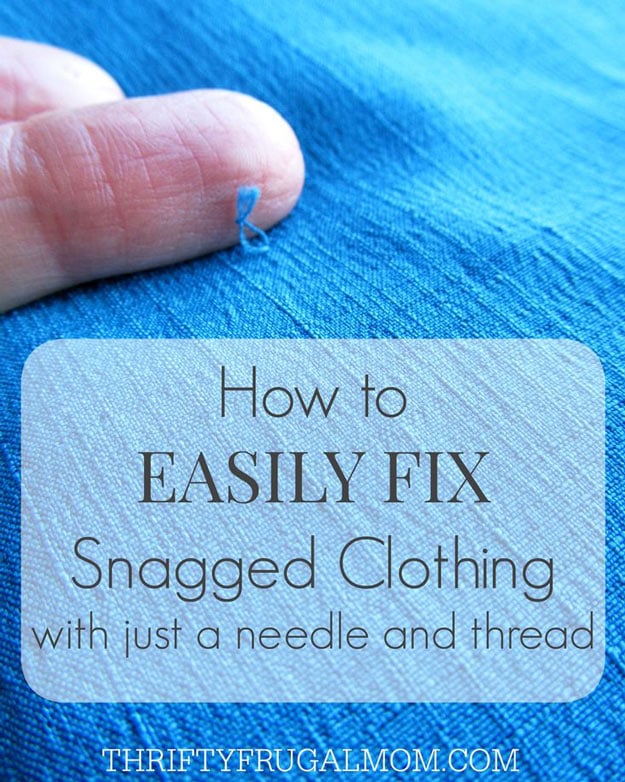
A pulled thread standing up off a blue woven top, fixed with a needle and thread and nothing else. Thread the needle, push it through the middle of the snag loop, and tie a knot, a double knot works well, right at the snag itself so the loop is captured. Then pull the needle through to the base of the snag, which drags the whole pulled thread to the inside of the garment where nobody sees it. Turn it inside out, free anything that caught, and trim the tails short. The one rule is do not snip the snag, because that is how a snag becomes a hole.
Get the full tutorial at Thrifty Frugal Mom.
5. How to Remove Latex Paint From Jeans
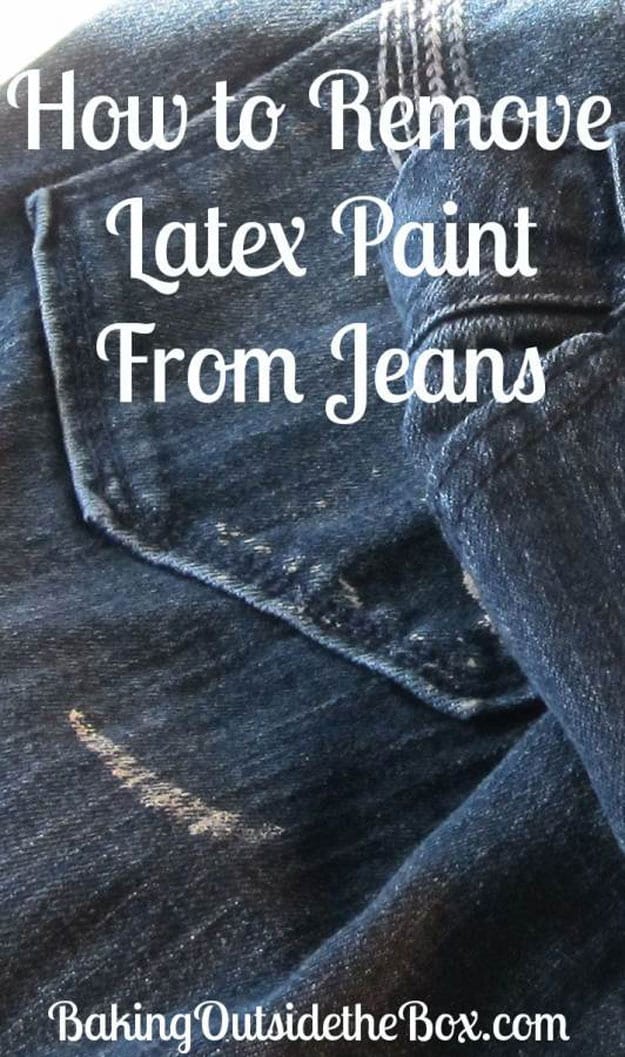
Dried latex paint on dark denim, taken off with cheap hairspray, and it works on paint that set years ago rather than only on fresh spatter. Spray the spots generously, let the hairspray soak in for a few minutes, then scrub with a stiff nylon brush. Some spots peel off and roll away in one go; the stubborn ones need another round of spraying and brushing, and then another. Keep going until the denim is clear, then wash and dry the jeans as normal. This is the difference between owning painting pants and owning sixteen pairs of painting pants.
Get the full tutorial at Baking Outside the Box.
6. How to Fix a Broken Zipper
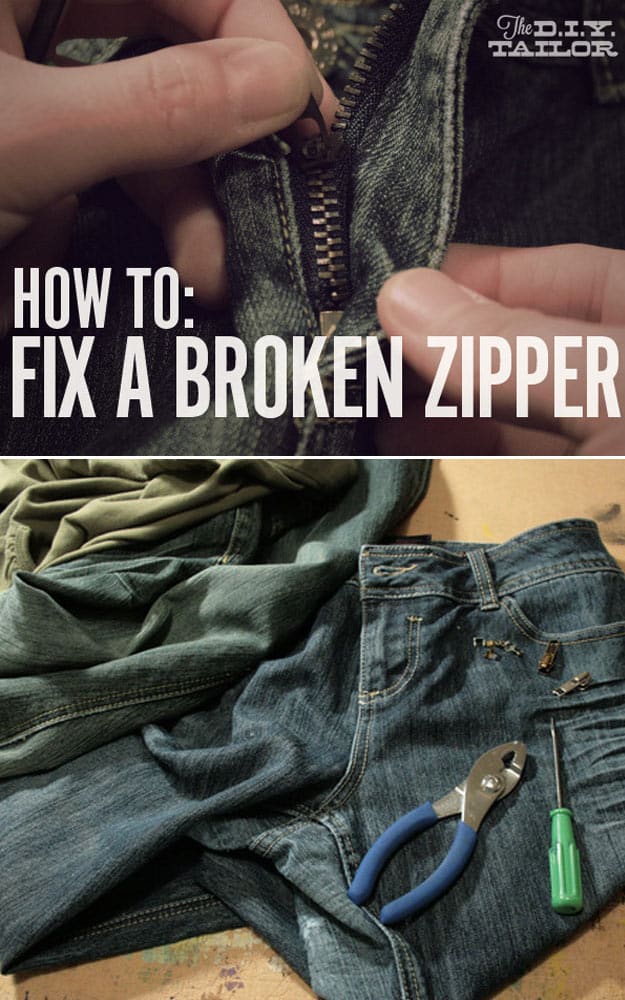
Three different things go wrong with a zipper and only one of them means the garment is finished. A tooth pulled off the tape near the bottom gets fixed by reinserting both sides into the slider and crimping a new bottom stop on with pliers. Top stops that fell off, which lets the slider run right off the end, need the thread tack cut, the bottom stop pulled, both sides re-fed and new stops fitted. And a zipper that splits while closed usually has a bent slider, so you pull the top stops and fit a new slider matching the size number stamped on the old one.
Get the full tutorial at ManMade DIY.
7. How to Repair a Frayed Shirt Collar
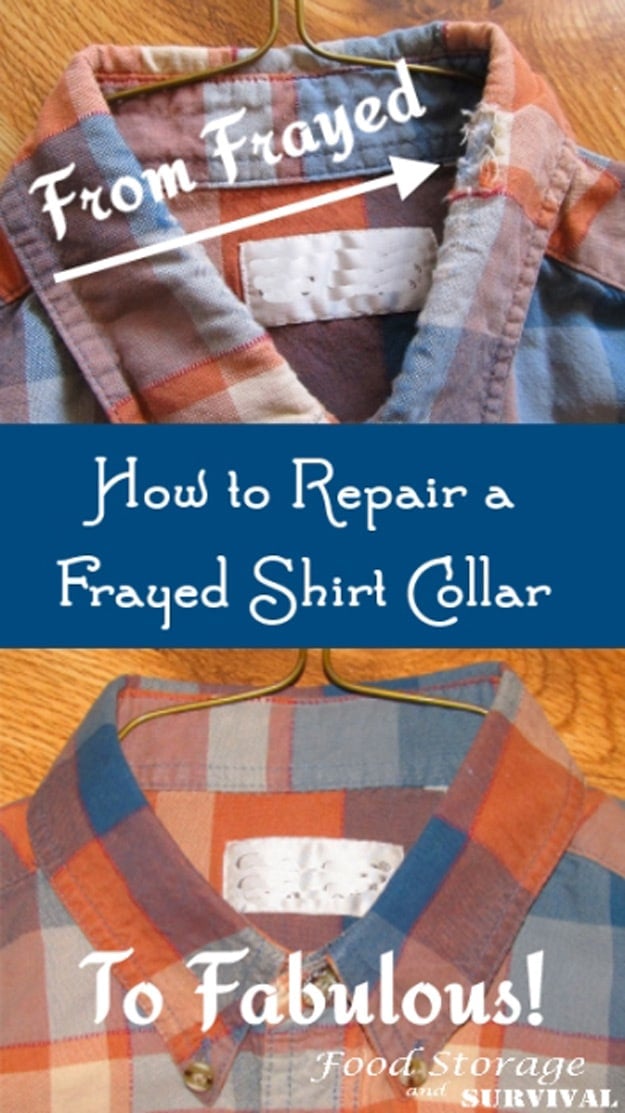
A plaid button-up whose collar has gone fuzzy on the top edge while the underside is still perfect, so you take the collar off, flip it over and sew it back on. Seam-rip the top stitching holding the collar to the neck band, then find and pick out the second row underneath it, and mark the neck band at each side so you know exactly where the collar sits when it goes back. Cover the frayed areas with very lightweight knit fusible interfacing before you flip, kept back from the front edge so it cannot show. Advanced beginner sewing, not expert.
Get the full tutorial at Food Storage and Survival.
8. How To Fix A Separated Zipper
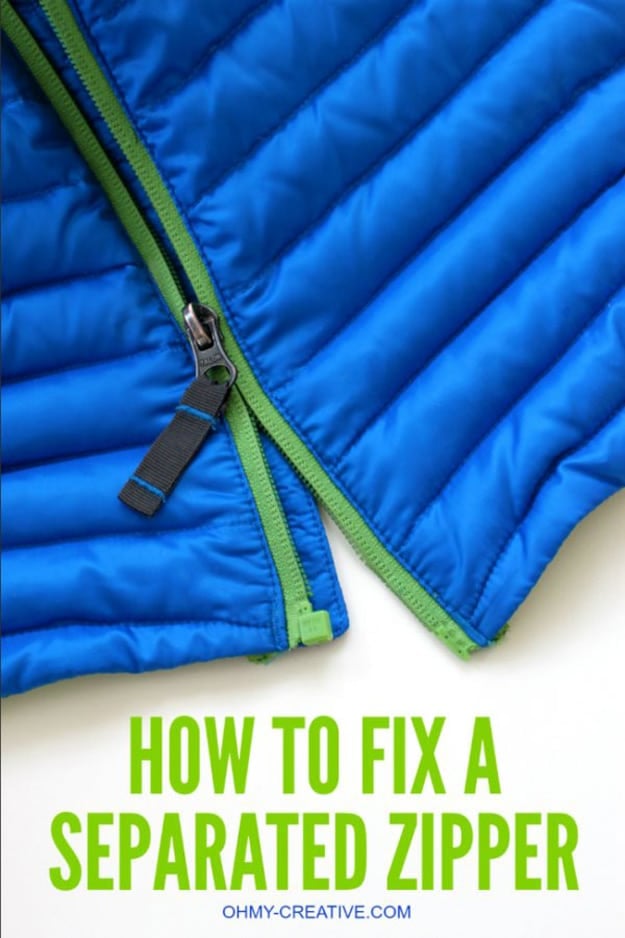
A puffer jacket zipper that closes and then splits open behind the slider, fixed with liquid dish soap and no tools at all. Run the soap generously down the long side of the zipper so the teeth are properly coated, then pull the slider down hard. Turn the jacket inside out at the zipper, put a thumb on either side and tug steadily, holding one side and pulling the other until it separates fully at the bottom and both sides line up again. Rinse the soap out afterward. If it splits again a week later the slider is worn out and needs replacing.
Get the full tutorial at Oh My Creative.
9. How to Fix A Sweater Snag
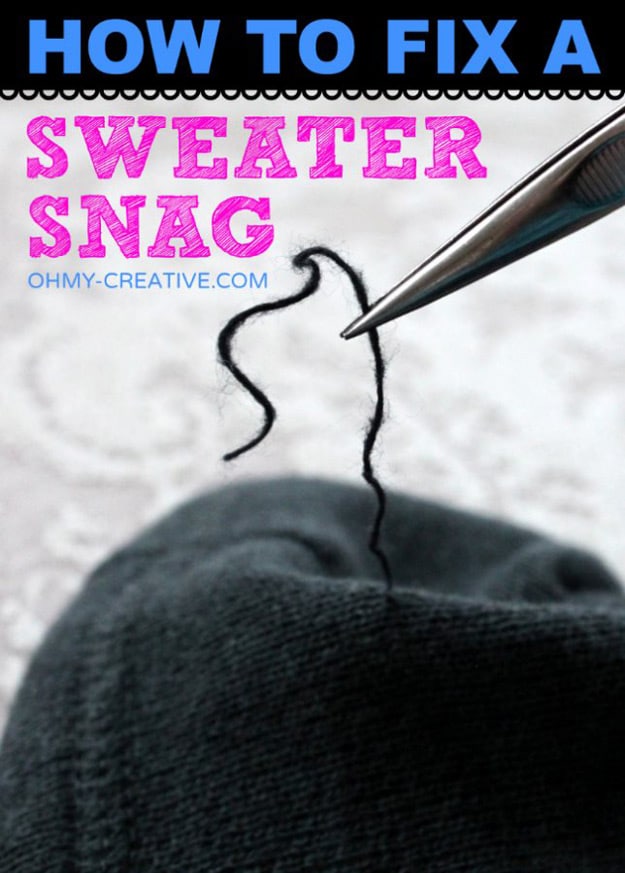
A long loop of dark yarn standing up off the shoulder of a fine gauge sweater, pulled back through to the inside with a pair of pointed tweezers. Turn the sweater inside out, push the tweezers through the knit as close to the base of the snag as you can get, catch the snagged yarn from the wrong side and pull the whole strand through to the back. Then tug and work the stitches around it until the tension evens out and the pucker disappears. It works on fine gauge knits as well as chunky ones, and you never, ever cut a snag.
Get the full tutorial at Oh My Creative.
10. Mending Holes in Jeans

A worn-through crotch seam on a pair of olive twill pants, patched with fabric cut from the garment itself. That is the clever part: take the patch from a pocket bag or the inside of a hem, where nobody will ever look, and it matches the fade of the main fabric exactly. About two inches by an inch and a half, backed with an iron-on patch for strength. Then sew it down with a fairly open zigzag, using an open toe foot so you can see what you are catching. Leave the frayed edges alone rather than trimming them, because they help it blend.
Get the full tutorial at The Seasoned Homemaker.
11. How to Reattach a Loose Sole
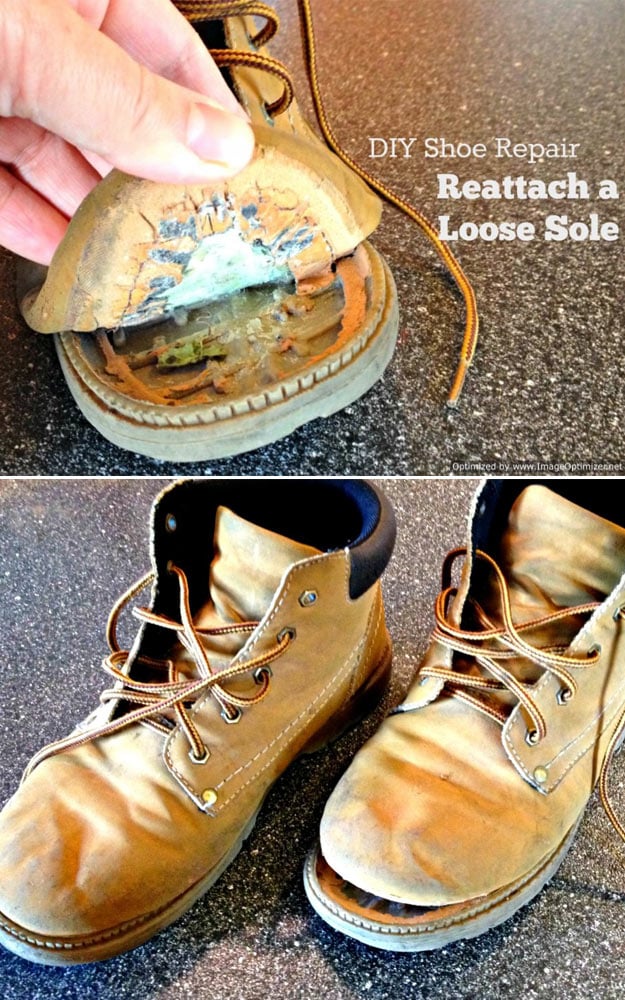
The sole peeling away from the upper on a leather work boot, glued back down with one tube of Shoe Goo. Squeeze a generous amount in, then work it around from inside the shoe with a wooden skewer so it reaches right to the outer edge, which is what keeps water out later and stops a lump forming under your foot. Then clamp the upper hard against the sole with a workbench clamp, which holds far better than rubber bands or tape, and leave it a full 24 hours. A tube costs a few dollars and lasts years if you cap it properly.
Get the full tutorial at Frugal Upstate.
12. How to Repair Scuffed Shoes
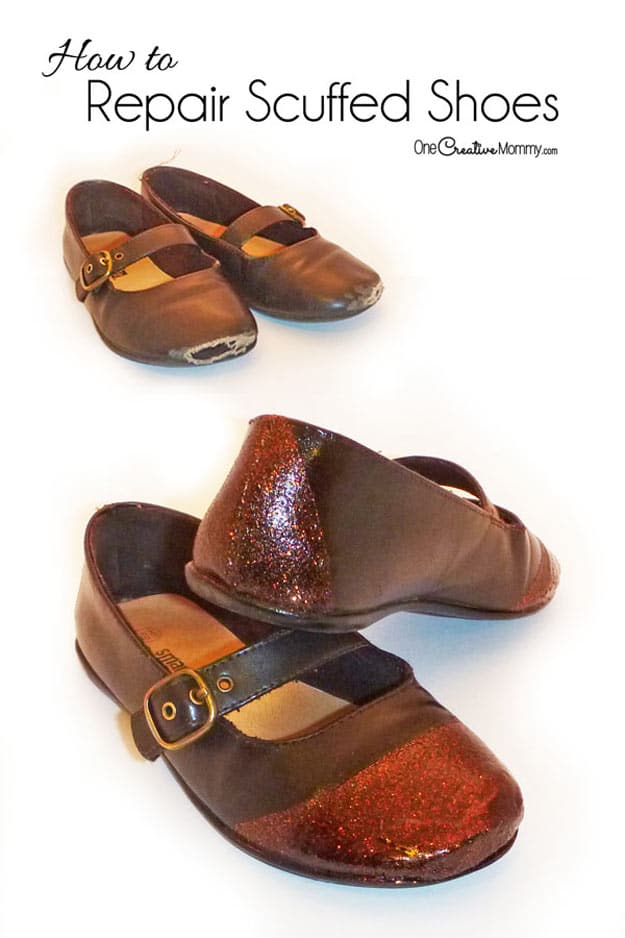
Brown leather Mary Janes with the toes scuffed through to the pale under-layer, fixed with a marker and a can of glitter spray. Color the scuffed and torn areas in with a brown Sharpie first so nothing pale shows through. If there is an actual tear, Mod Podge a scrap of dark fabric over it, tucking it around toward the sole, and seal it with another coat. Then tape off the heel and toe, spray those areas with Krylon Glitter Blast in Bronze Blaze, and pull the tape quickly before it can damage the leather. Seal the glitter or it sheds everywhere.
Get the full tutorial at One Creative Mommy.
Love These DIY Hacks for Fixing Ruined Clothes?
Pin It To Save And Share On Pinterest