Want a bench seat which also functions as a mini-shed? This outdoor storage bench seat is ideal for all your storage needs without the hassle of fitting it inside the laundry room. It can even look good in your veranda. Moving it around will be a breeze since it doubles as a wheel-barrow. Learn how to do this by following the simple steps by Better Homes and Gardens.
Everything is pre-assembled from the hardware store. All you need to do is glue and screw!
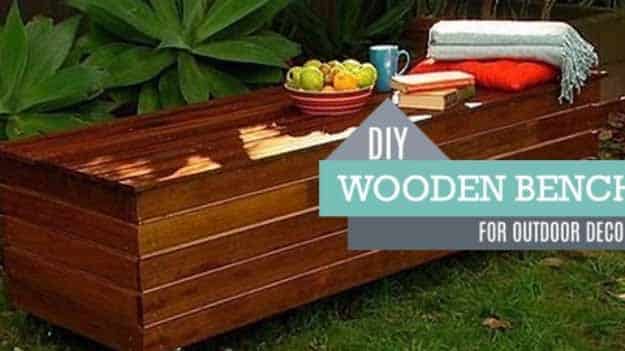
DIY Outdoor Storage Bench Tutorial
What you need:
- Plywood
- Merbau
- Round wooden base for feet
- A pair of table wheels
- Glue
- Screw
Here’s how:

STEP 1: Apply glue on the sides of the wood panel to attach the other pieces of wood together.

STEP 2: Drill holes on the edge and screw the pieces together so they can be clamped tightly.

This is how it should like after all that gluing, drilling and screwing. Off to the next step!

STEP 3: With pieces of merbau wood panels, start gluing them on the sides of the box.

STEP 4: To reinforce the box, we will be adding blocks of wood inside.

STEP 5: Start gluing them together so our bench seat will be sturdy enough

STEP 6: Add some more merbau wood panels and screw them on all sides of the box.

STEP 7: Leave a longer wood panel on one end enough for a handle.

STEP 8: Carve the handle bar to for easy grip.

STEP 9: Were almost finished well just need to add the base and the wheel.

STEP 10: Glue and screw the base and the wheel. Make sure that the wheels are on the opposite side of the handle bars.

STEP 11: We can now secure the outer cover. Make sure that the cover is a bit bigger than the frame of the body

STEP 12:Glue and screw the sides for the wooden fram of the cover.

STEP 13: Next is were gonna put wooden block braces for the covers top merbau. Check the space on the sides.
The purpose of this is to make sure the cover will be secured with the body while moving it around.

STEP 14: Place the merbau on top of the cover secure it with glue and screw.

STEP 15. Apply some thin varnish for a great finish and our multi functional Outdoor Bench Seat is done!