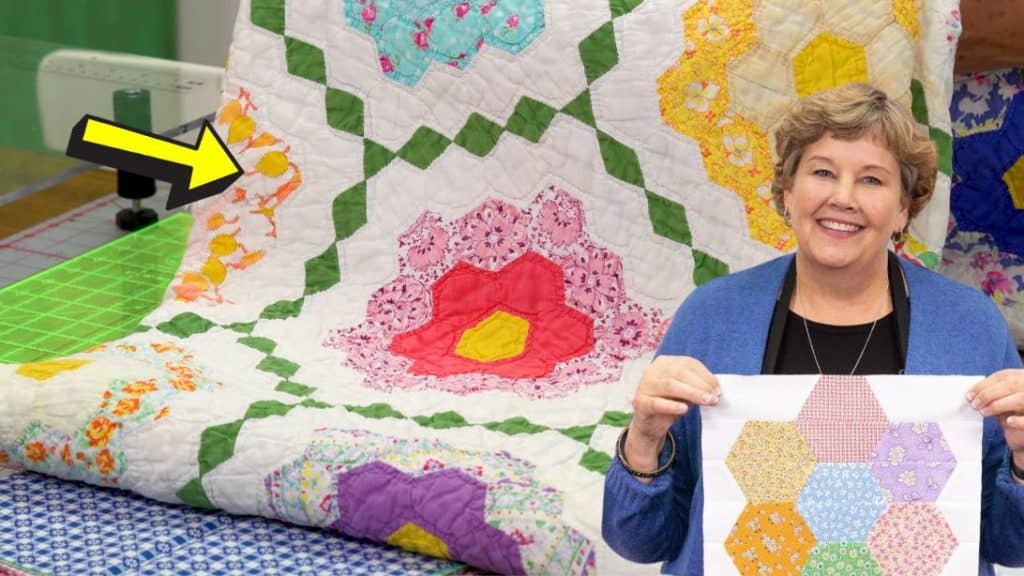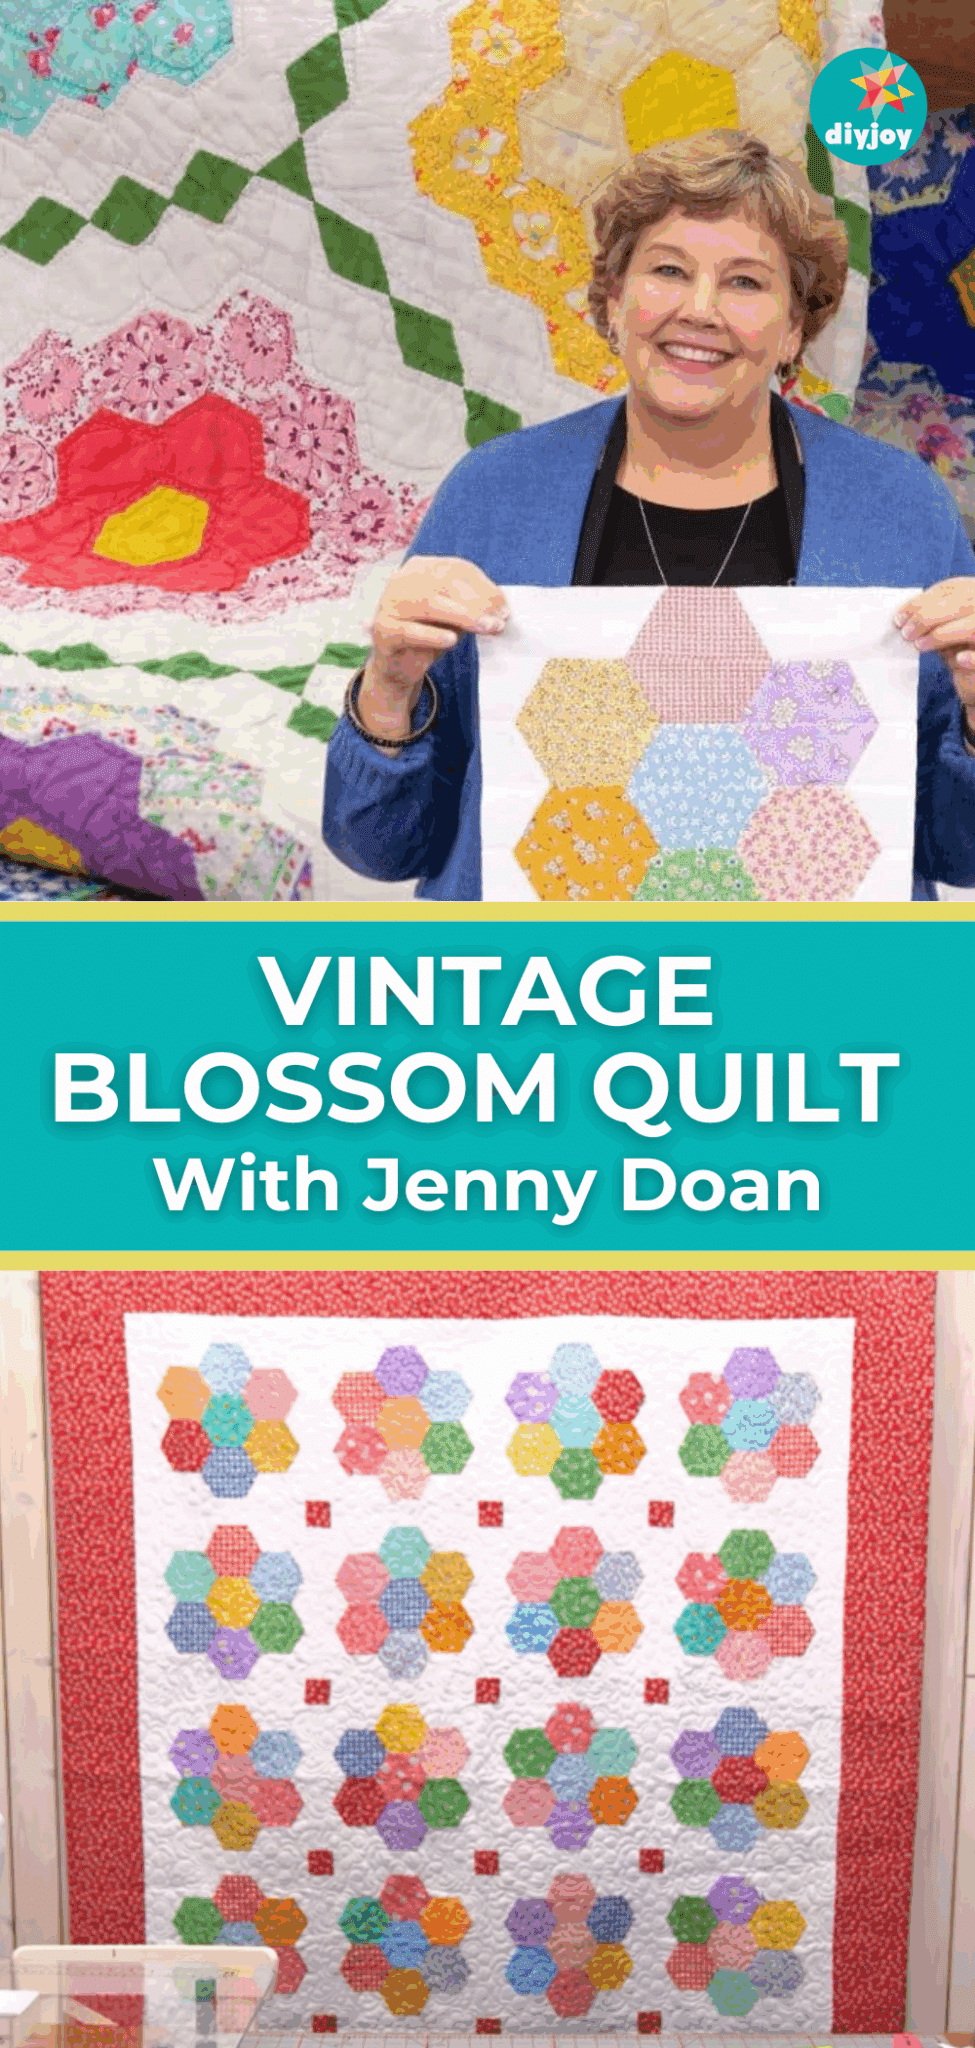
This vintage blossom quilt is one of the classic designs that a lot of quilters probably love. It requires a lot of time and patience, but Jenny Doan from Missouri Star made it easier and quicker with this version. It would be so fulfilling when you finish this quilt. Read on or watch the video below for full instructions.
Materials
- 4 packs of 5″ print squares
- 1 roll of 2 1/2″ background strips (includes inner border)
- 1 1/2 yards of outer border
- 3/4 yard binding
- 5 1/4 yards of backing
- 5″ half-hexagon template
[social_warfare buttons=”facebook,pinterest,twitter,whatsapp”]
Instructions
Step 1:
Stack 7 squares and cut them into 4 pieces of 5″ squares. Get one of the 2 1/2″ squares, fold it in half, then place the template with the short side on the folded edge. Cut the excess on both sides. Open it and use the straight edge of the ruler to cut it in half. Repeat with the other squares.
Step 2:
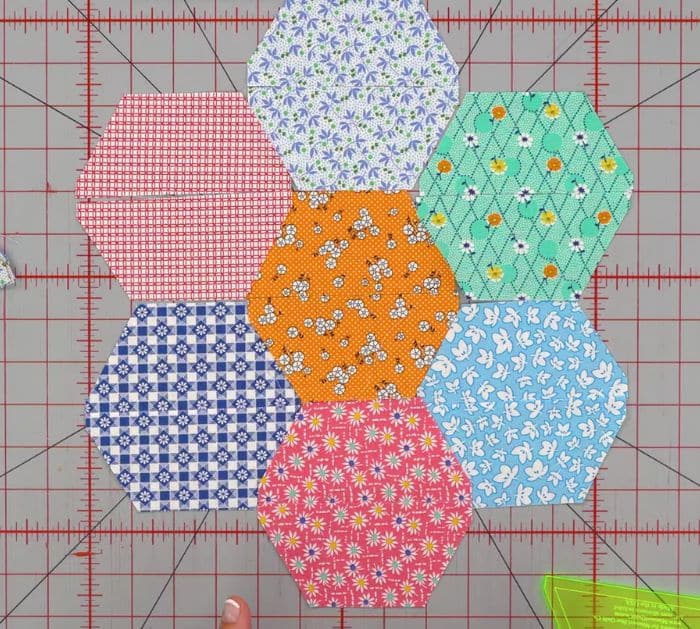
Get two matching half-hexagon and place them beside each other to form a hexagon. Get another 2 and place them beside the first one. Keep on doing it until you form the flower just like in the photo below. If you don’t love the initial arrangement, you can move them around until you are happy with how it looks.

Step 3:
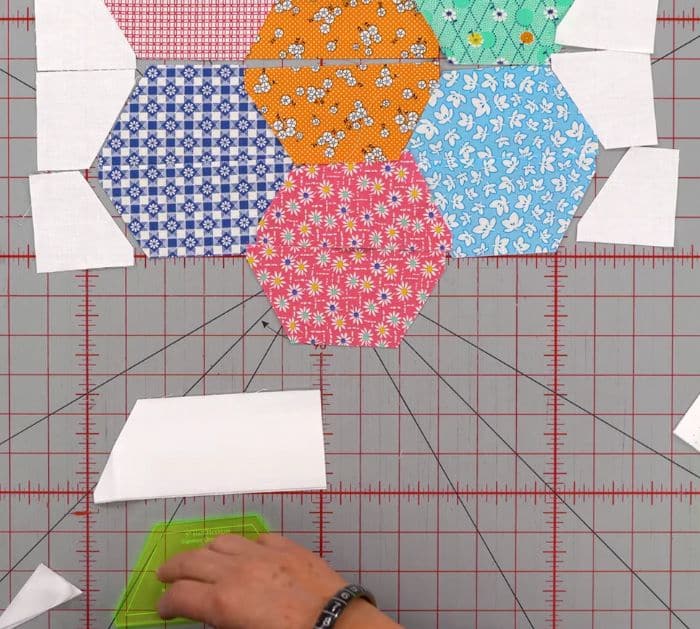
Time to make the flower into a square. Take several pieces of background half hexagon and cut in the middle. Place them on the sides of the hexagons to make a straight edge. For the top and bottom, you need to cut a 6″ by 2 1/2″ strip. Next, place the end of the hexagon template to the end of the strip, and cut it. Place on one side on the top and bottom. Repeat it for the remaining sides. It may look like a bit short, but when you take all those seams, they’ll be the same size.

Step 4:
Sew the rows together first with a quarter of an inch seam allowance. Press them open. Once done, sew the rows together, making sure they line up.
Step 5:
Once you have the block, press it flat and square it into 12 1/2″. You need 4 across and 5 down for a total of 20 blocks. You need 12 1/2″ strips for the sashing and 2 1/2″ squares for the cornerstones.


