
You can do a lot of things with fruit boxes, so make sure you don’t throw them away. One great idea is to turn them into plant tables! Let Evrim Taşer Yılmaz show you how to transform it into a beautiful piece that you can use for your plants. Watch the video below for full instructions.
Materials:
- wooden fruit box
- screwdriver
- wire cutter
- sandpaper
- saw
- wood glue
- big and small screws
- L-shape steel brackets
- wood paint
- stencils for design (optional)
[social_warfare buttons=”facebook,pinterest,twitter,whatsapp”]
Instructions:
Step 1:
Deconstruct the wooden fruit box carefully making sure nothing gets damaged using pliers and screwdriver. Most of the time the wood planks are just stapled together. Once done, sand them until the surface is smooth.
Step 2:
Get one of the small pieces that are on the bottom that hold the planks together. Measure 5.90 inches and mark. Repeat with the other three and cut them with a saw.
Step 3:
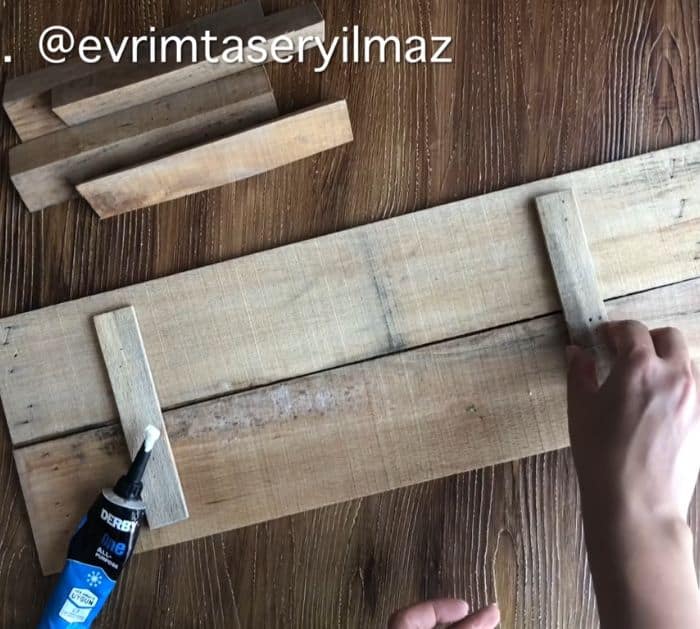
Get two of the planks that are on the bottom of the fruit box. Glue two of the small wooden rectangle pieces you cut earlier on the right and left sides to connect the two. Repeat to make another one.
Step 4:
Get the remaining wood pieces and glue them upright on the corners of one plank. To secure them in place, drill long screws on each one from the back. Then using a gun tacker, staple the wooden planks together. Now you have the stand.
Step 5:
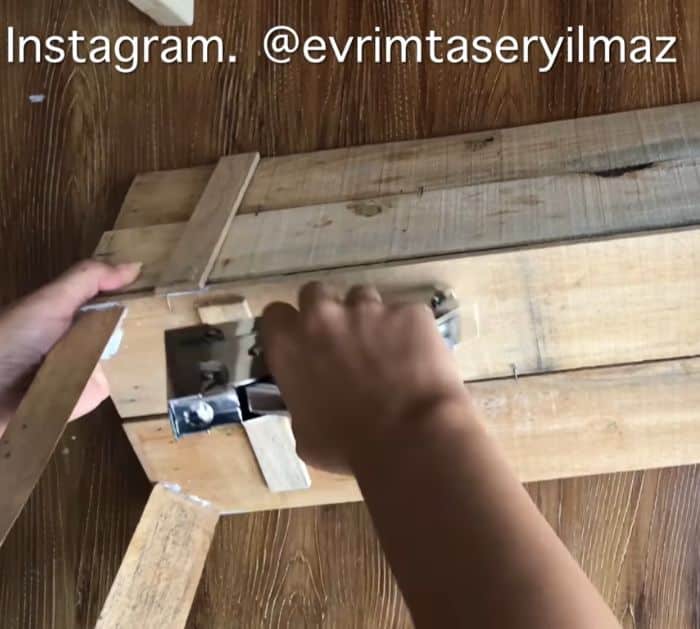
Glue the other plank on the edge of the stand using wood glue and staple them. Use L-shaped steel brackets to connect the two planks. Make sure to use small screws so they won’t protrude on the wood.
Step 6:
Paint the plant table to your desired color and let it dry completely. If you want to add designs to your table, you can use a stencil.


