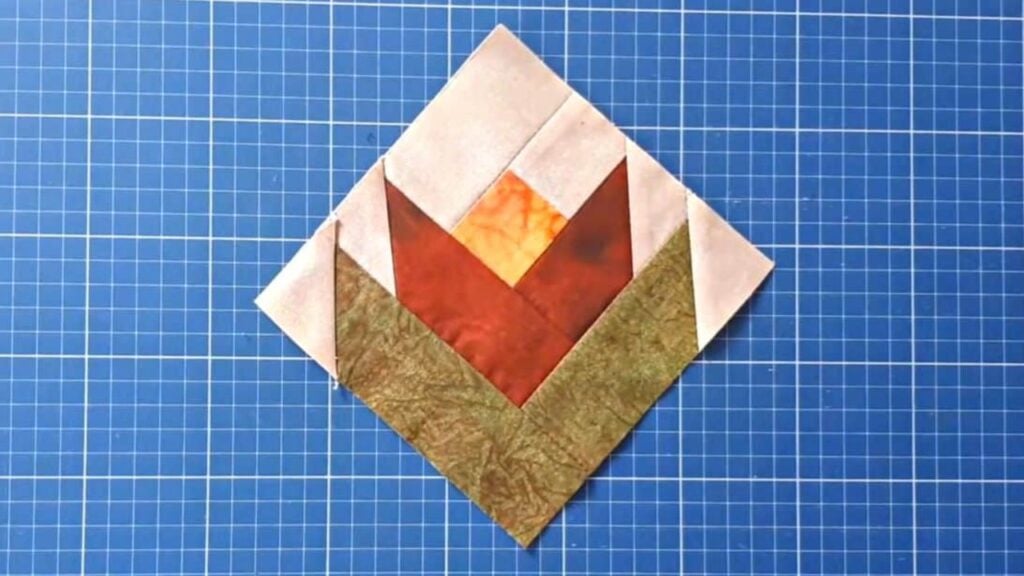
Do you love flowers? Add them to your next sewing project! Here’s a beautiful tulip quilt block tutorial by Patchwork Facil on Youtube. It’s a fun and lively pattern that you will surely enjoy making. The steps are not complex and can be easily followed even by beginners. Watch the video below to see the whole process.
Materials:
- beige or white fabric
- orange fabric
- green fabric
- red fabric
Instructions:
Step 1:
Cut a 2″ x 2″ square on the orange fabric.
Step 2:
Get the beige fabric and using your ruler measure 2″ wide strips then cut. Trim the edges on one of the strips and remove the threads. From the strip, cut 5 pieces of 2″ x 2″ squares.
Step 3:
Cut 2 pieces of 2″ wide strips from the green and red fabric.
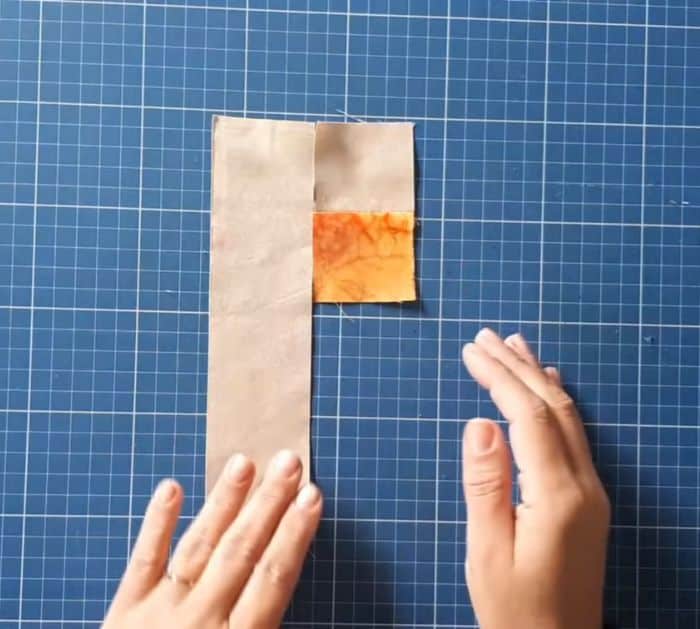
Step 4:
Get one piece of each of the orange and beige squares. Put them right sides together and sew one edge. Next, place it on a piece of 2″ wide beige strip right sides together then sew them on one edge. Cut the excess fabric from the strip.
[social_warfare buttons=”Facebook,Pinterest,Twitter,WhatsApp”]
Step 5:
Get one red strip. Place it on top of the block with the right sides together and sew on the edge of the orange and beige squares. Trim off the excess fabric. Next, sew another red strip on the edge with the three colors and cut it into a block.
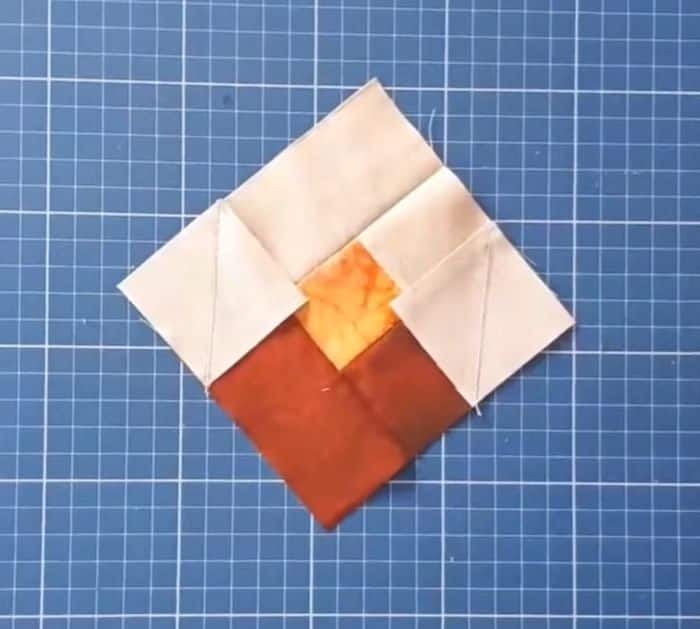
Step 6:
Rotate the block so that the red corner is pointing down. Get 2 pieces of the beige squares and draw a line diagonally on each piece. Place them on the left and right corners on top of the red with the line in a vertical position. Sew both of the lines. Once done, get a ruler and cut the corners of the left and right triangles with a 1/4 inch allowance. Press the seams open.
Step 7:
Position back the block with the red corner pointing down. Get one green strip and place it on the red right bottom fabric of the block with the right sides together. Sew the edges and trim the excess. Do the same for the left bottom.
Step 8:
Draw a diagonal line on the remaining beige squares. Place the two remaining 2″ squares on the left and right corners of the green fabric. Sew the line and cut off the triangle corners with a 1/4 inch allowance. Press the seams open. Trim off the excess threads and fabric from the block and you are done.
Tulip Quilt Block Tutorial


