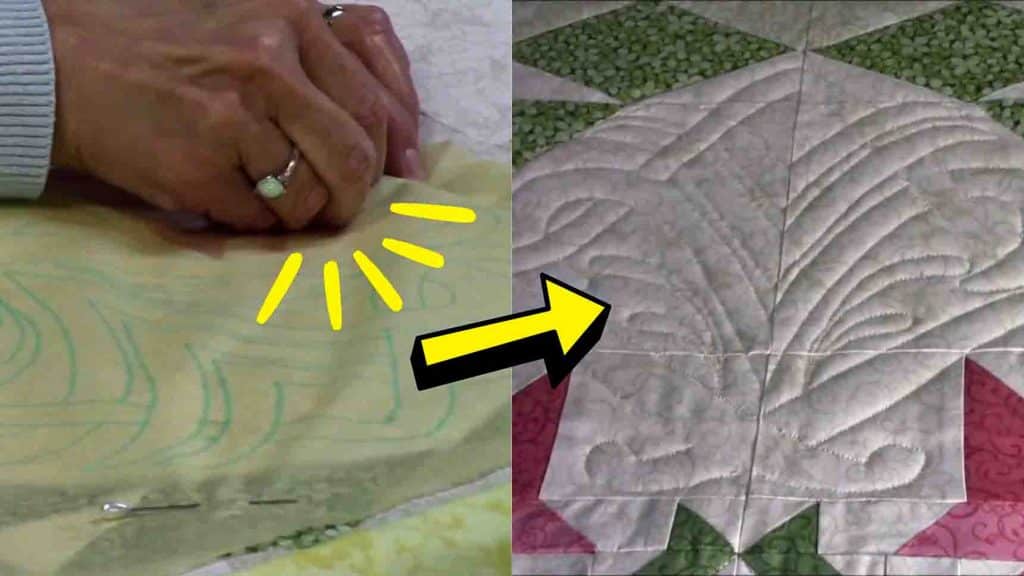
If you’re looking for a way to transfer a design to your quilt project, you’re in the right place. This hack from Sunrise Quilt Studio on Youtube is the easiest and fastest way. You only need a few easy materials for this, and what’s more, you will also learn how to make your own design! It’s simple and easy and will surely elevate your quilting project. Watch the video tutorial below to learn this.
Materials:
- quilting paper
- tracing paper
- french curve set
- no.2 pencil
- water-soluble marker
- pins
- tweezers (as needed)
Directions:
Step 1
Take a couple of tracing papers, tape them down the center, and lay them on top of the quilt. Next, take this to your work table and start making your design using french curves, then trace your design with a no. 2 pencil. (Just play around with your french curves in drawing your design.) Now, to get your design to your quilt project, lay your quilting paper over your design and trace it using a water-soluble marker. Position the pattern over top of the quilt, then pin it in place in four different places.

[social_warfare]
Step 2
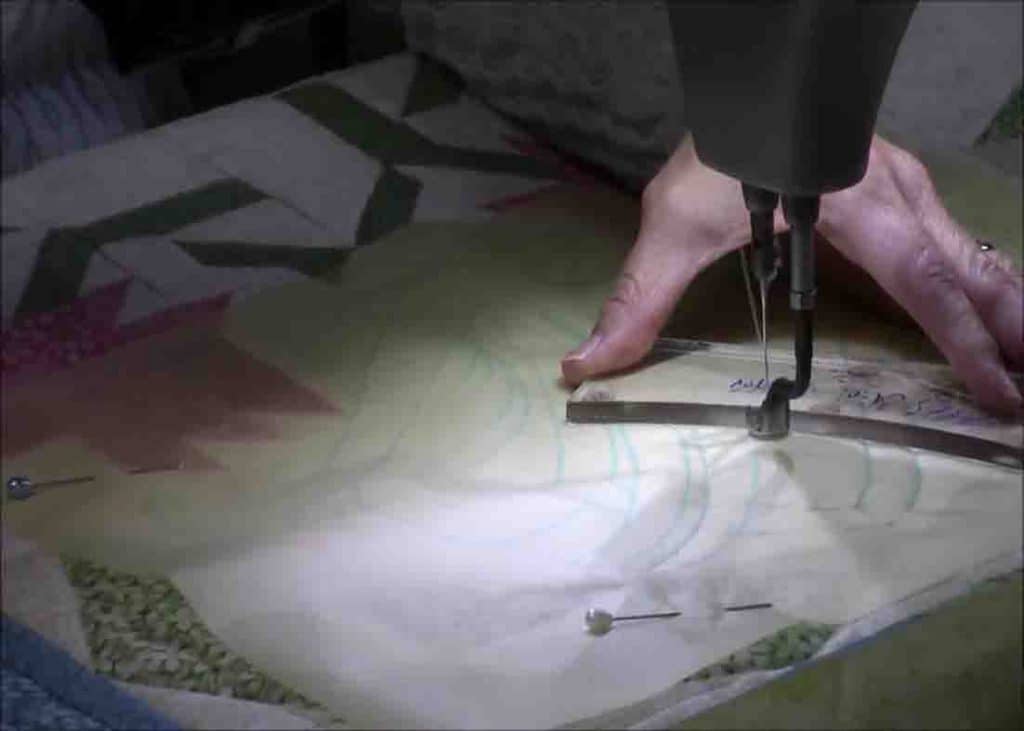
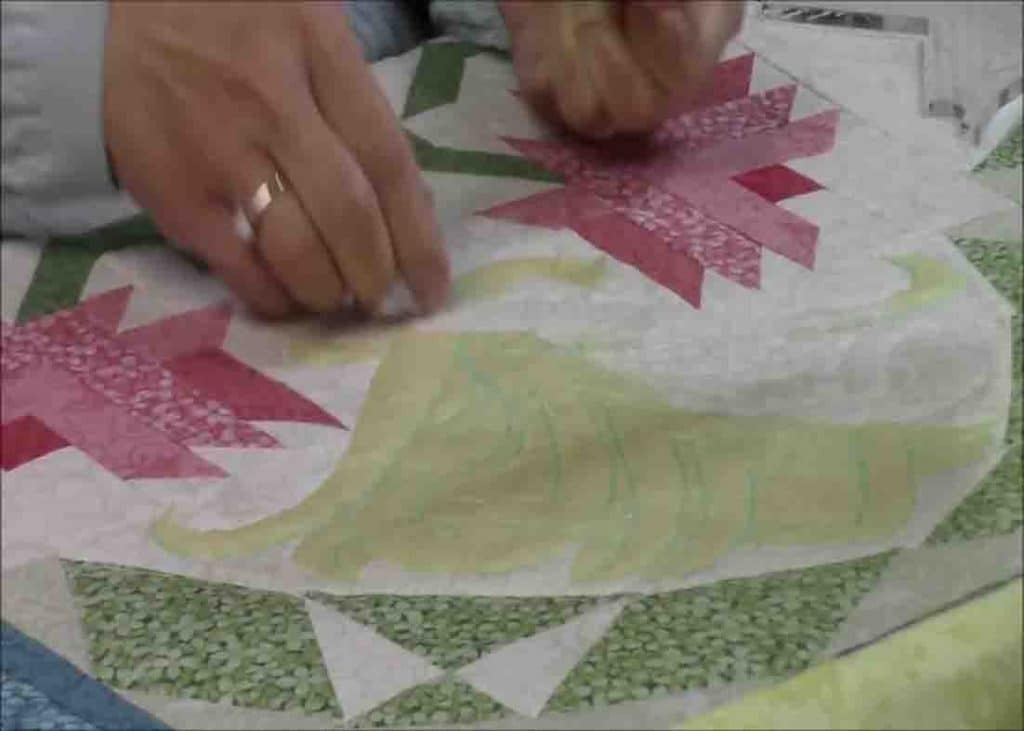
After this, quilt right over the paper following the design that you have drawn on your paper. (You can use a slightly curve ruler to help you navigate your design while quilting.) When you’re done quilting your design, you’re going to tear off the paper, and the more holes you have on your paper, the easier it is to rip it off. If you’re having a hard time removing tiny pieces of paper, use tweezers to remove those tiny pieces that had gotten stuck underneath the stitching.


