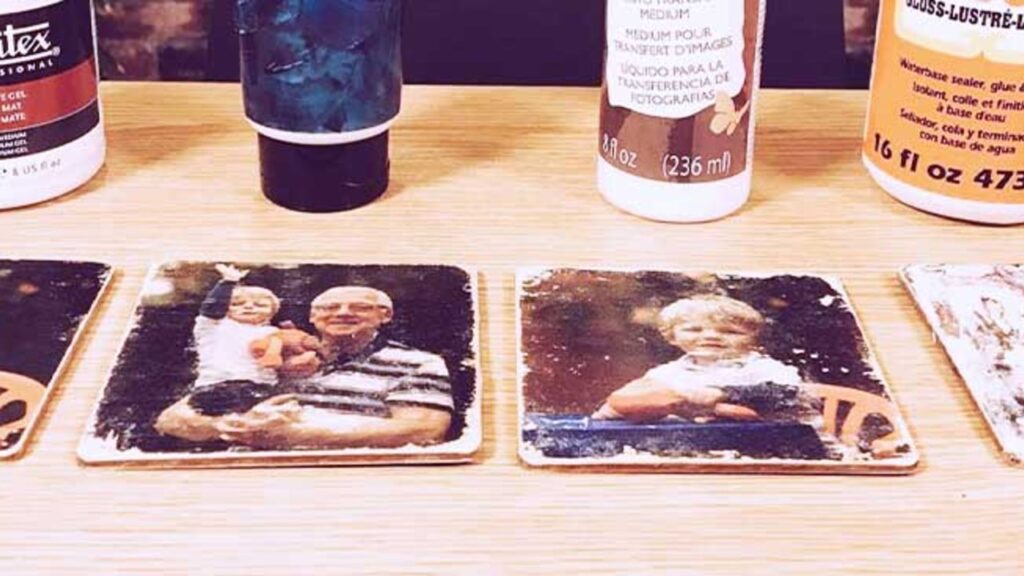
I am always ordering canvas prints and wood prints and as much as I love them, they can cost a fortune. That is why I was so excited to come across this DIY tutorial by Adrian Salisbury Training to transfer photos to wood on my own. It’s a simple process that will leave you with the best results you could imagine.
Materials Needed For This DIY:
- Plank Of Wood
- Paint Brush
- Sponge
- Water
- PVA Glue
- Gloss Gel Medium
Directions:
Step One
Start by trimming your photo into the size you want according to the size of your wood board.
Step Two
Brush the gloss gel medium onto your wood board in the place you want your photo to go. You can use any kind of paintbrush for this step. Be sure to brush the glass onto the wood sparingly. You don’t want it to cake on too thickly.
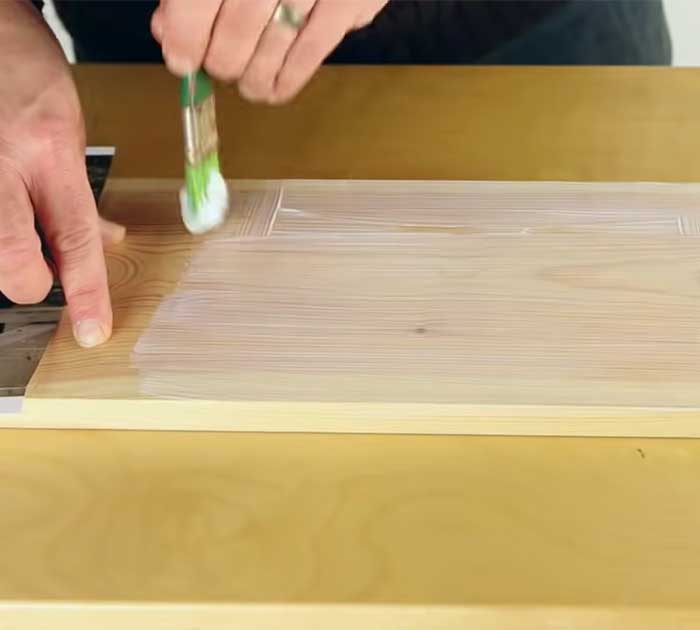
Image by. Adrian Salisbury Training via YouTube video.
Step Three
Place your photo down and flat over the gloss gel, then press the photo down firmly. Allow the photo to dry to the wood.
Step Four
Get a bowl of water and a sponge. Place the sponge into the water and then ring the sponge out. Use the water to rub off the backing paper on the photo. Do this by rubbing your hand in circular motions around on the paper and then pulling the paper off the wood. Use your hand to scrub the paper, not the sponge. Just use the sponge to disperse the water across the paper.
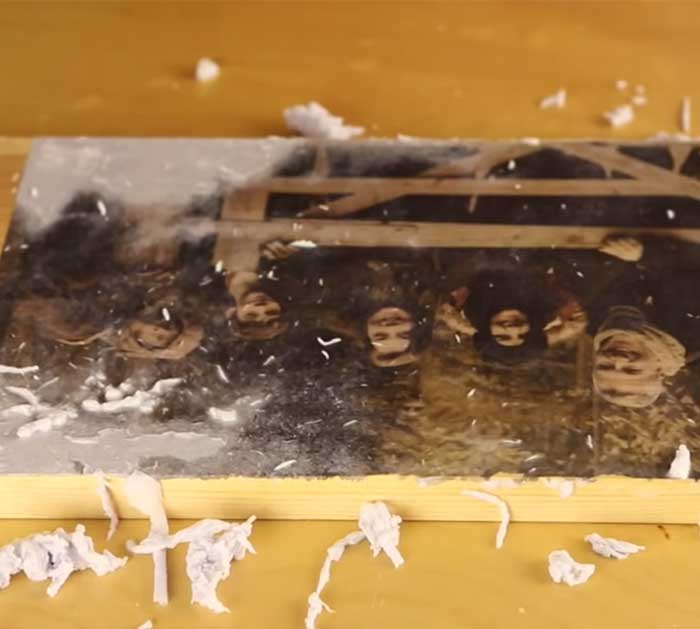
Image by. Adrian Salisbury Training via YouTube video.
[social_warfare]
Step Five
Finally, once all the paper is removed, you should be left with a photo printed on the wood. Cover the image in PVA glue to seal it down.
Once your picture is done, cut the wood in your desire and display somewhere in your home.


