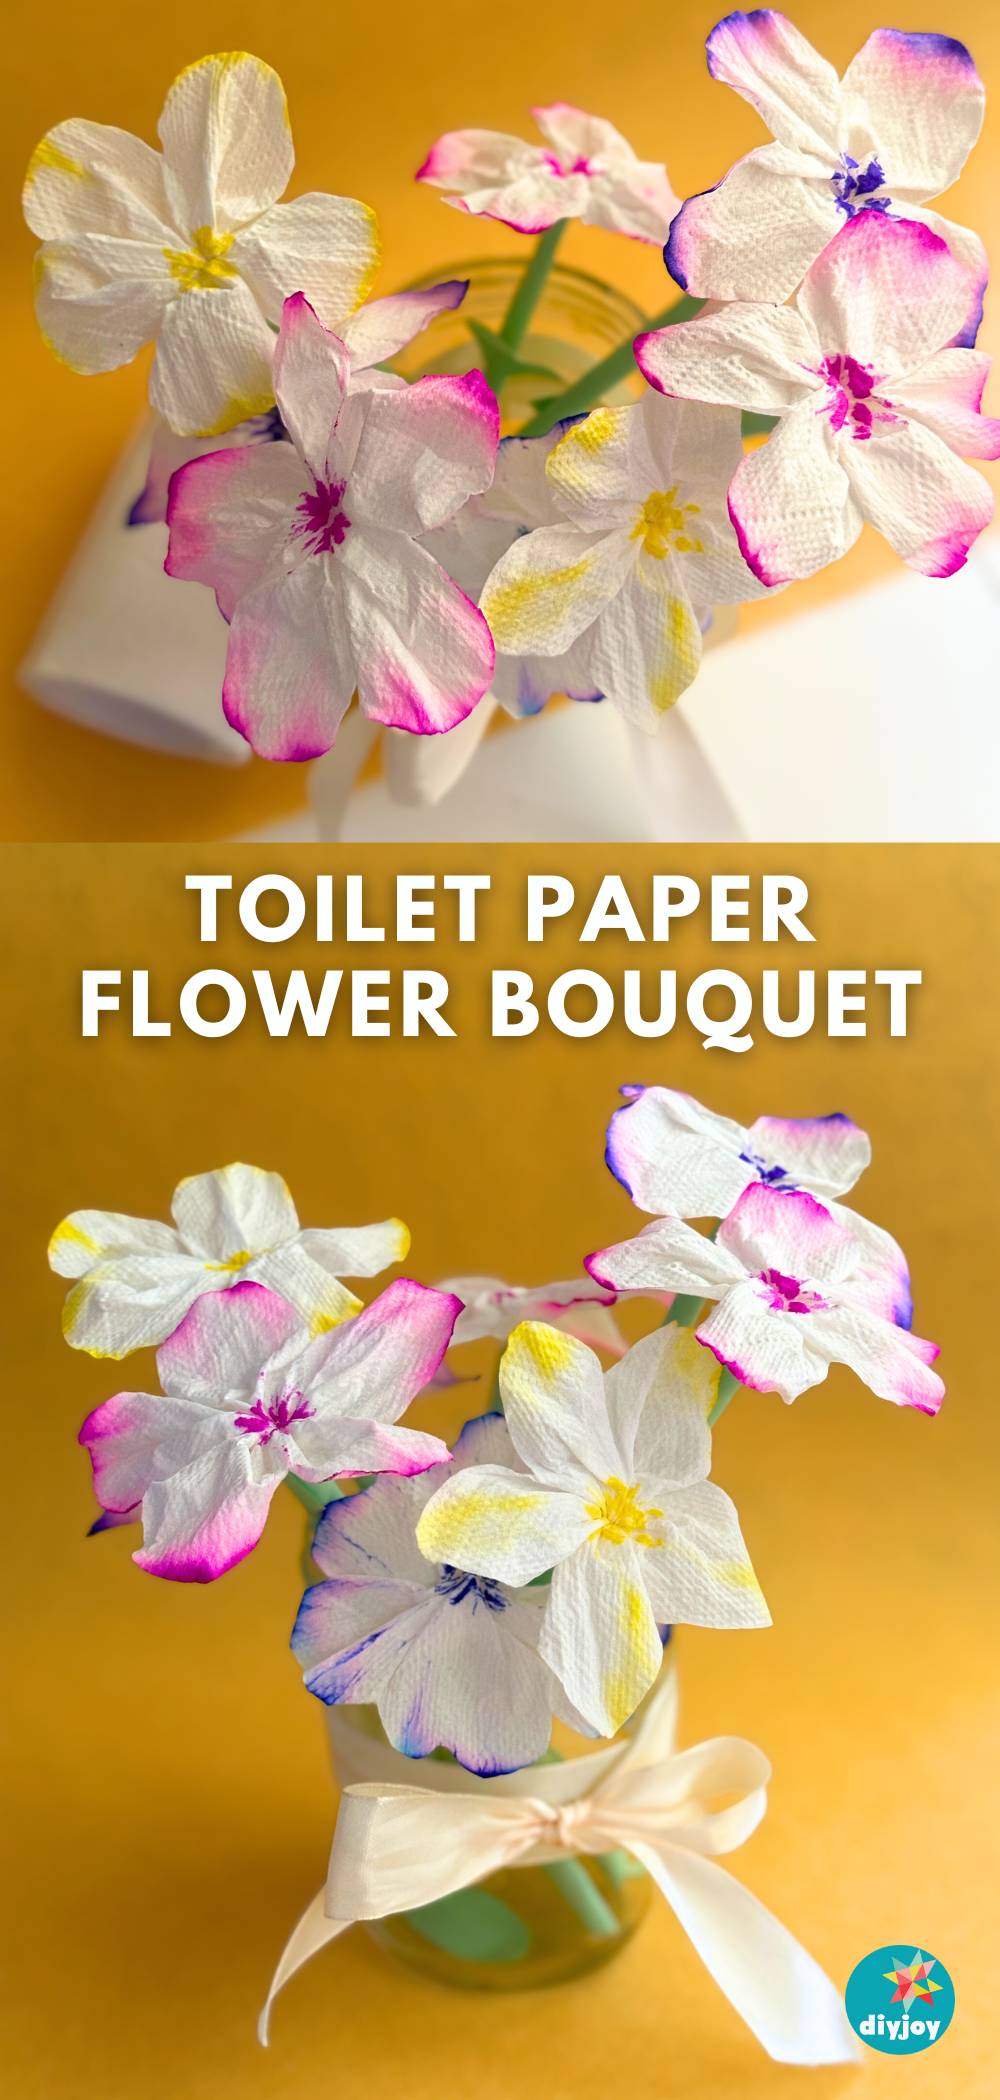
Yes, this beautiful paper flower bouquet is made with toilet paper! It’s a fun and easy paper craft activity you can do on a weekend. Plus, it’s perfect for all ages, even kids, because the steps are very easy to follow.
RELATED: How to Make Toilet Paper Flowers
Toilet paper might not be your first choice when making paper flowers. People often use colored paper or crepe paper, because they are more durable and readily available in different colors. Toilet paper, on the other hand, is flimsy and usually only comes in white or brown, which makes it seem like a poor option for this type of craft, but hear me out. That’s exactly why you should try it! You’d be surprised at how toilet paper can be transformed into beautiful flowers in just a few simple steps. Believe it or not, it can actually hold its shape pretty well once dried.
This isn’t actually the first flower I’ve made using tissue paper. The first one I created was a beautiful paper rose that went viral on social media. They were absolutely gorgeous and was super fun to make.
If you are looking for easy paper crafts or kids’ crafts, give this project a try. It’s simple and enjoyable to make. Keep reading to learn how to turn toilet paper into a DIY bouquet with this step-by-step tutorial.
How to Make a Toilet Paper Flower Bouquet
This step-by-step guide will show you how to make a paper flower bouquet using toilet paper.
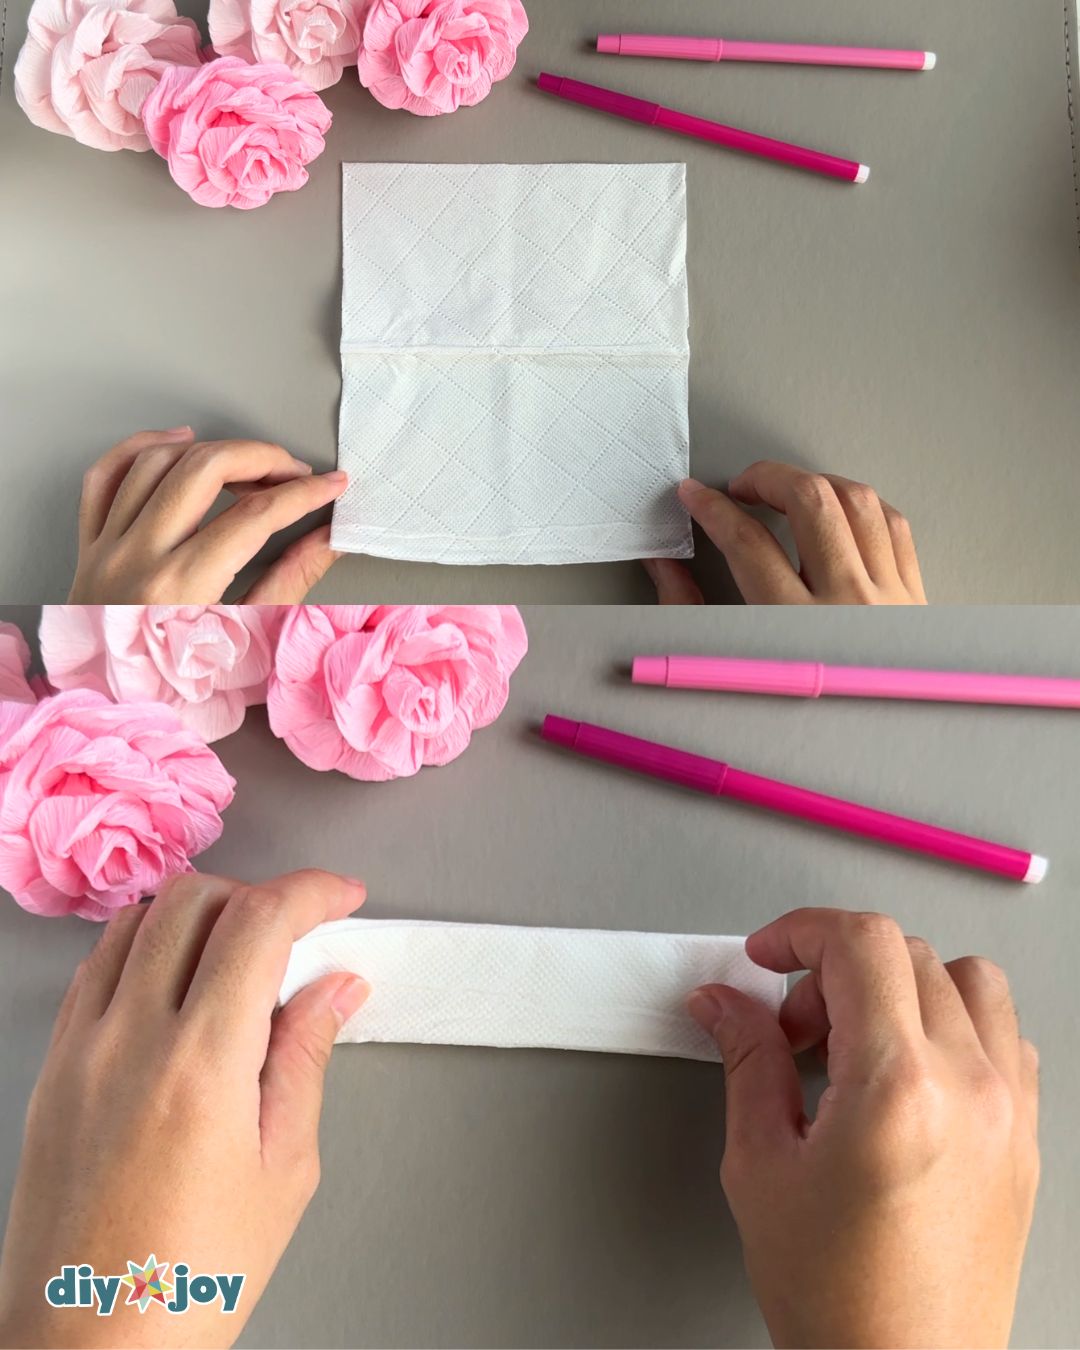
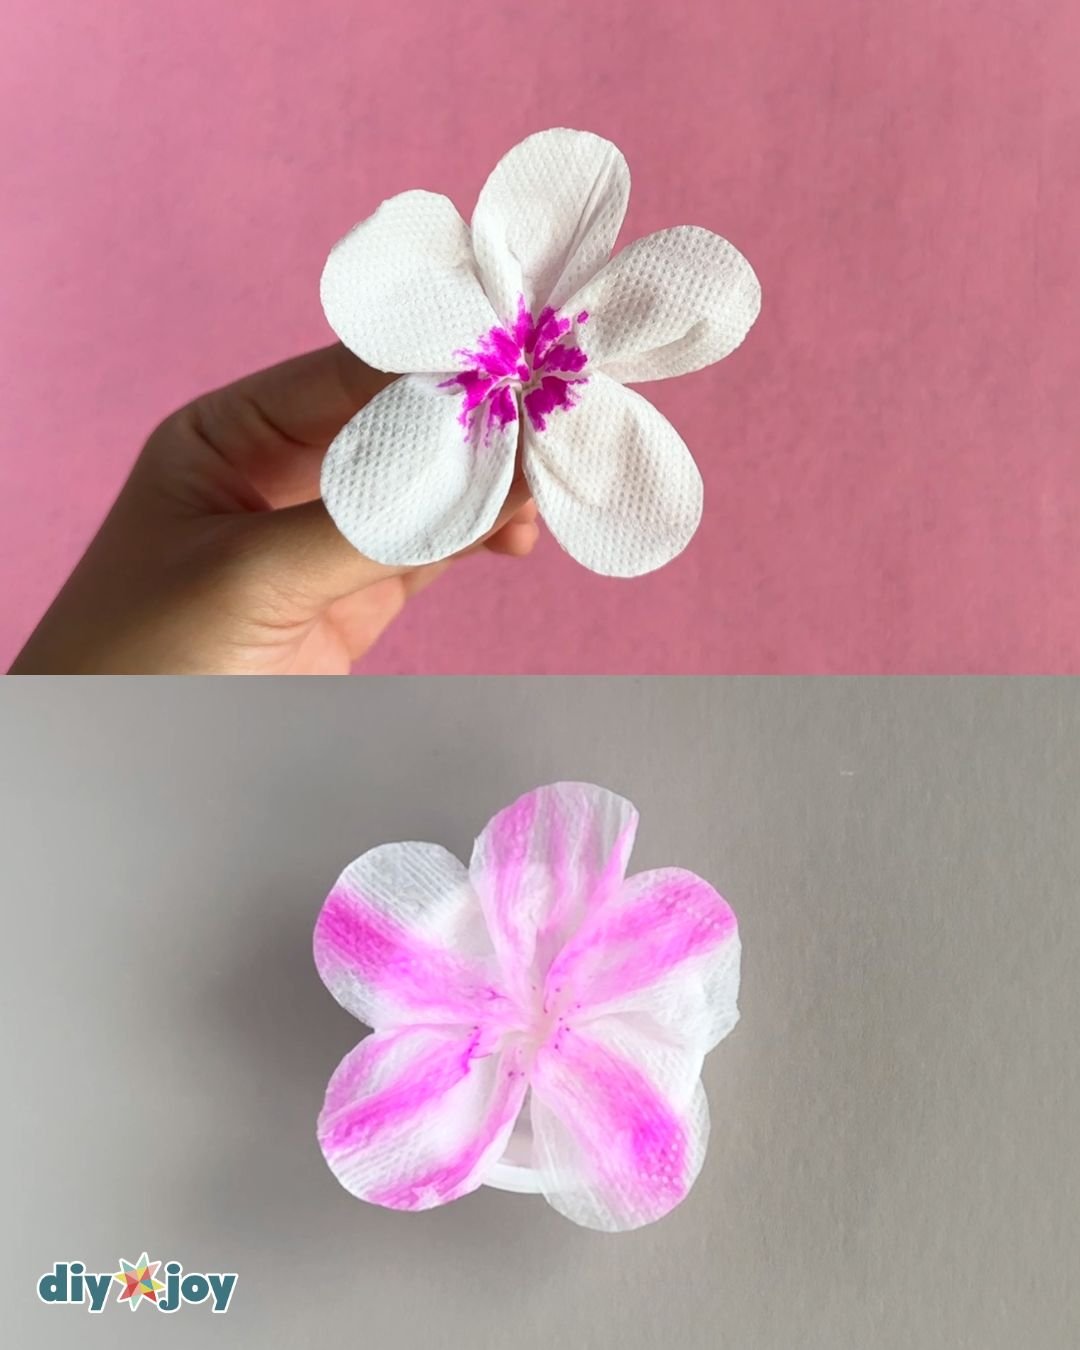
Place the tissue on your work table with the short side facing you. Fold the tissue paper four times using an accordion fold.

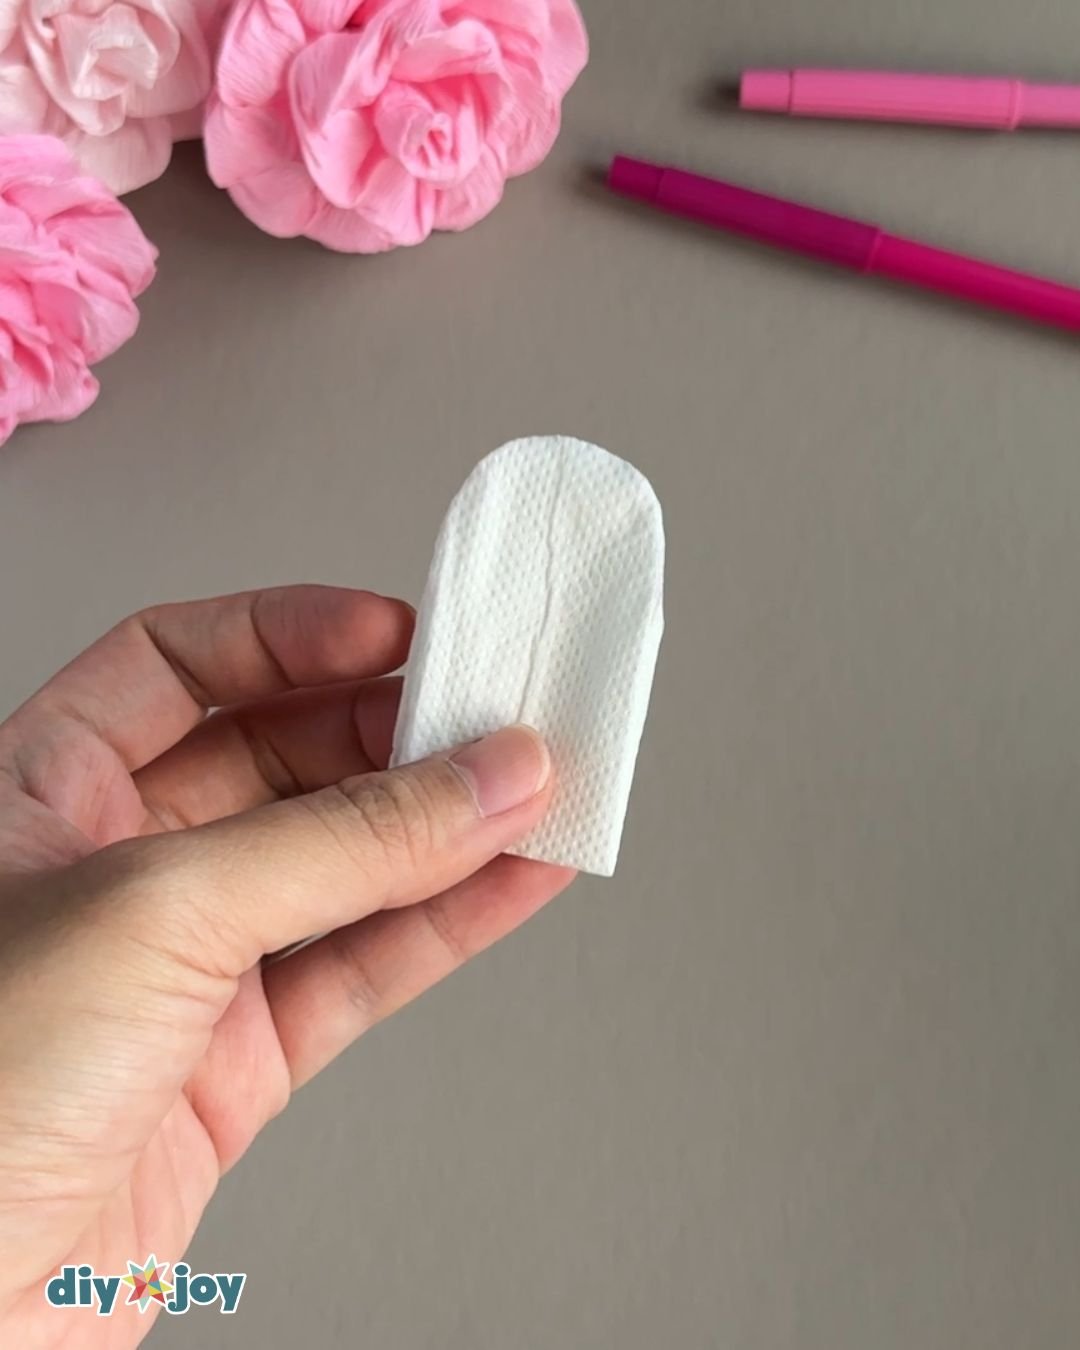
Cut the petal shape you prefer, and feel free to experiment with different shapes.
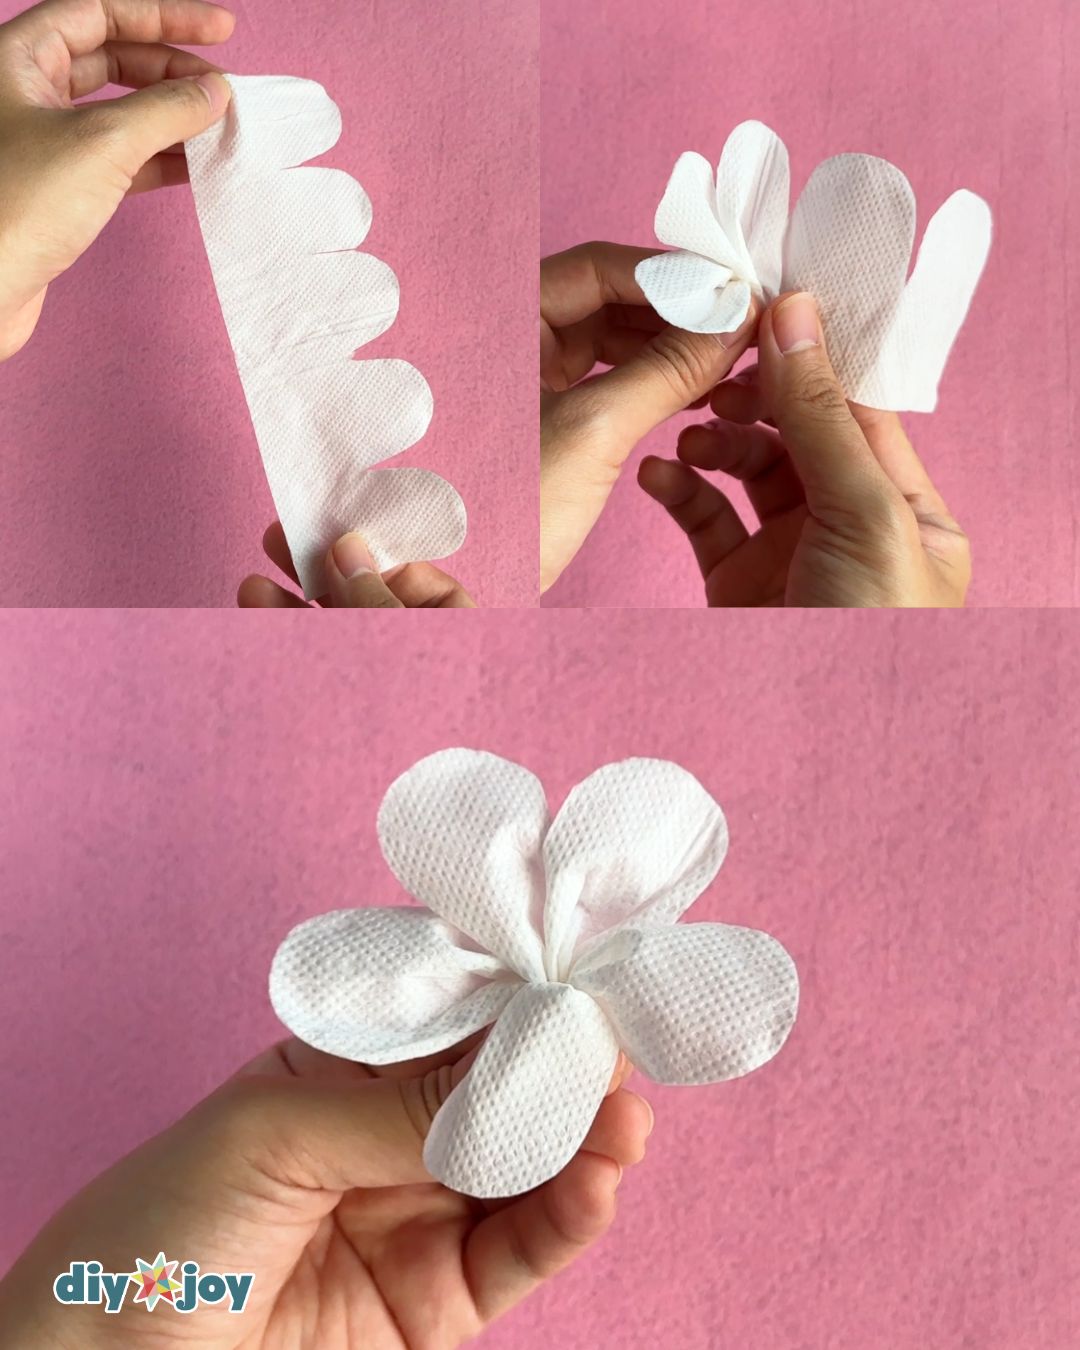
Unfold the tissue paper and bring the ends together to form the flower.
Secure the bottom with painter’s tape.
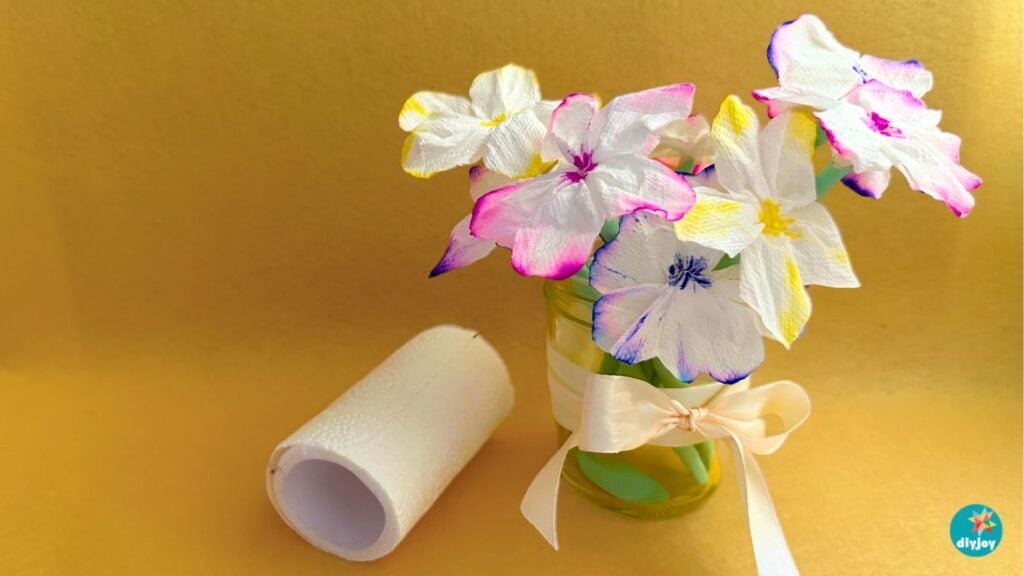
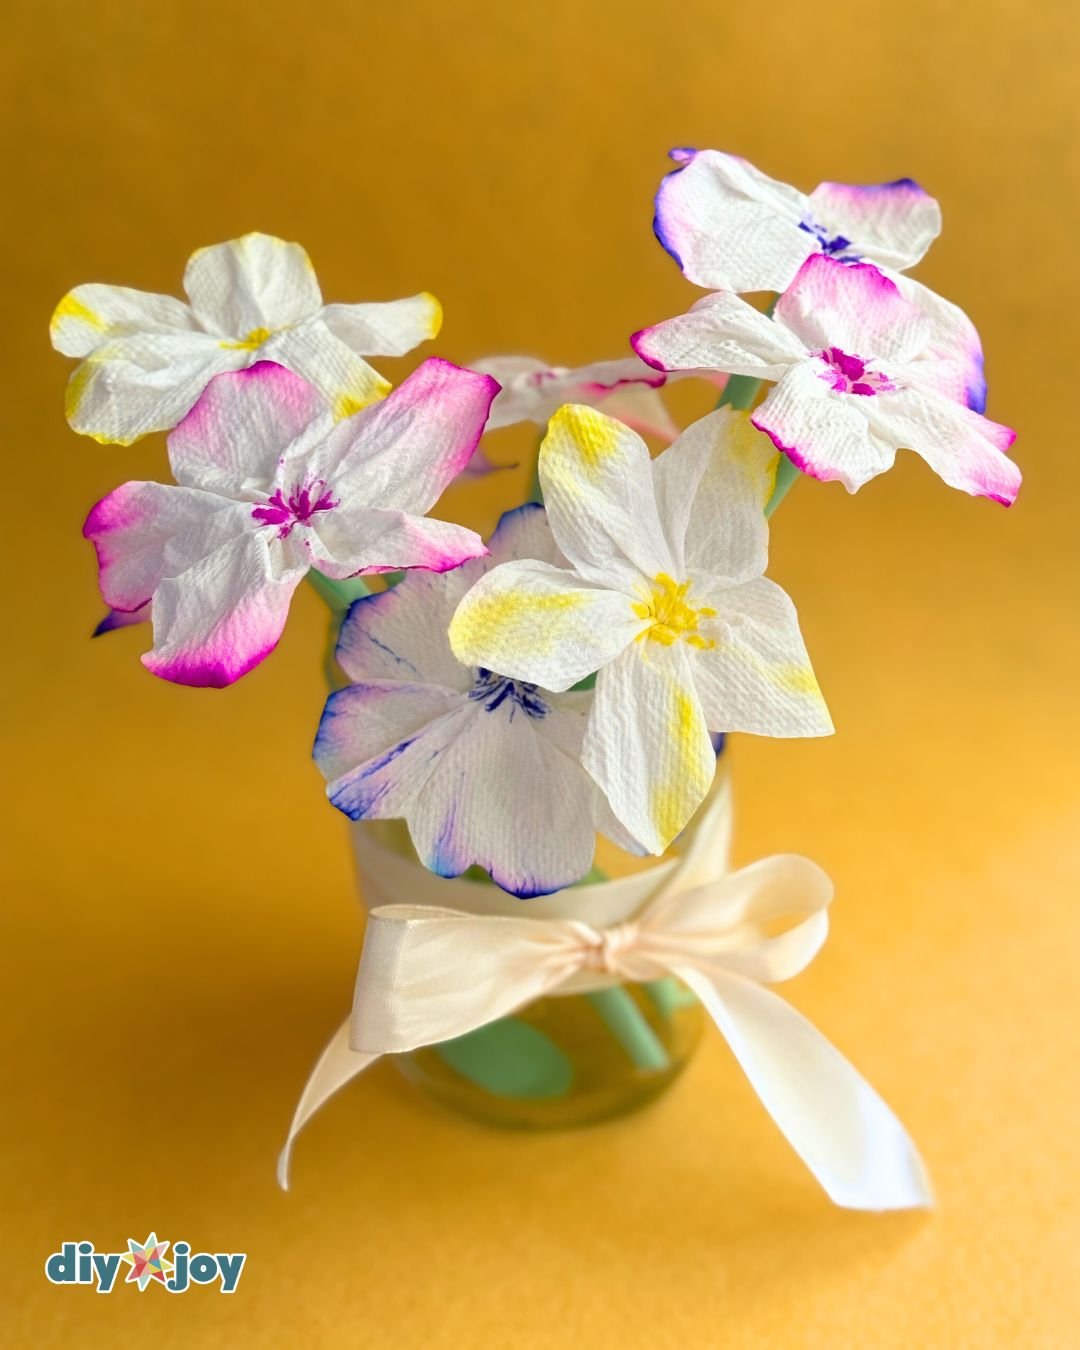
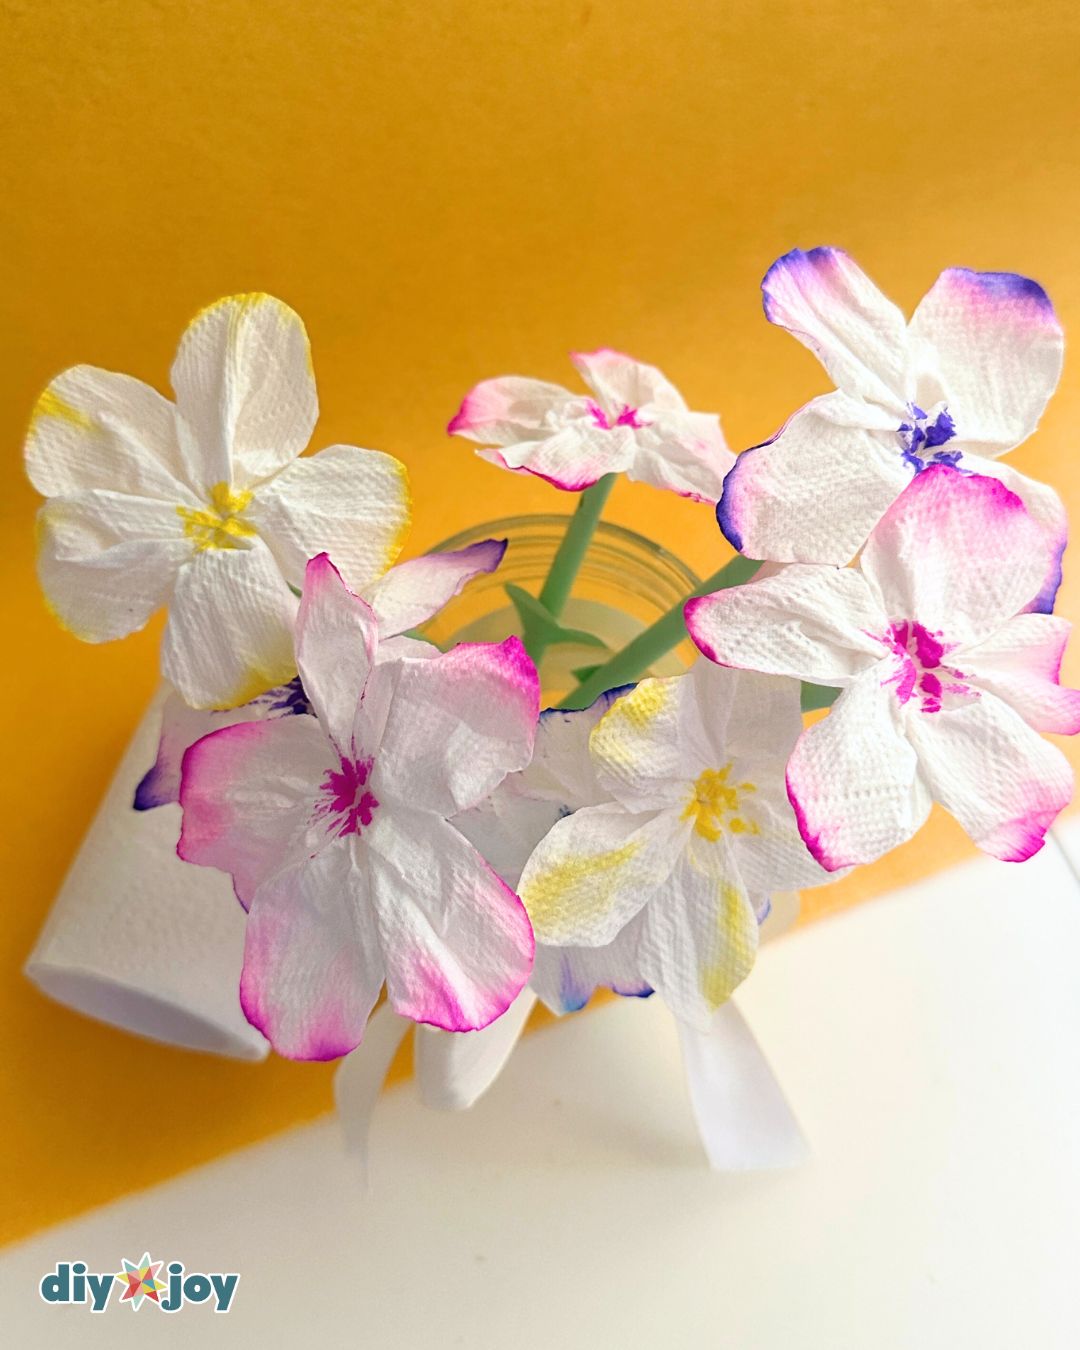
Color the center of the flower with a water-based marker, then carefully place it in a small container of water. Watch as the color spreads across the petals. Place the flower on a wire grid and let it dry completely.
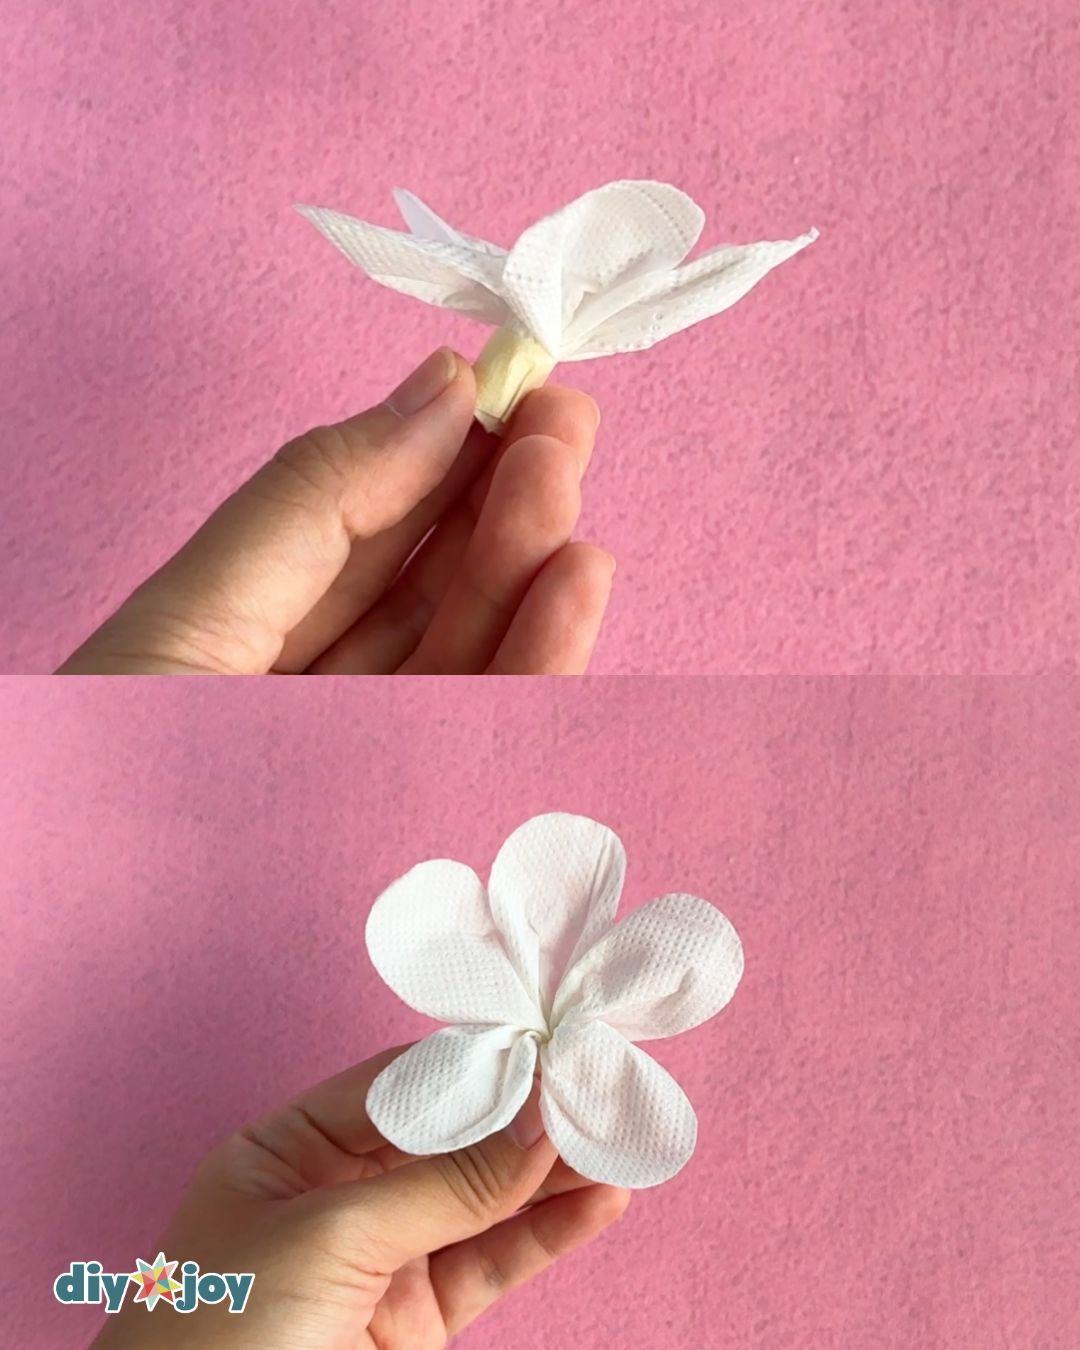
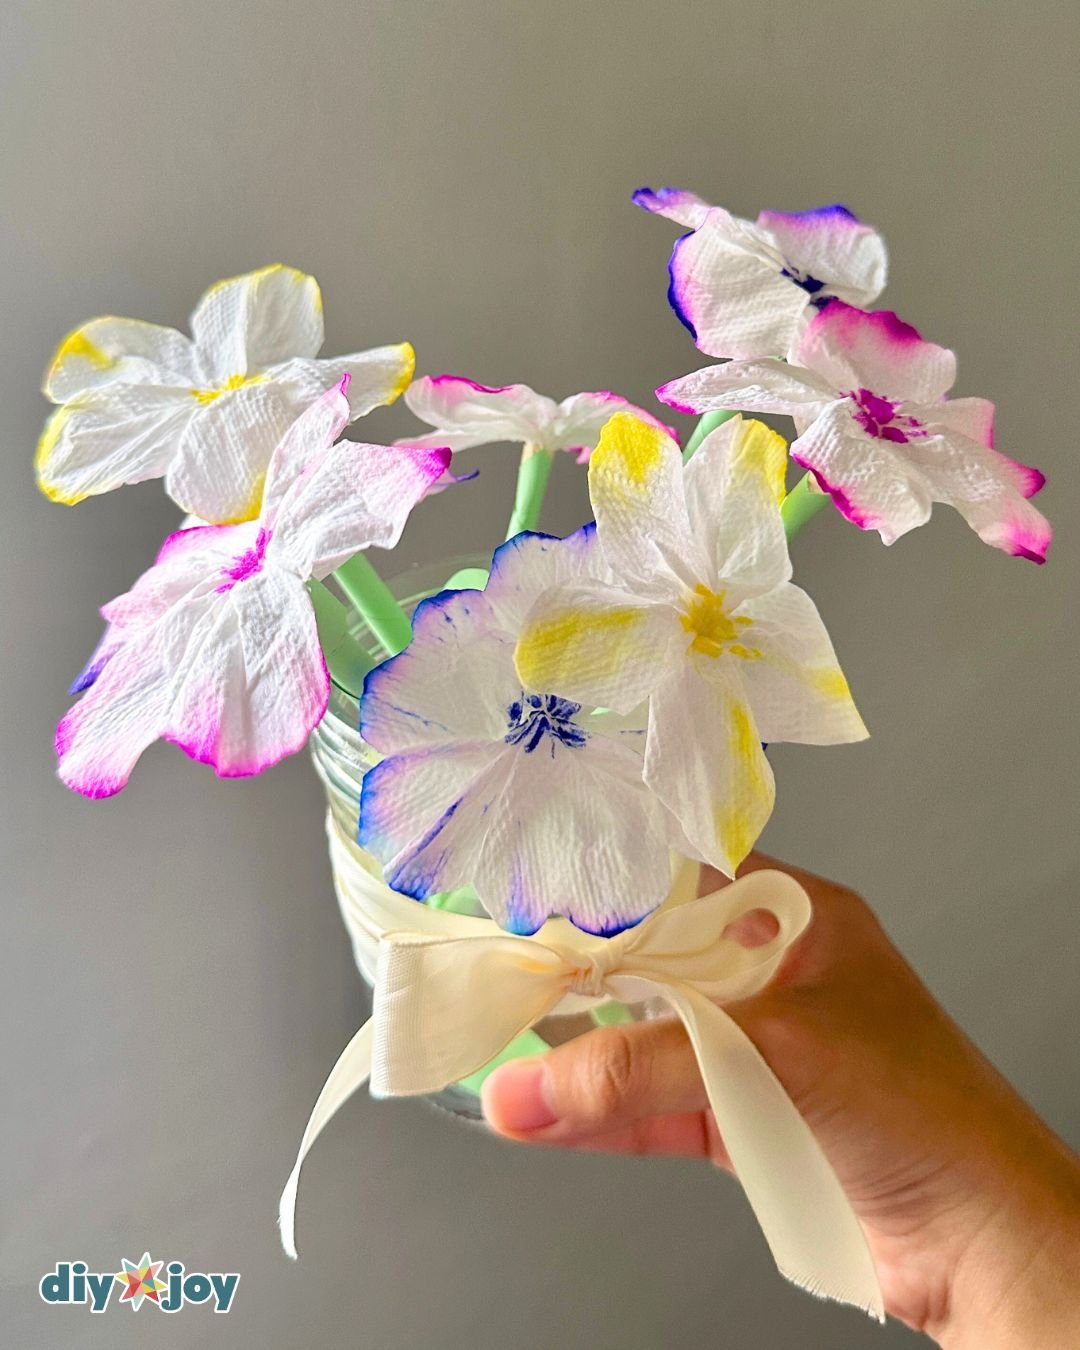
Take a small green rectangular piece of paper and roll it from one corner to the other to make the stem, then glue the end in place. Attach the dried flower to the stem, adding glue if needed. If any tape is visible at the top, cover it with a small piece of green paper.
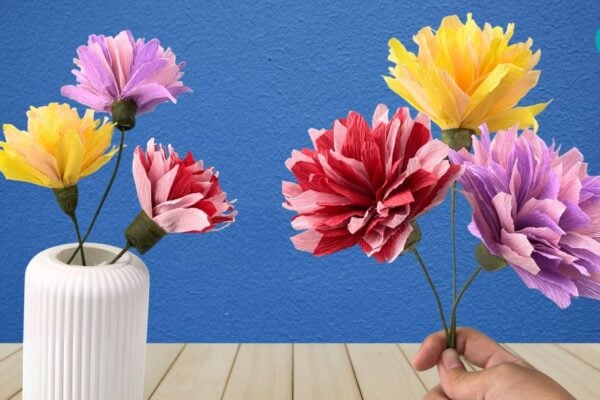
Color the center with the same shade of marker. Repeat the steps to make flowers in different colors and shapes. Arrange them in a vase to create a beautiful paper flower bouquet.

Tools
- scissors
Materials
- toilet paper
- green colored paper
- water-based markers
- painter’s tape
- glue or double sided tape
- small container filled with water
![]()
Crafting Tip
Experiment with different petal shapes and colors! Try combining two or three colors and watch how they blend when placed on water.
Creative Ideas and Variations
- Sizes. You can definitely make these flowers in different sizes, but make sure each one is the same size or smaller so that the petals can still hold their shape.
- Petal shapes. Try different petal shapes to create a variety of flowers.
- Colors. Feel free to use as many colors as you like.
- Leaves. Complete the look by adding leaves. Simply cut leaf shapes from your colored paper and glue them to the stem.
More Paper Flower Tutorials
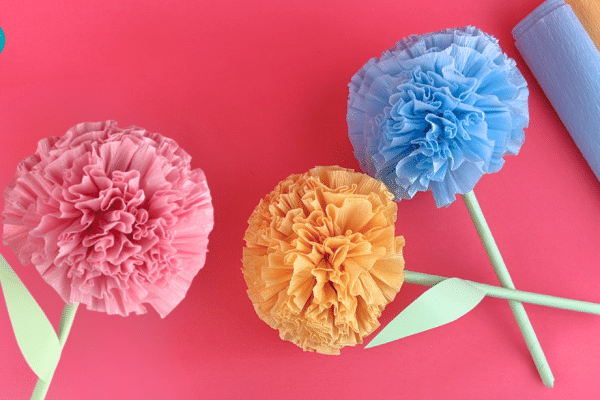
Paper Flowers
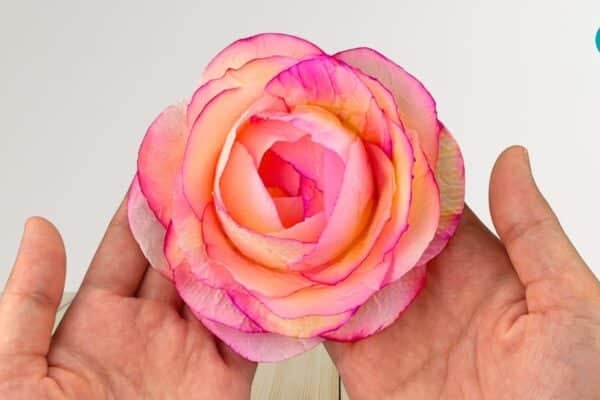
Paper Flowers
Paper Flowers
Toilet Paper Flower Bouquet Video Tutorial