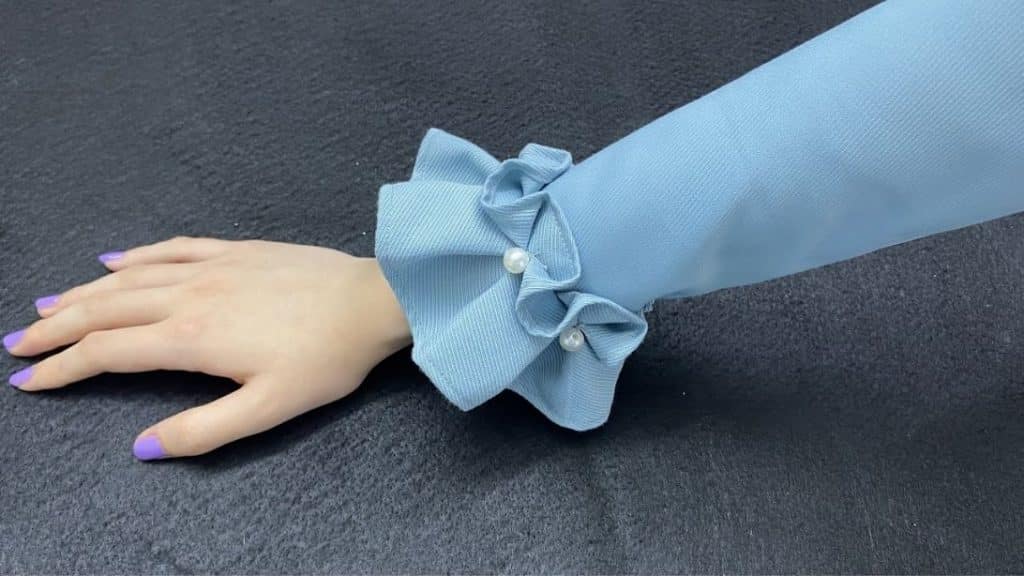
Who would’ve thought that creating a pretty and elegant ruffled sleeve could be this easy with this simple sewing trick by Trefa Craft on YouTube! After learning this trick, I must admit that I’m quite tempted to sew all of my sleeves like this, it’s just so cute.
Materials:
- A piece of paper that’s about 3*6 inches
- Scissors
- Fabric
- Sewing machine
- Chalk or marking pen
- Matching thread
Directions:
Step 1
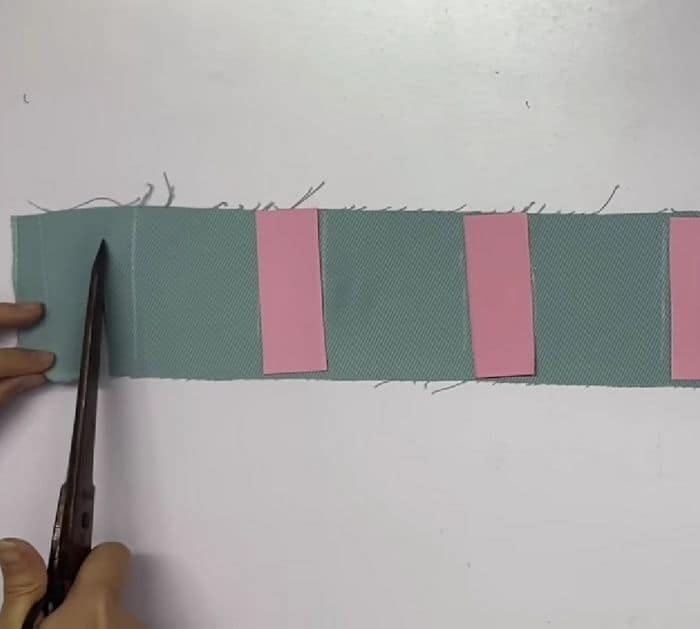
Cut a piece of paper to about 2*6 inches, then fold it in half, and then fold it again into 3 evenly. Open and unfold the paper, then cut it into 6 equal strips. Next, cut a long strip of fabric that’s about 3 inches wide, then grab one paper strip, and place it on one end of the fabric making sure to include a 0.4″ seam allowance first. Using chalk, mark both sides of the strip, and leave it there. Grab another piece of the strip, skip 2 strips wide, then mark both sides of the paper strip, and leave it there. Continue the process until you’ve used up all of the paper strips, then add 2 strips wide at the end, plus a 0.4″ seam allowance. Trim off the excess fabric.
[social_warfare]
Step 2
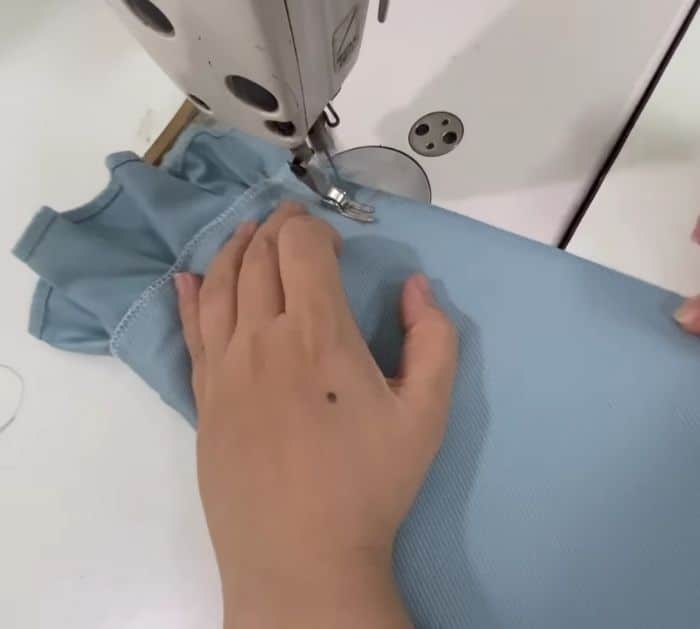
Roll the long sides of the fabric into about 0.4″ twice, then sew them in place, and repeat on the other side of the fabric. Fold the 1st strip mark towards the center, then fold the next strip mark as well, and match their folds together at the center to create your first ruffle. Sew over them as you continue folding the next strip markings. Once you’re done ruffling the fabric, place them on the sleeve fabric both facing down, then sew them together over the same stitching line. Fold it over to the side with their right sides facing together, sew them together on the long side, then turn it right side out.
*These amazing images are all credited to Trefa Craft via YouTube. Check her other content and follow for more!
