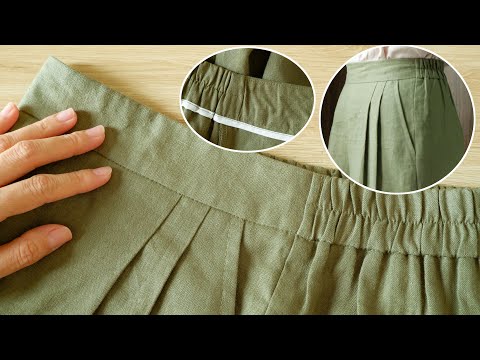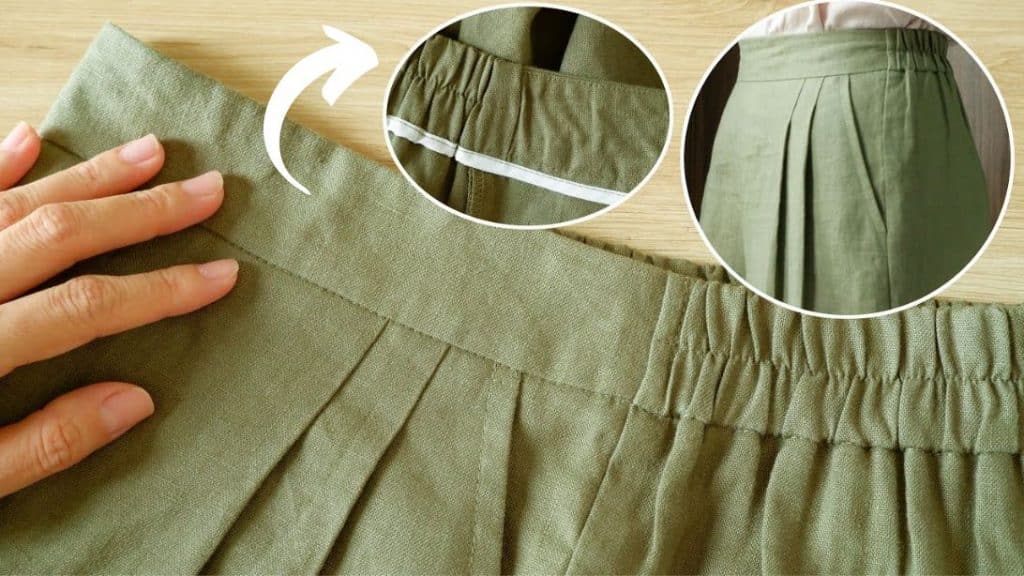
This simple sewing tutorial by Thuy sewing on YouTube will teach you how to easily and quickly sew a half elastic waistband on pants, skirts, or shorts! You can do this in just a few minutes even if you’re a beginner in sewing, isn’t that fantastic? Try it out on your future sewing projects and see for yourself.
Materials:
- Pants, shorts, or skirt
- Matching fabric
- Fusible web
- Needle and thread
- Fabric pins
- Marking pen
- Ruler
- Scissors
- Sewing machine
Directions:
Step 1
Measure the front and back parts of your material, then press the fusible web on the same fabric as your materials. Measure the fused fabric into the same size as the front part and the width to 6 cm or about 2.3 inches. Fold the fabric in half, then add 1 cm or about 0.39 inch to the edge and top of the original measurement, and 1 cm or about 0.39 inch on an edge of the lower measurement. Connect and curve the mark down to the line, then cut along those lines. Place the folded cutout piece on top of the leftover fabric, then trace, and cut. Cut a bias tape with a 3.5 cm or about 1.37 inches width and with the length of the total length of both front and back combined. Fold the ends towards the center, then press, fold it in half, and press again. Set it aside. Sew the front pieces together with their right sides facing, then open, and topstitch the center.

[social_warfare]
Step 2
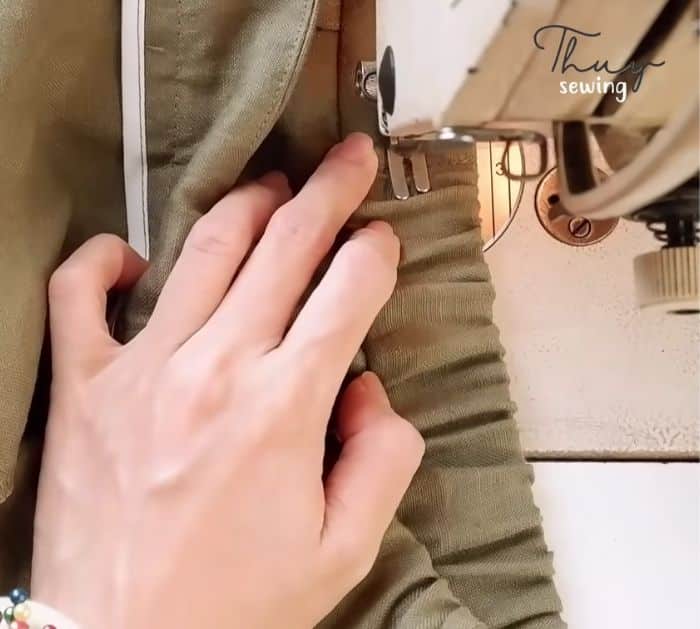
Fold it in half, then find the midpoint, and match it to the midpoint of the front of your material, pin it in place. Cut another piece of fabric to the same length as the back part with a width of about 6cm or 2.3 inches. Place this piece on top of the back part with their right sides together, then pin it in place, and sew the along the top of the back and front. Turn your materials inside out, then press the extended front and back piece open, and trim the sides to match if needed. Match the side seams, then sew them together, and give them a good press. Sew the bias tape around the raw edge of the seam, then place a 2-3 cm or 0.7-1.1 inch thick and 4 cm or 1.5 inches long elastic to the back part (make sure to place it at the lower part of the extended piece of fabric). Pin the side of the elastic to the side seam, then pull it, pin to the other side seam, and sew in place. Fold the edges of the fabric down and over the elastic nicely, then sew it in place, pull and stretch the back part, and topstitch the middle lengthwise.
*All image credit belongs to Thuy sewing via YouTube. Follow and subscribe to her channel for more!
Simple Half Elastic Waistband Sewing Tutorial